Quick Start
Accept your first crypto payment in under 5 minutes. This guide walks you through setting up your account, configuring your payment preferences, and processing a payment.
Check supported assets first
What you'll need
Before you start integrating, you need to set up a few things in the NodeRails Dashboard:
- A NodeRails account with a verified email address.
- A connected wallet where you want to receive payments. NodeRails supports EVM wallets (
0x…), Solana wallets (base58 public key), and Sui wallets (0x32-byte address). Use the merchant dashboard to connect and verify the address for each network. Funds settle here after the timelock period. - An App created in the dashboard. Each app gets its own API keys, webhook endpoints, and payment configuration.
- Chains and tokens selected. You need to choose which blockchains and tokens you want to accept payments in. This is configured per app in the dashboard.
Override chains and tokens per request
1. Create your account and app
Sign up at the NodeRails Dashboard and verify your email. Then:
- Connect your merchant wallet(s): EVM receiving/payout wallets and, if you enable Solana, your Solana settlement address.
- Create a new App from the dashboard.
- Select which chains and tokens you want to accept for this app.
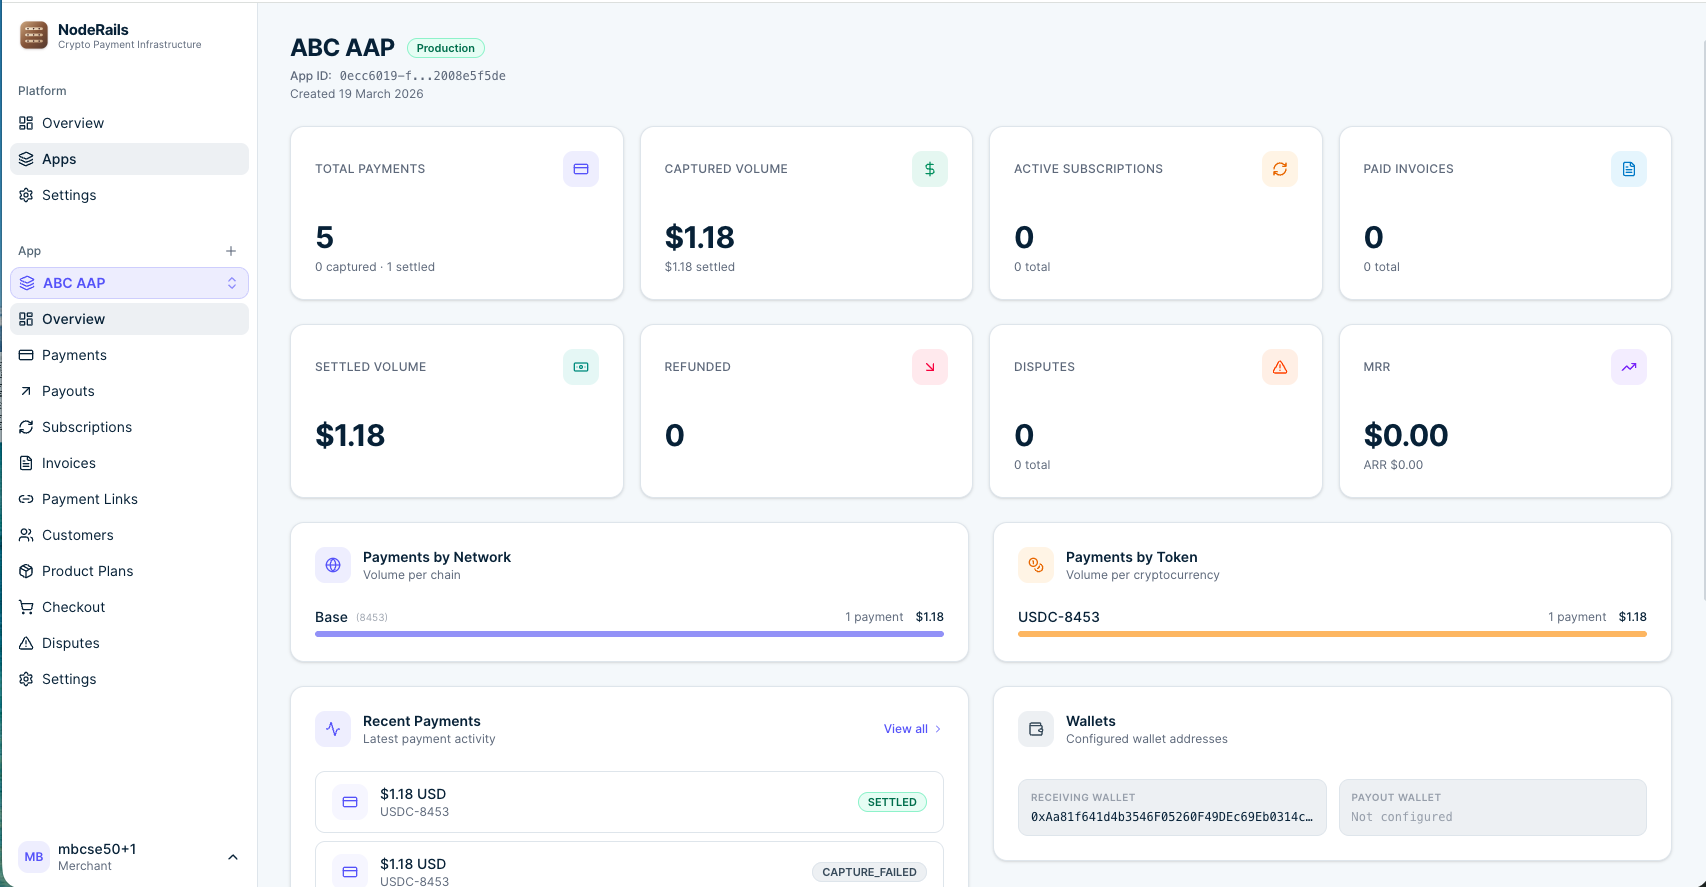
Once your app is created, you will see the dashboard overview with your App ID, payment stats, configured wallets, and network breakdown:
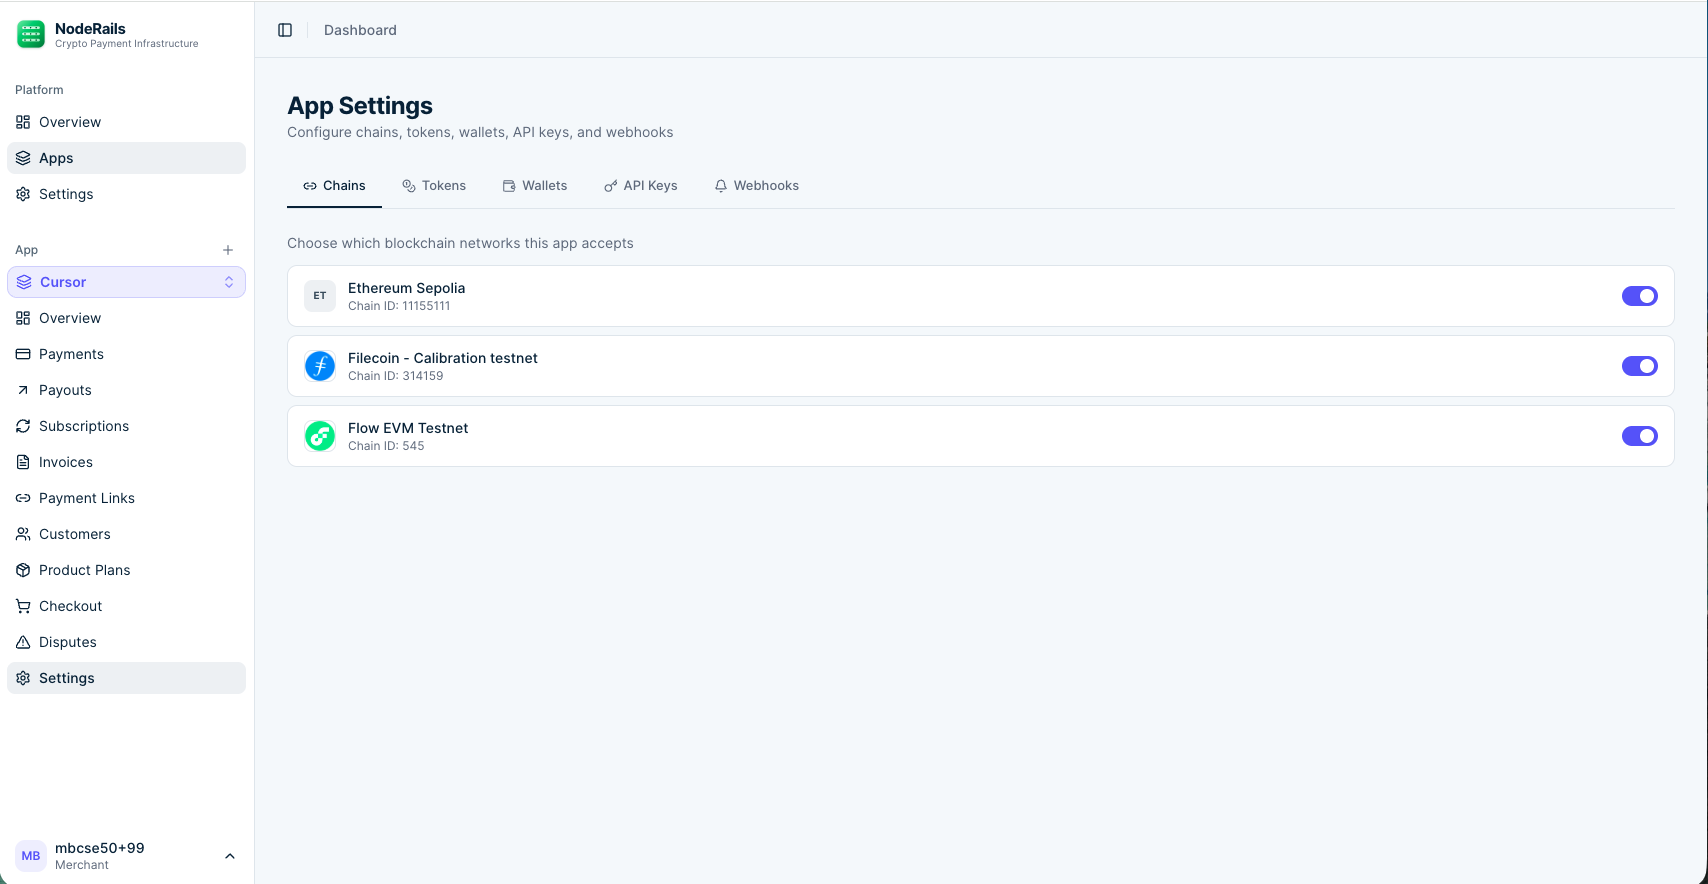
Go to Settings to configure which blockchain networks your app accepts. Toggle the chains you want to enable:
2. Get your API keys
Navigate to Settings → API Keys tab in the dashboard. You'll need two pieces of information:
- App ID — Your app's unique identifier (UUID), visible at the top of your dashboard.
- Secret Key — Starts with
nr_live_sk_ornr_test_sk_.
Keep your secret key safe
nr_*_pk_) are for client-side use, but the SDK requires a secret key.API Key format
API keys follow the format nr_<env>_<type>_<random>:
| Key | Environment | Type |
|---|---|---|
nr_live_sk_... | Production | Secret |
nr_test_sk_... | Test | Secret |
nr_live_pk_... | Production | Public |
nr_test_pk_... | Test | Public |
Chains and tokens naming
When working with the NodeRails API or SDK, chains and tokens follow a specific naming convention you should be aware of.
Chains
Chains are identified by a numeric chain ID. EVM networks use the same IDs as elsewhere (e.g. Ethereum 1, Base 8453). Solana uses NodeRails cluster IDs: mainnet-beta 103, testnet 101, devnet 102. Sui uses 201 (devnet), 202 (testnet), 203 (mainnet). See the Sui guide for checkout and webhook examples.
| Chain | Chain ID |
|---|---|
| Ethereum Mainnet | 1 |
| Polygon | 137 |
| Arbitrum One | 42161 |
| Base | 8453 |
| Optimism | 10 |
| Solana Mainnet | 103 |
| Solana Devnet | 102 |
| Solana Testnet | 101 |
| Sui Devnet | 201 |
| Sui Testnet | 202 |
| Sui Mainnet | 203 |
| Sepolia (testnet) | 11155111 |
When you pass allowedChains in the API, you pass an array of these numeric IDs.
Tokens
Tokens use the same token key format on every chain: SYMBOL-chainId. On Solana, contractAddress in the API is the SPL mint (base58); on EVM it is the token contract (0x…).
| Token | Token Key |
|---|---|
| USDC on Ethereum | USDC-1 |
| USDC on Base | USDC-8453 |
| USDT on Arbitrum | USDT-42161 |
| ETH on Ethereum | ETH-1 |
| SOL on Solana Mainnet | SOL-103 |
| USDC on Solana Mainnet | USDC-103 |
| SUI on Sui Testnet | SUI-202 |
| USDC on Sui Testnet | USDC-202 |
| USDC on Sepolia | USDC-11155111 |
This format ensures there's no ambiguity. USDC on Ethereum and USDC on Base (or USDC on Solana) are different tokens, so they have different token keys.
Where to find available tokens
allowedTokens, you can pass either token keys (USDC-8453) for a specific chain, or just the symbol (USDC) to allow that token on all enabled chains.3. Install the SDK
4. Initialize the client
Create a NodeRails client instance on your server. Pass your App ID and secret key from environment variables:
5. Create a checkout session
A checkout session generates a hosted payment page where your customer can select their blockchain and token, connect a wallet (WalletConnect on EVM or Solana wallet adapters), and complete the payment.
Call checkoutSessions.create from your server-side API route and redirect the customer to the returned checkout URL:
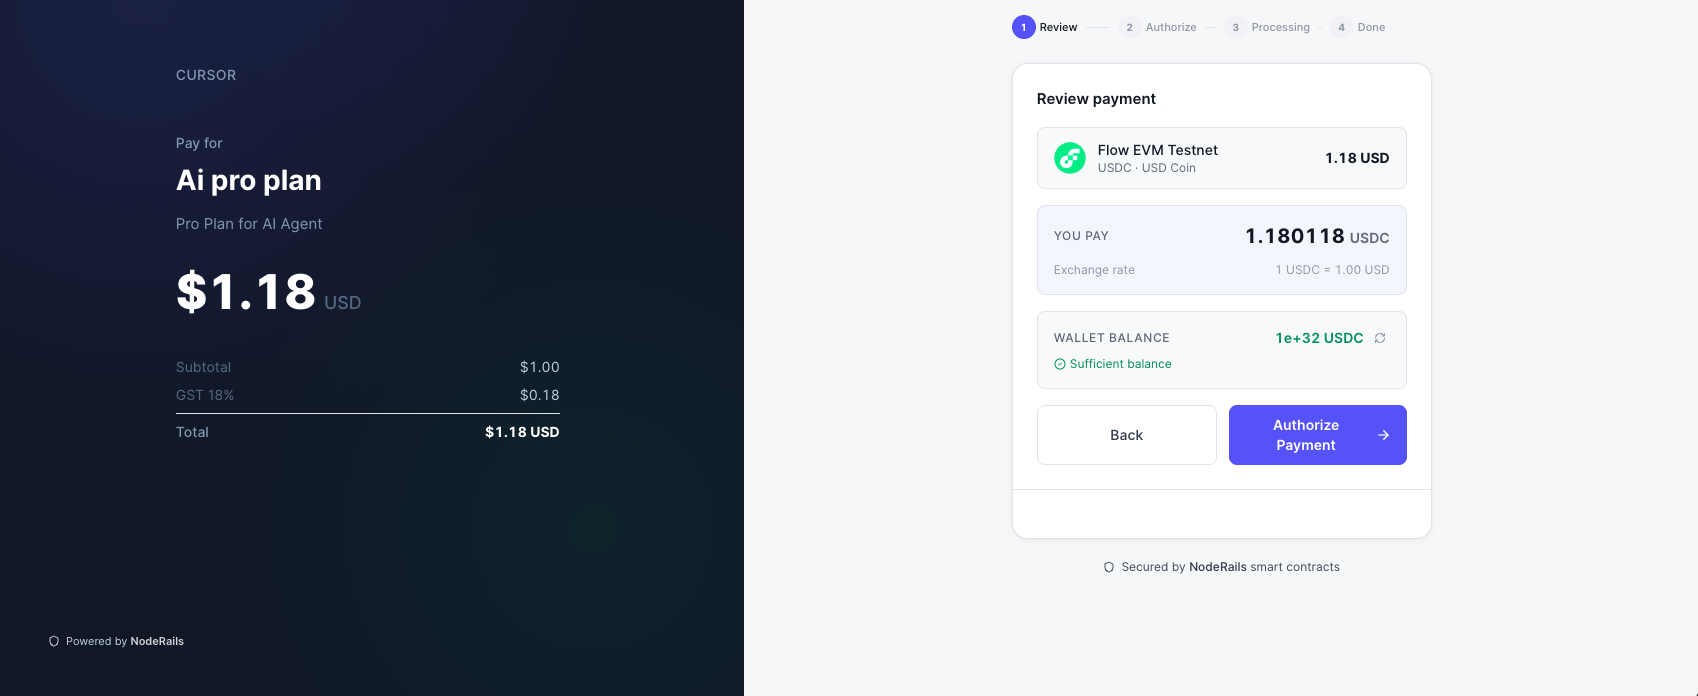
Your customer will see the hosted checkout page where they can review the payment, check their wallet balance, and authorize the transaction:
By default, the checkout page shows the chains and tokens you configured for your app. You can restrict them for a specific session by passing allowedChains and allowedTokens:
In this example, checkout can offer USDC on Base (8453), Arbitrum (42161), and Solana mainnet (103), plus SOL on Solana when enabled for your app. You can also pass specific token keys like USDC-8453 or USDC-103 instead of just the symbol.
6. Handle the webhook
After the customer completes payment, NodeRails sends a payment.captured event to your webhook endpoint once funds are taken from the customer's wallet and locked in escrow on-chain. This is your signal to fulfill the order.
Verify the webhook signature using the SDK, then handle the event based on its type:
payment.captured means funds have been authorized and locked in escrow. This is when you should fulfill the order. payment.settled means funds have been released from escrow and deposited to your wallet.
Register your webhook
noderails.webhookEndpoints.create({ url: '...', events: ['payment.captured'] })7. Track payments
Once payments start coming in, you can track them in real time from the Payments page in your dashboard. Each payment shows the amount, customer, network, status, and on-chain transaction hash:

Next steps
Live list of enabled chains, token symbols, and network coverage.
Full SDK configuration and all available resources.
All webhook events and signature verification.
Full API reference for creating and managing checkout sessions.