Merchant guide
Getting Started with NodeRails Crypto Payments
This document walks through how merchants can onboard to the NodeRails platform, configure apps and wallets, enable settlements, create payment links, and manage payments, subscriptions, invoices, payouts, and disputes.
Access the Merchant Login and Create Your Account
Step 1 of 14
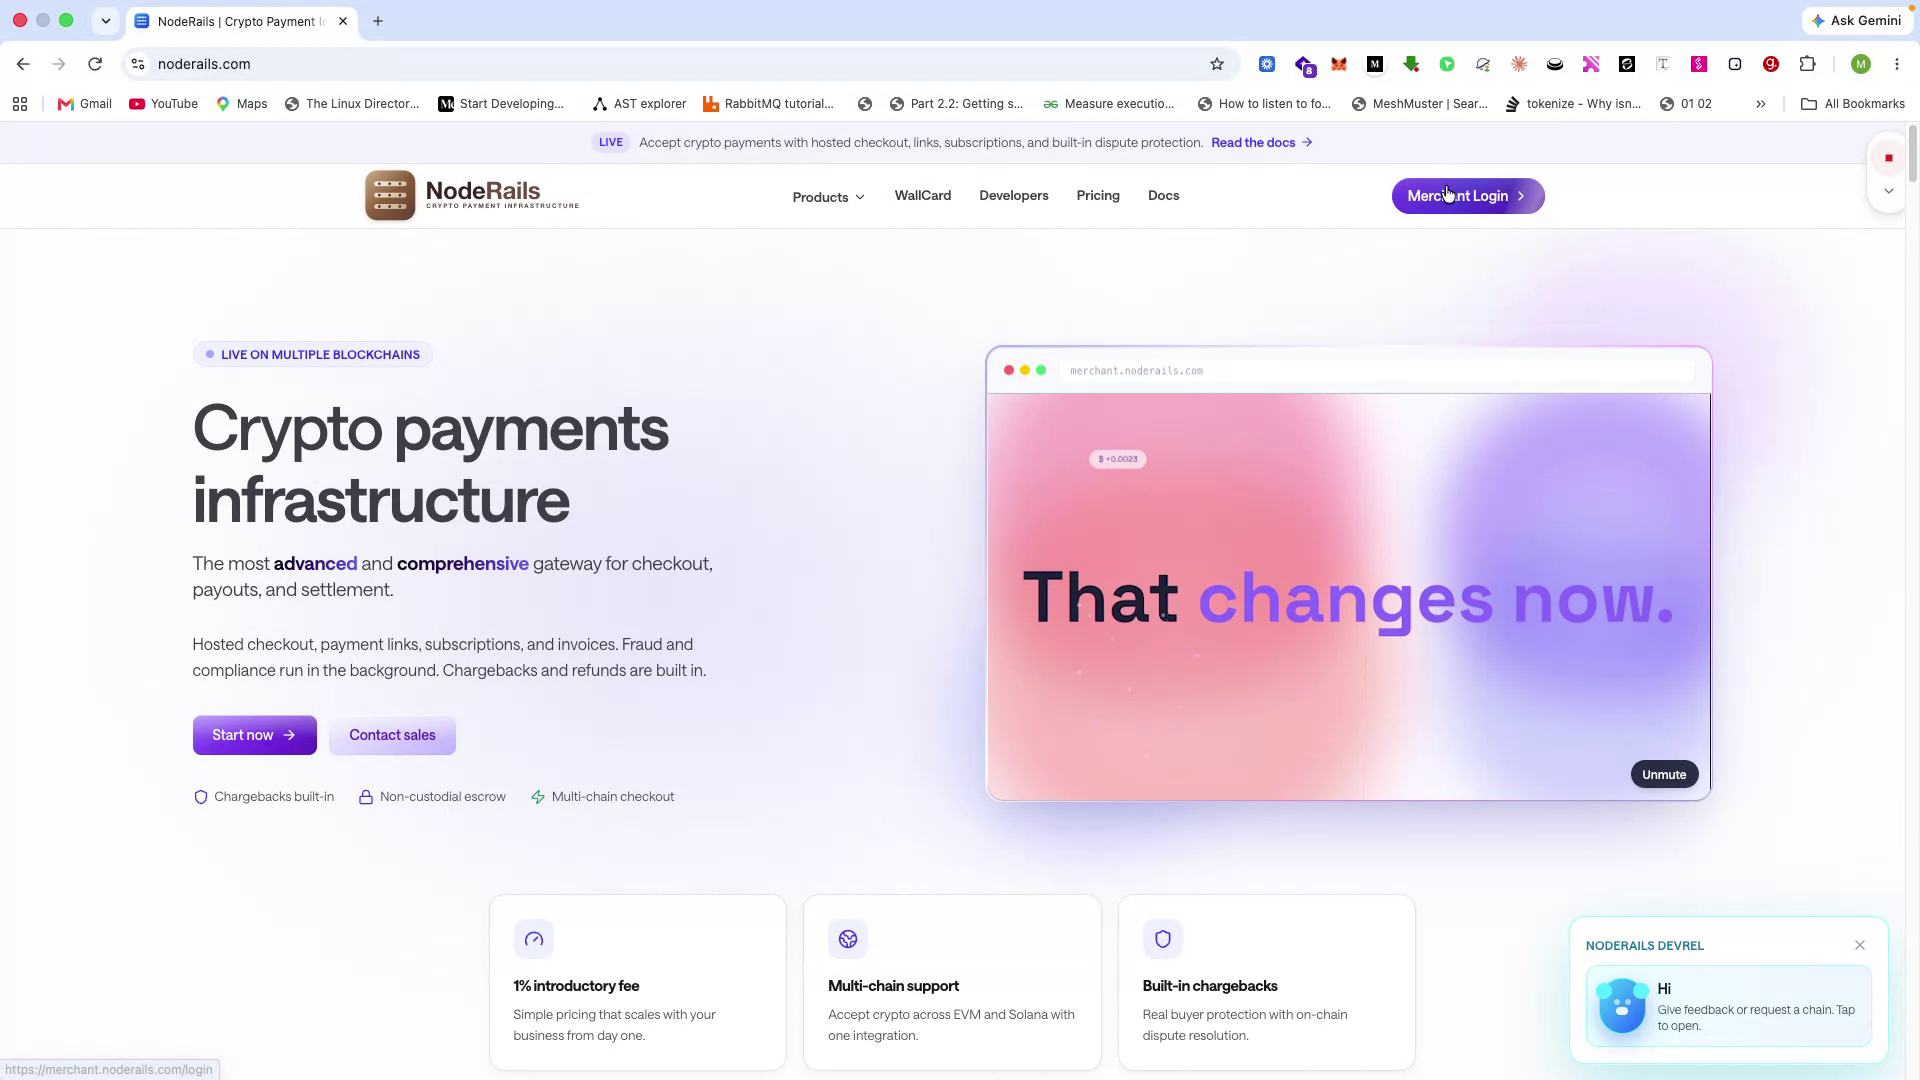
As a merchant, go to the NodeRails merchant login page.
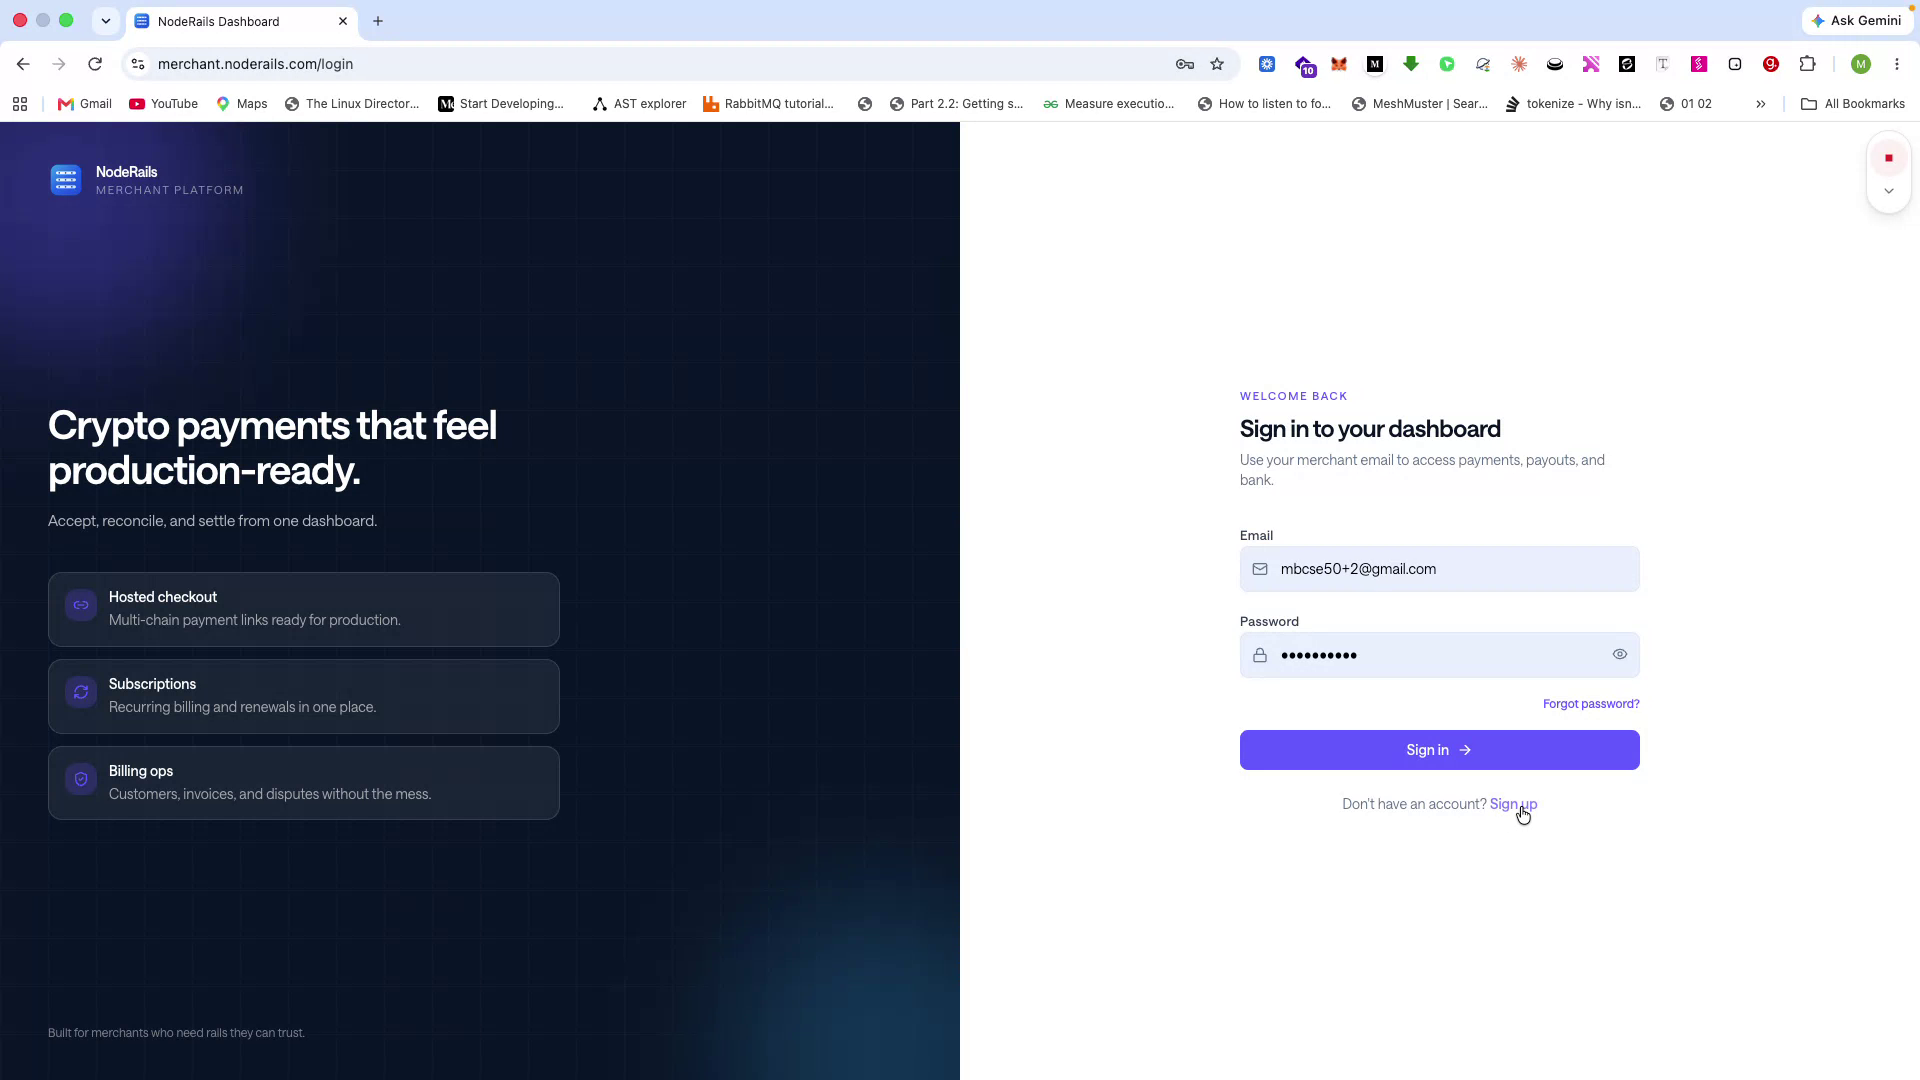
From the login page, choose the option to sign up for a new account.
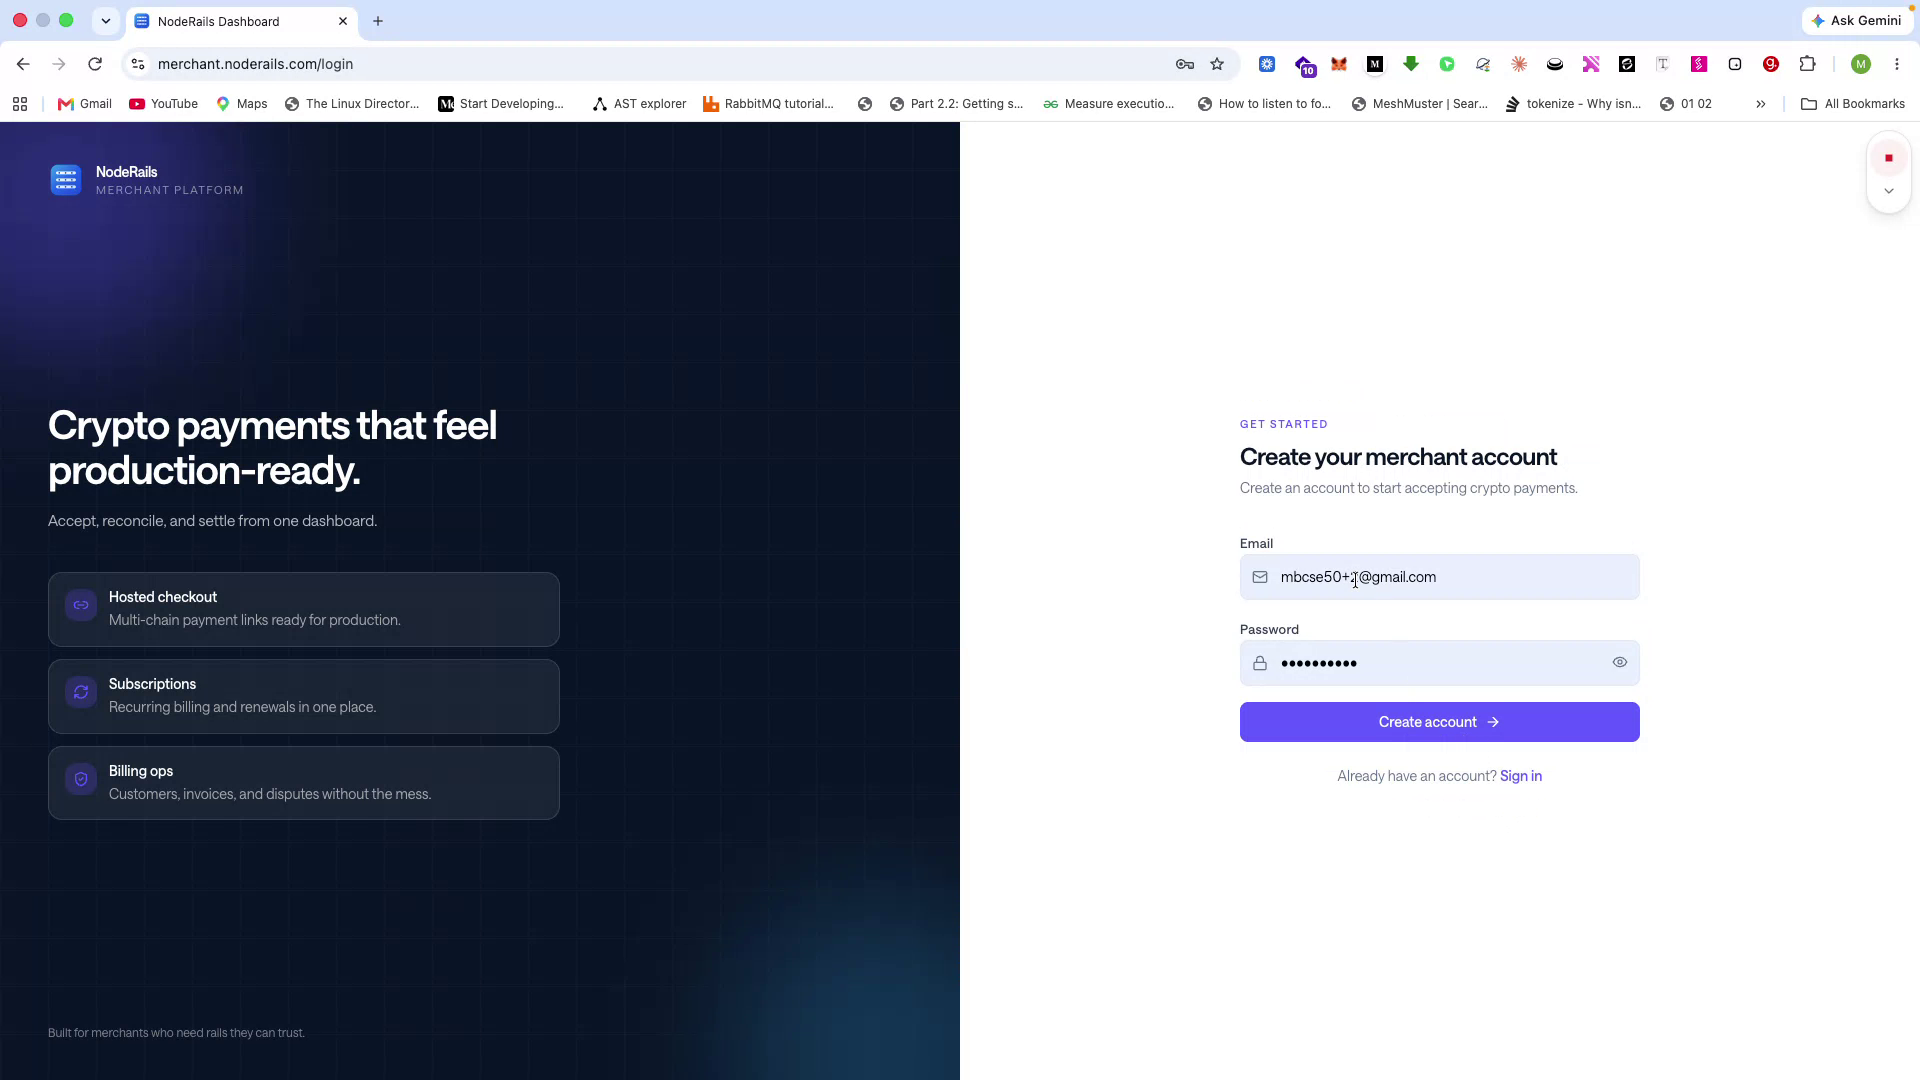
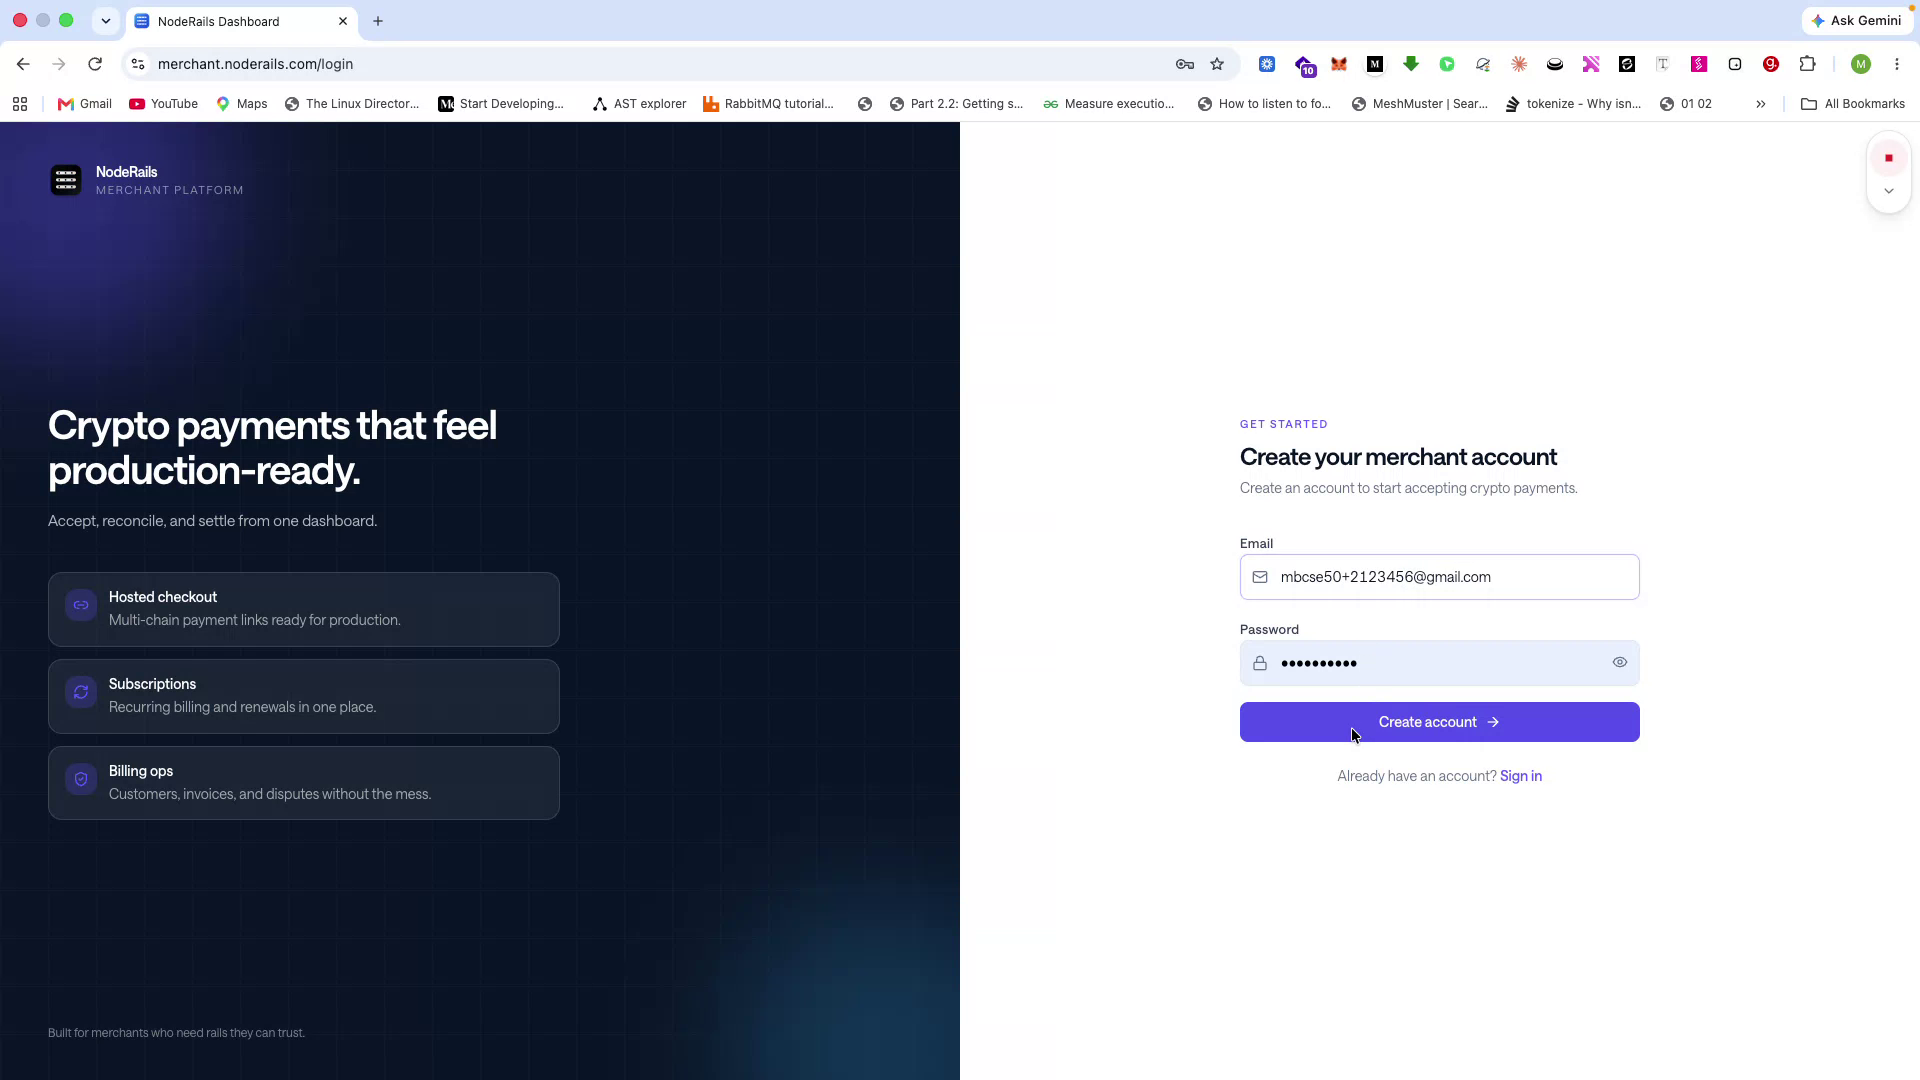
Enter your email address and create a secure password, then submit the form to create your account.
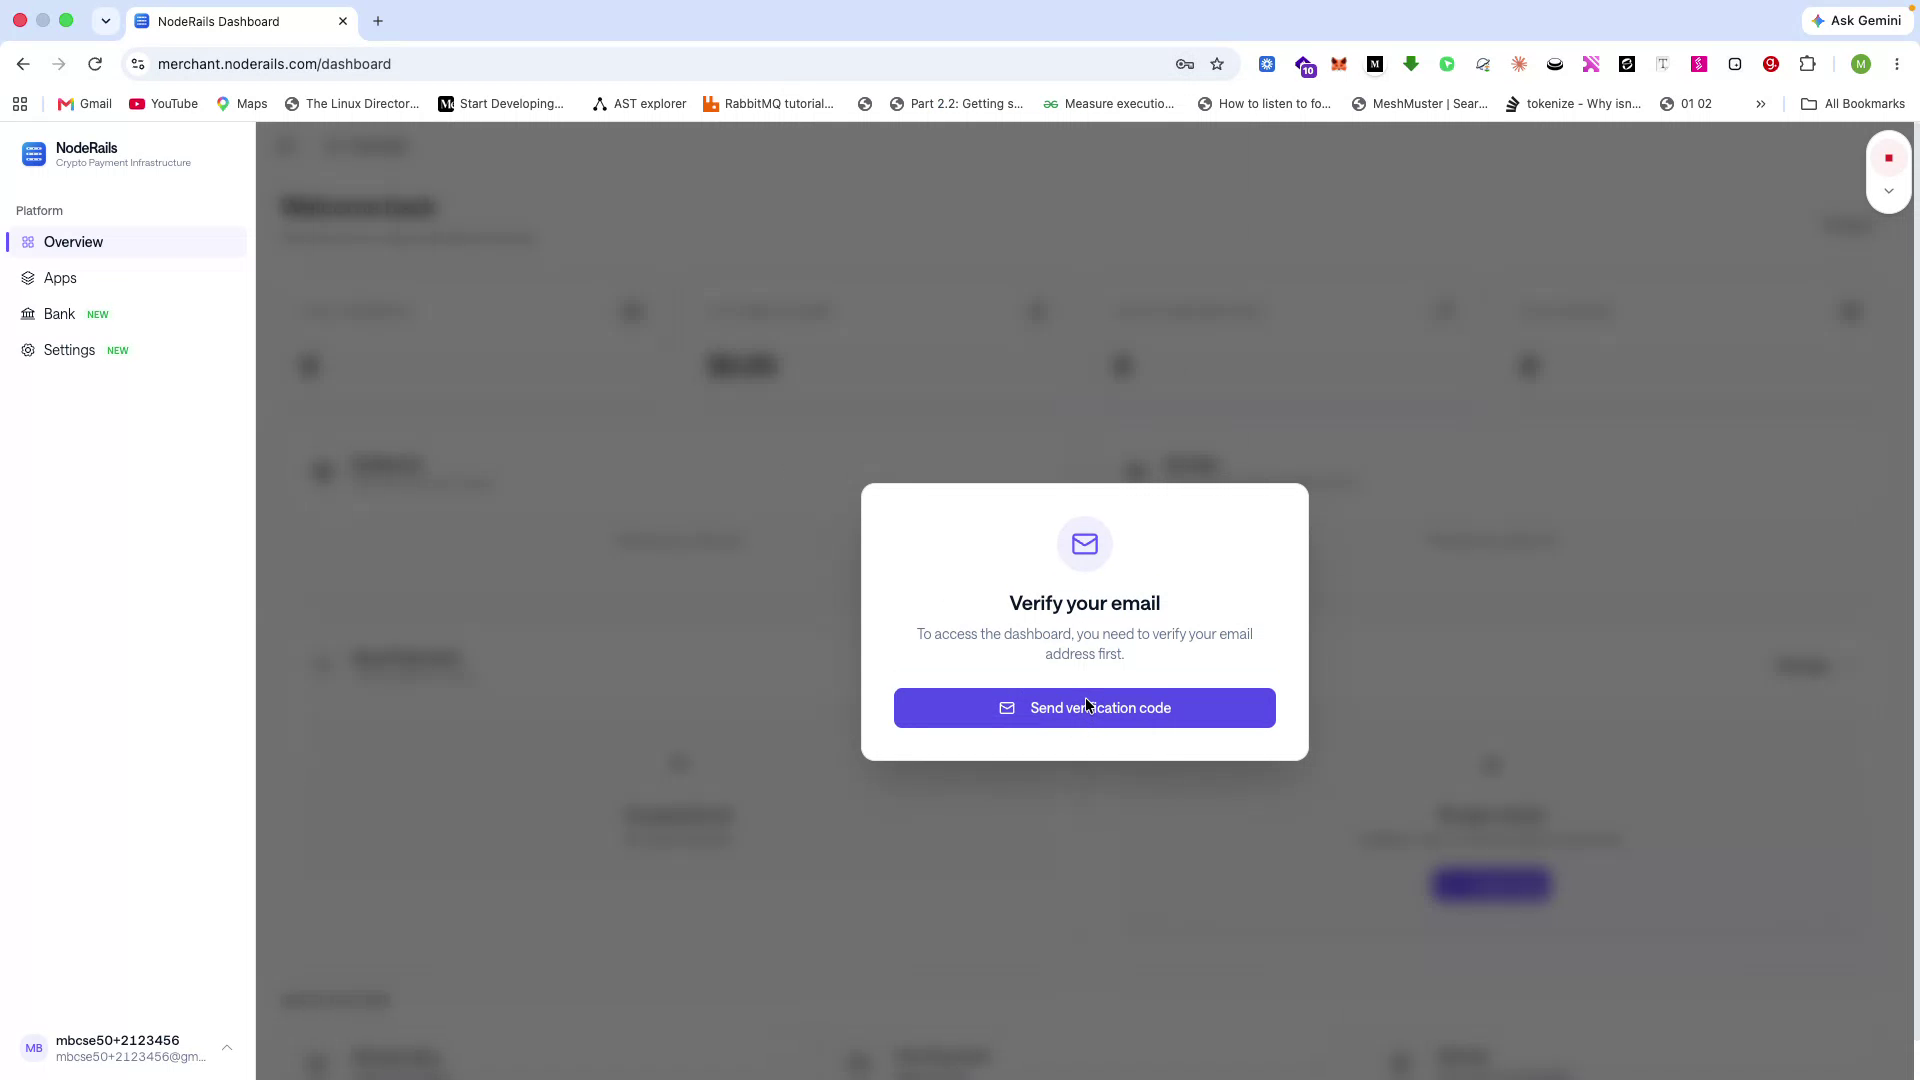
After clicking Create Account, complete the short verification and onboarding flow, which takes about 30 seconds.
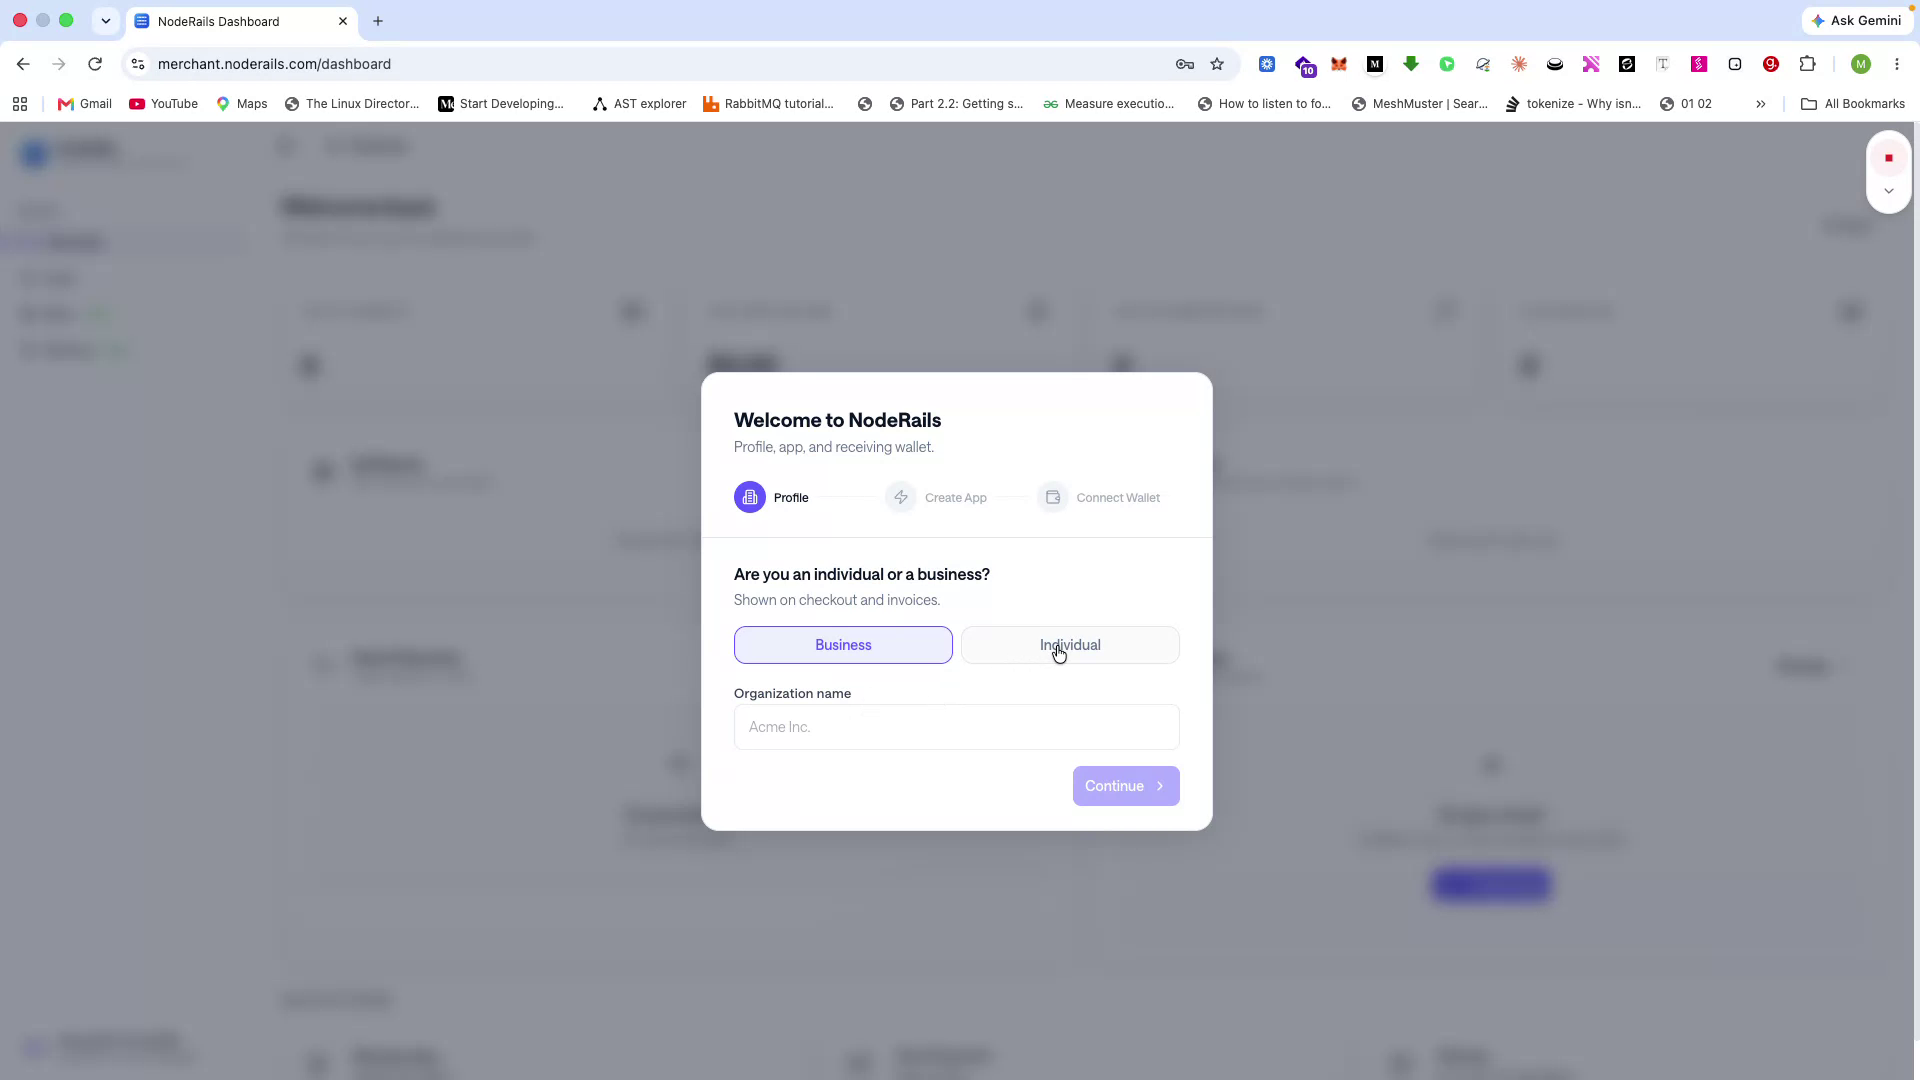
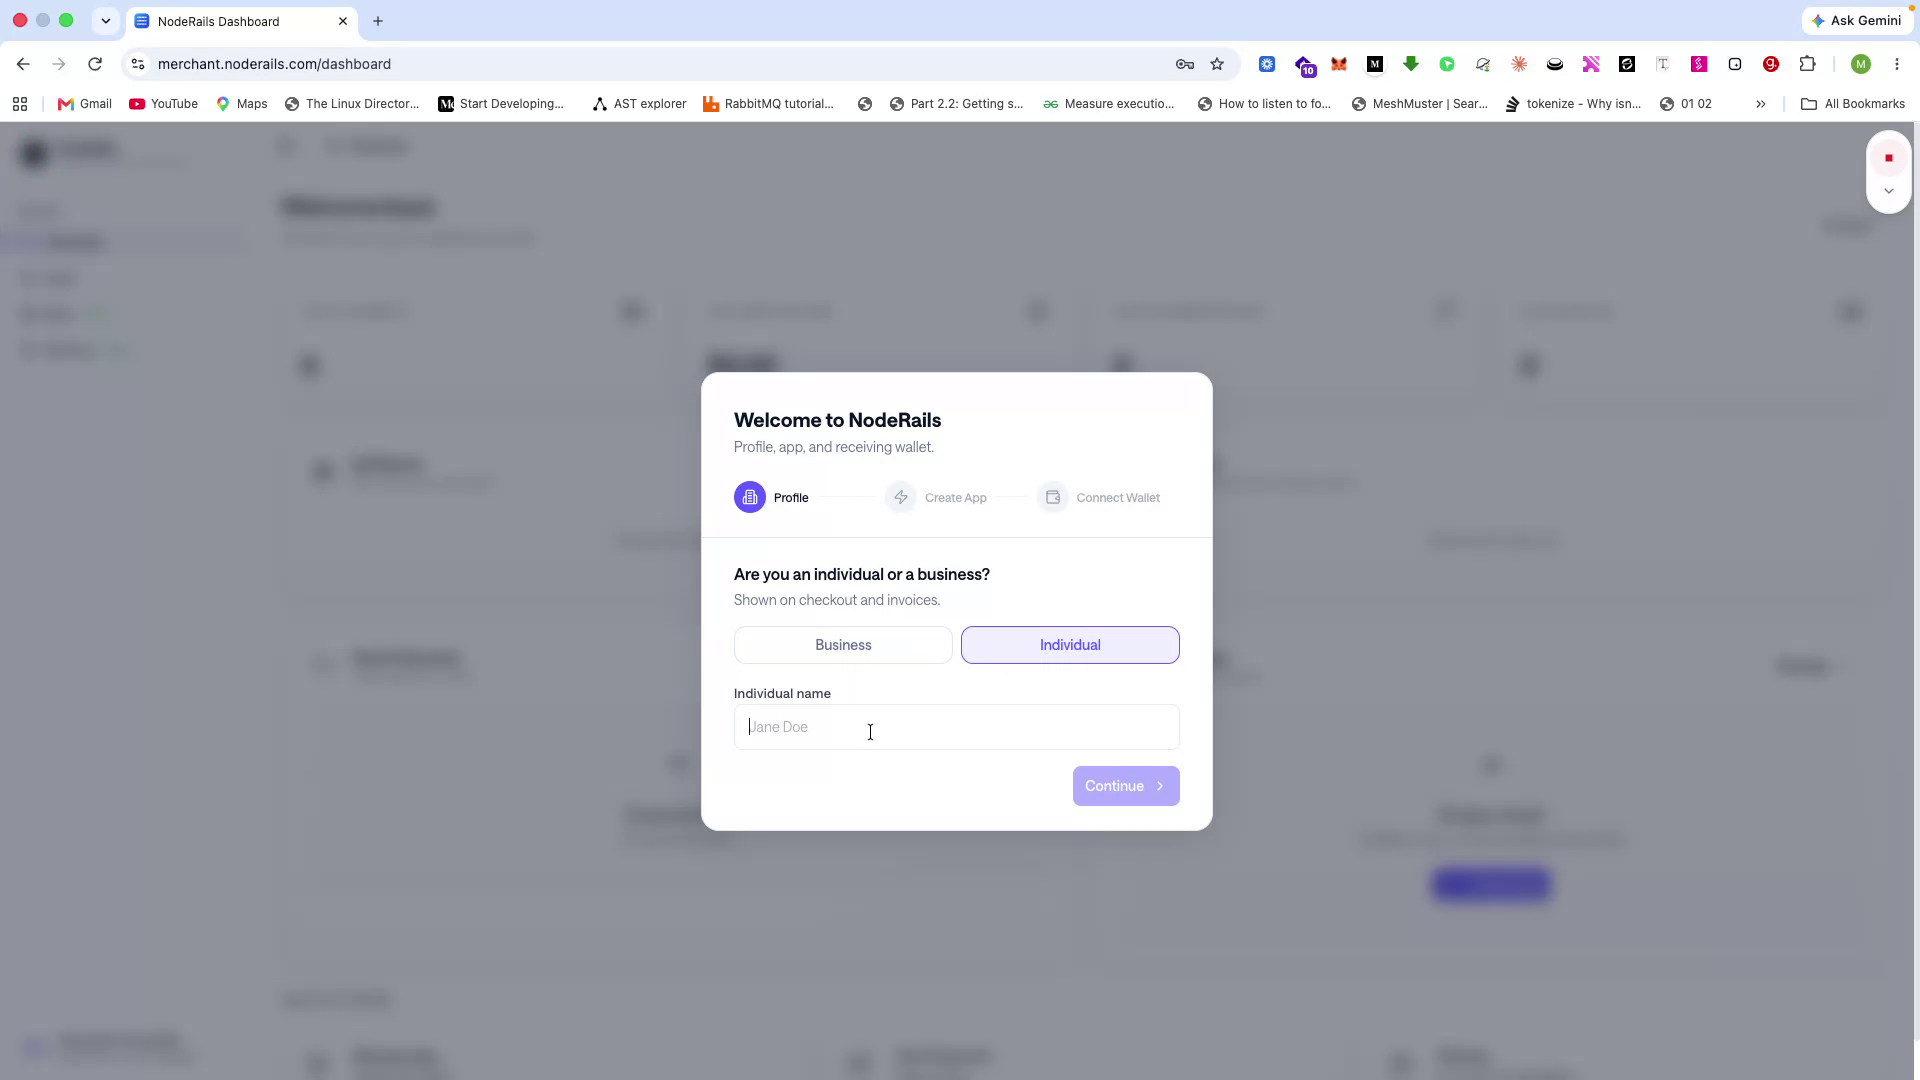
Indicate whether you are signing up as an individual or a business.
Create Your First App (Testnet or Production)
Step 2 of 14
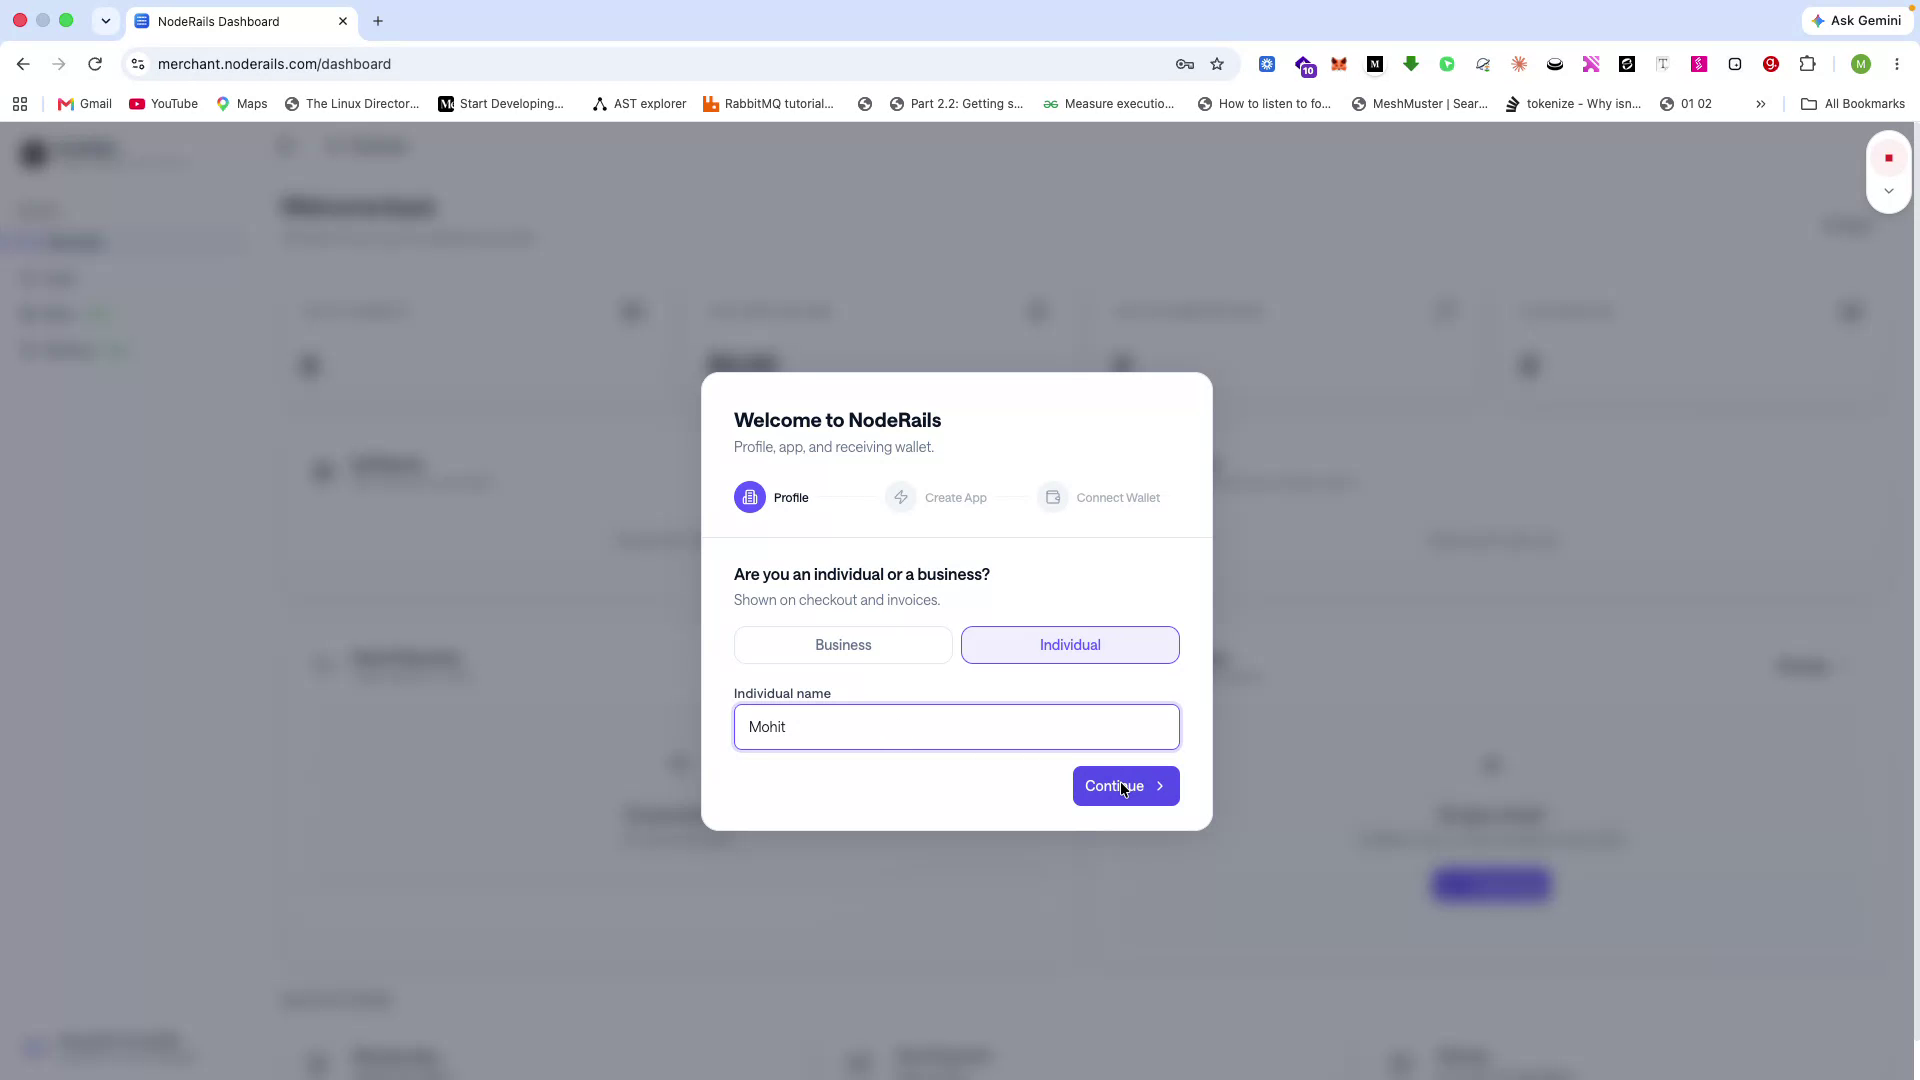
Next, create an app that will be used to accept payments (for example, your website or product).
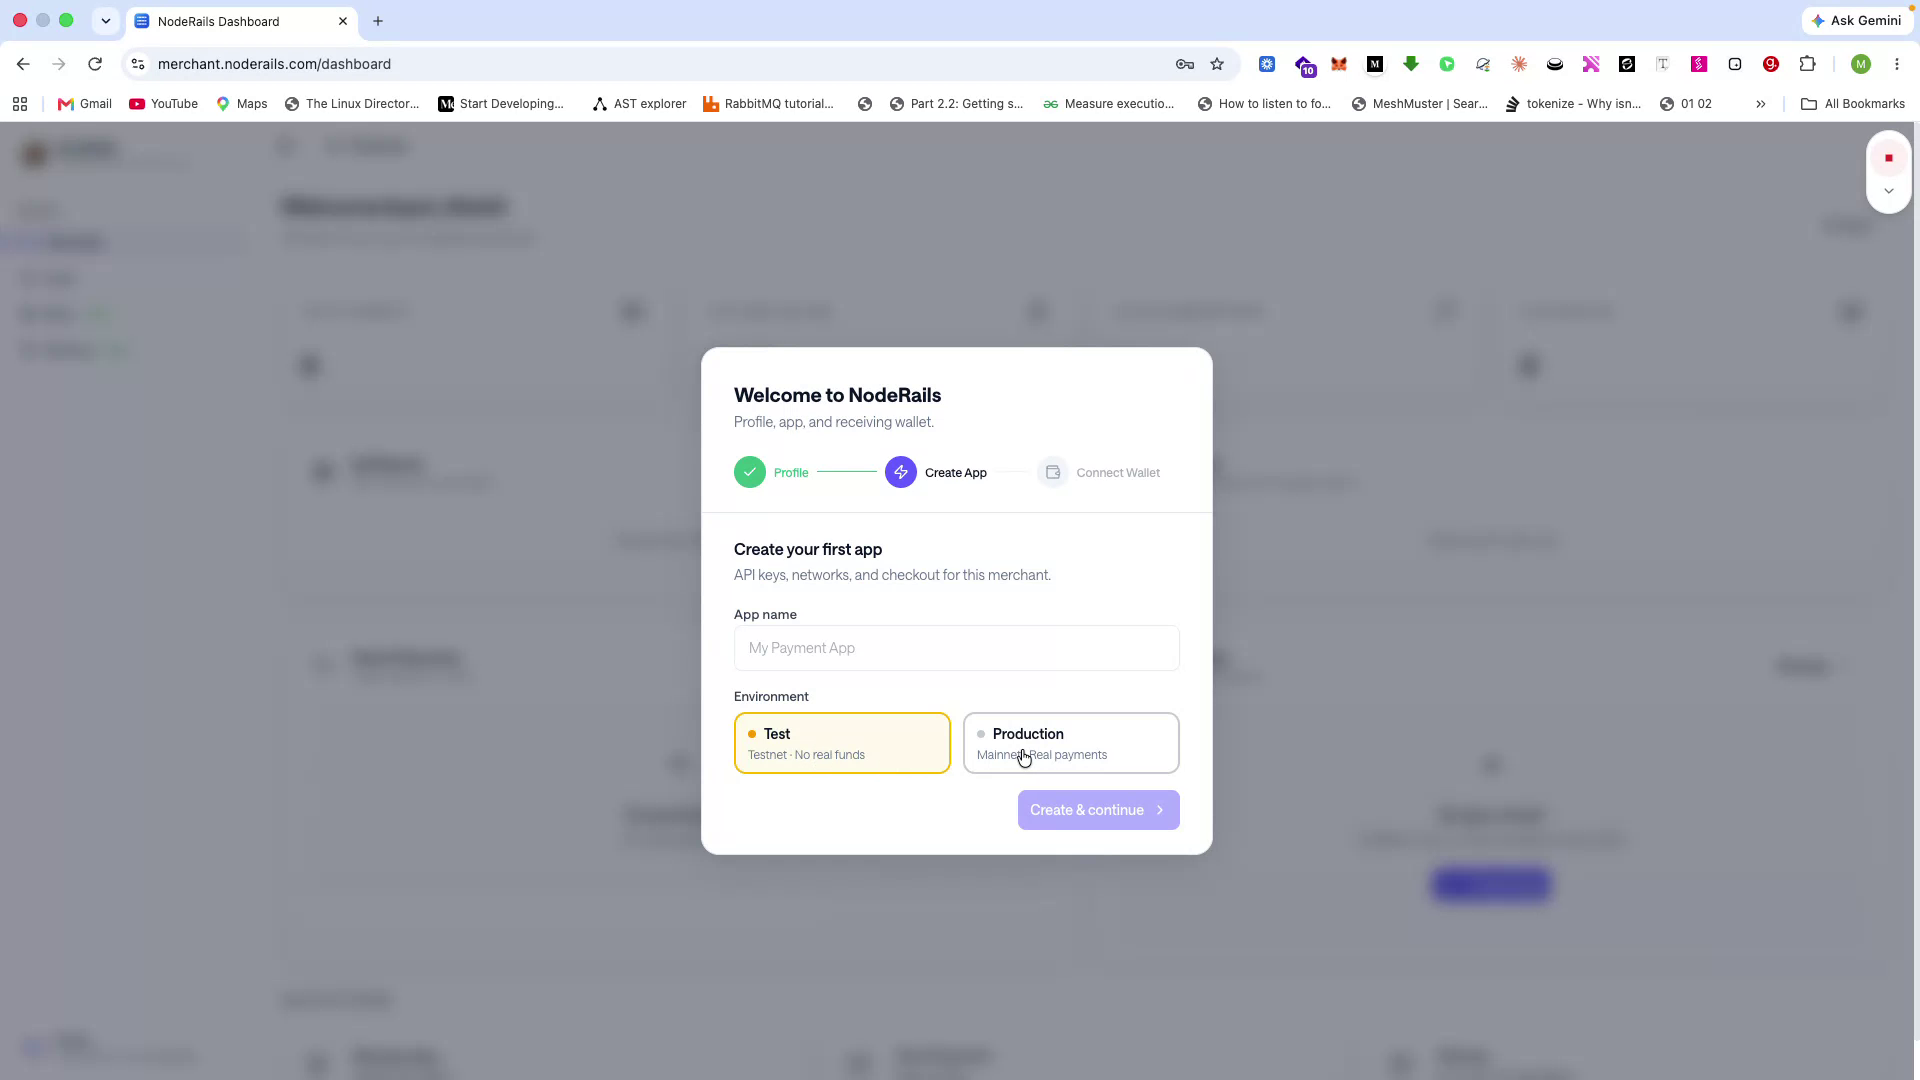
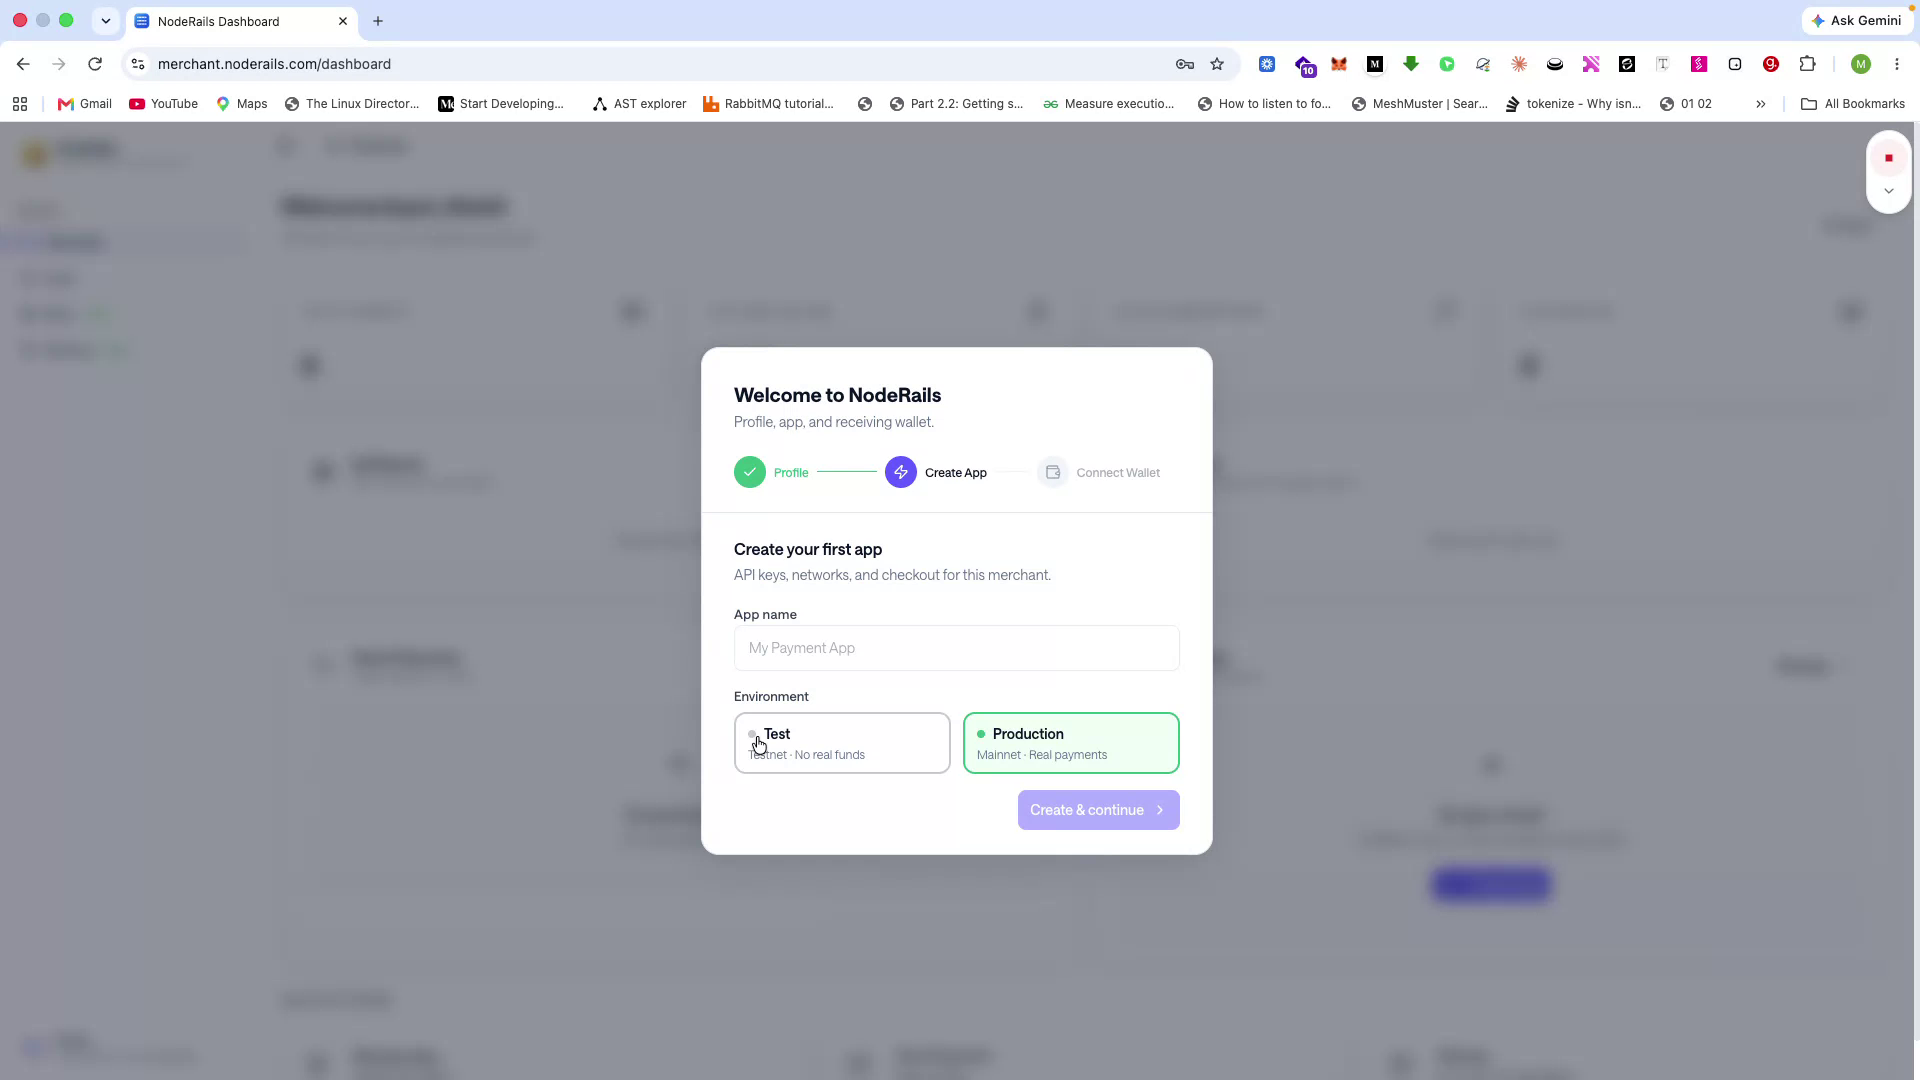
If you are just testing the platform, create a test app in the sandbox environment. When you are ready to accept real payments, create a production app.
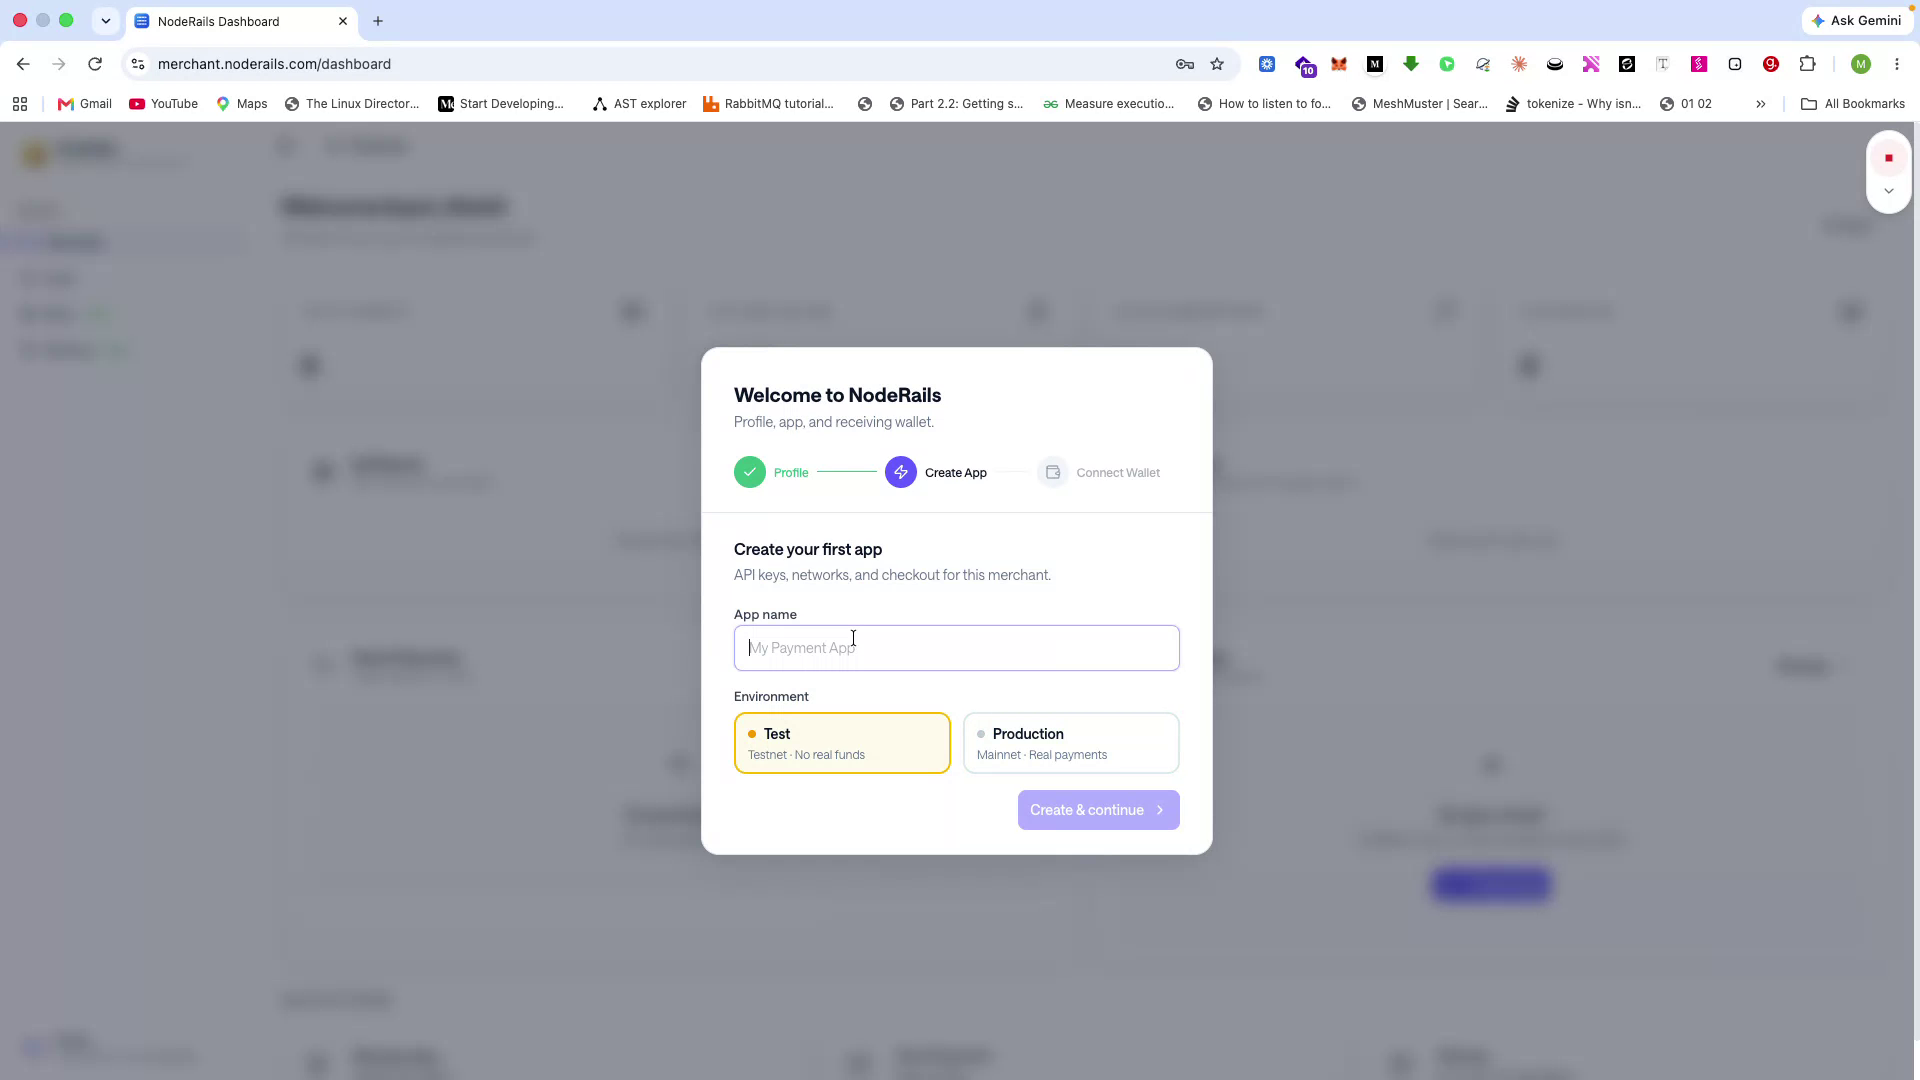
For this demo, select a test app and give it a name, such as “My Website.”
Connect Your Wallet for Settlements
Step 3 of 14
Configure where your funds will be settled by connecting your crypto wallet.
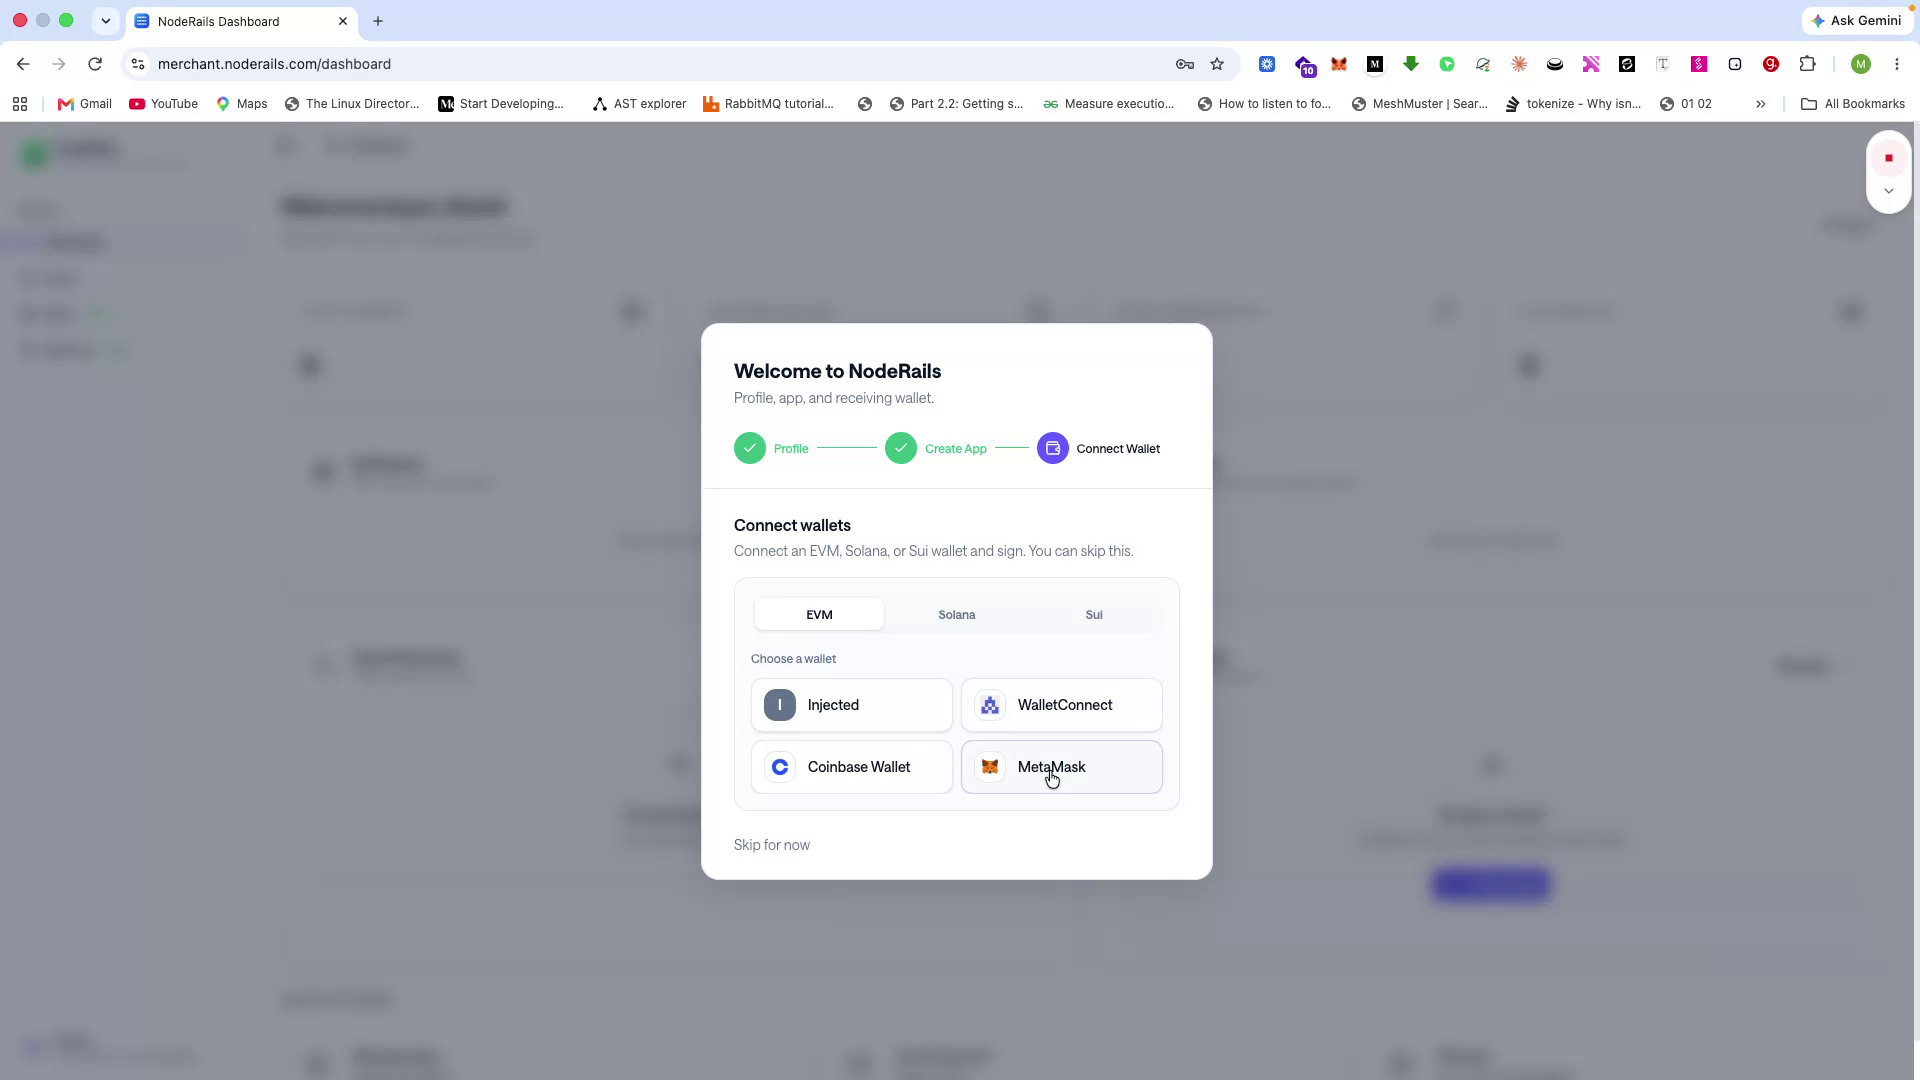
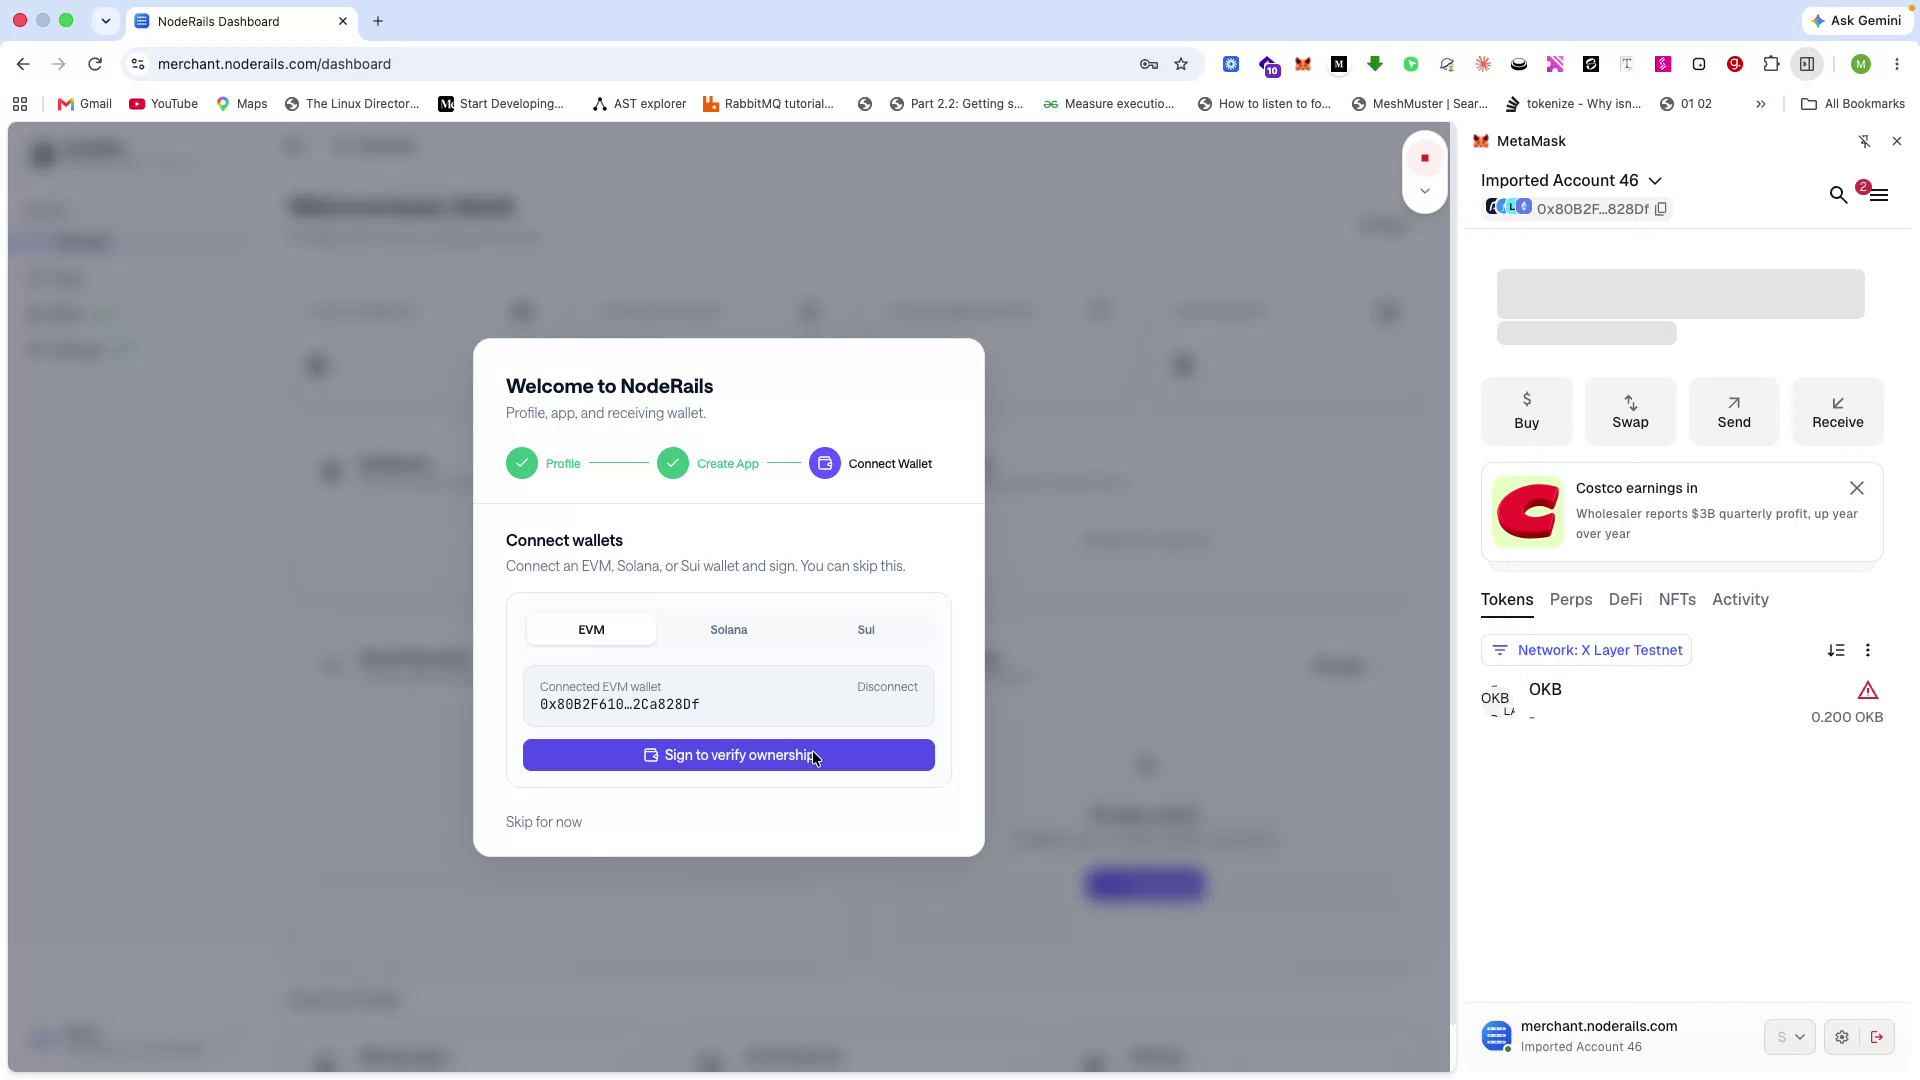
You can skip this step initially, but to actually receive funds when users pay you, the settled funds must be routed directly to your wallet. Connect your wallet, authorize its use with NodeRails, and sign in to verify ownership.
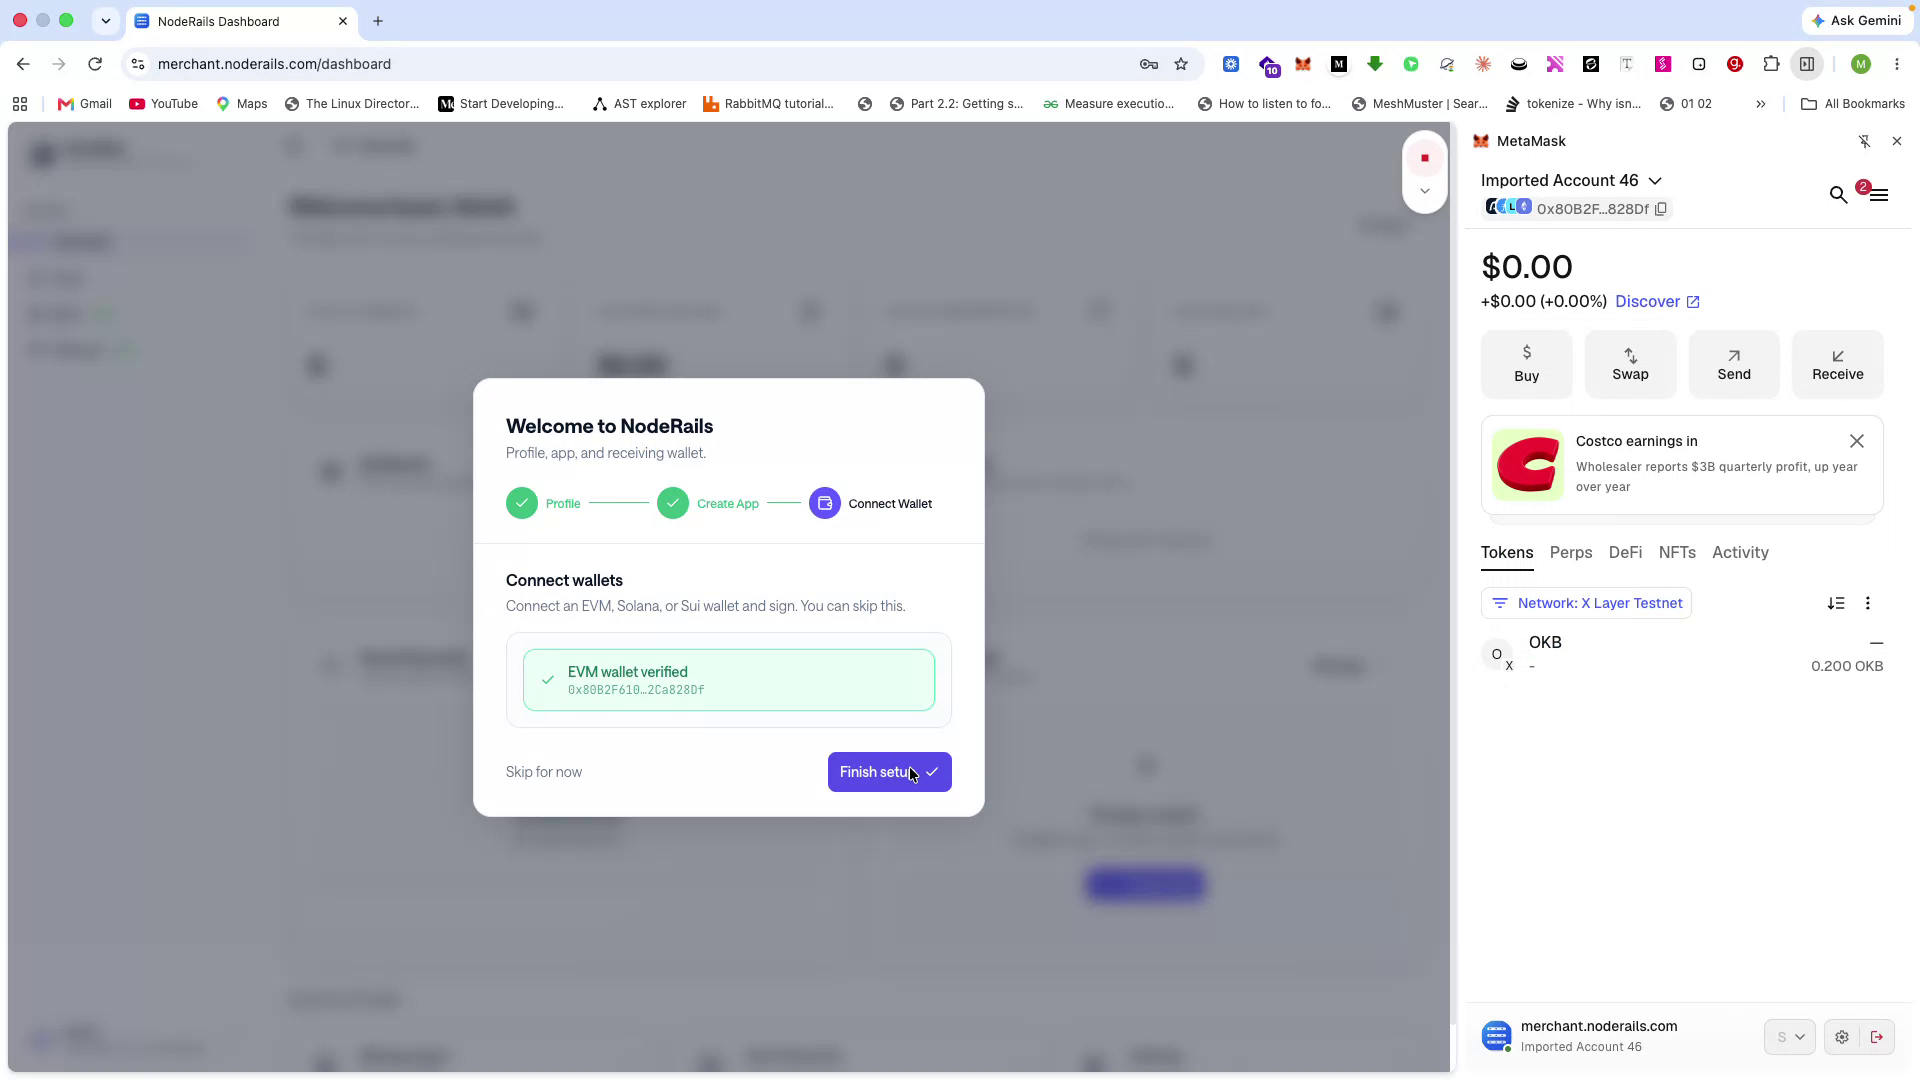
Once this is done, your basic setup is finished and you are ready to use the platform. NodeRails is non-custodial, so funds settle directly to your own wallet.
Explore the Organization-Level Dashboard
Step 4 of 14
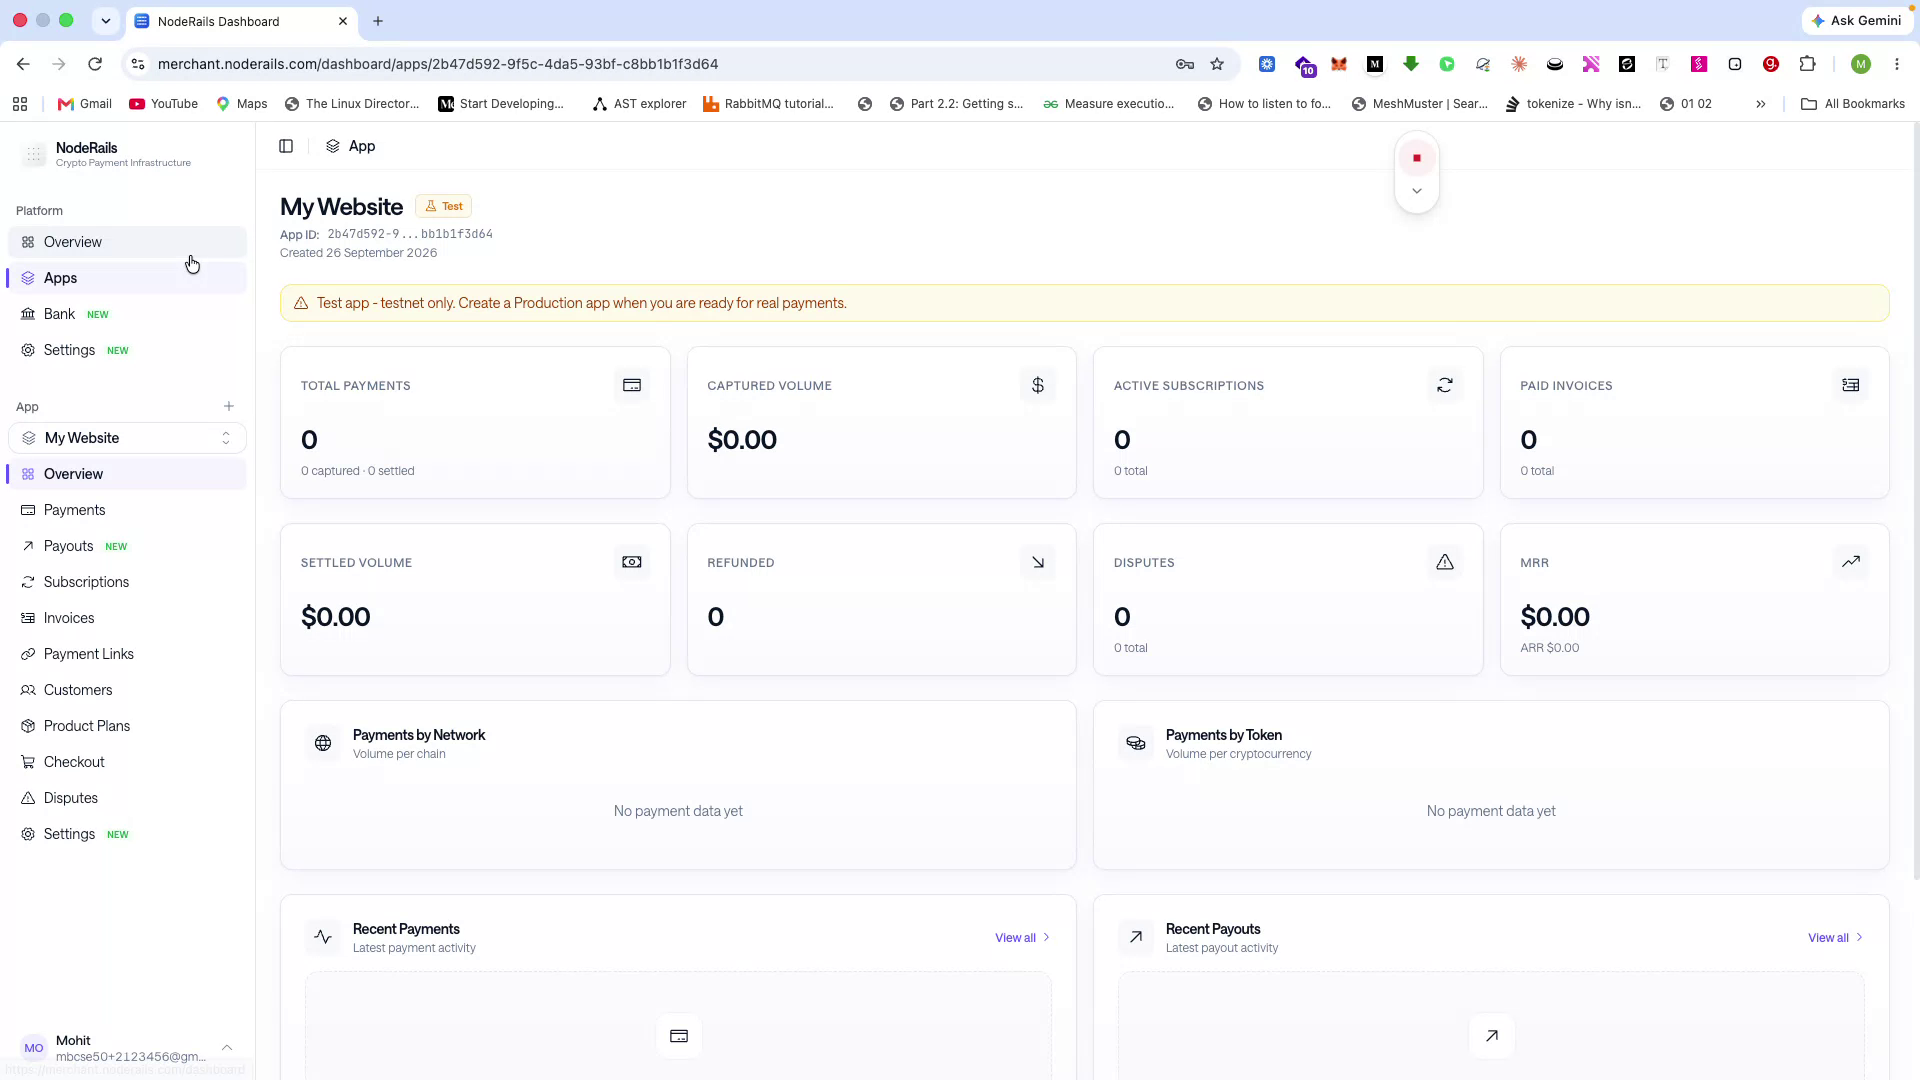
Open the Overview section to view organization-level analytics and details.
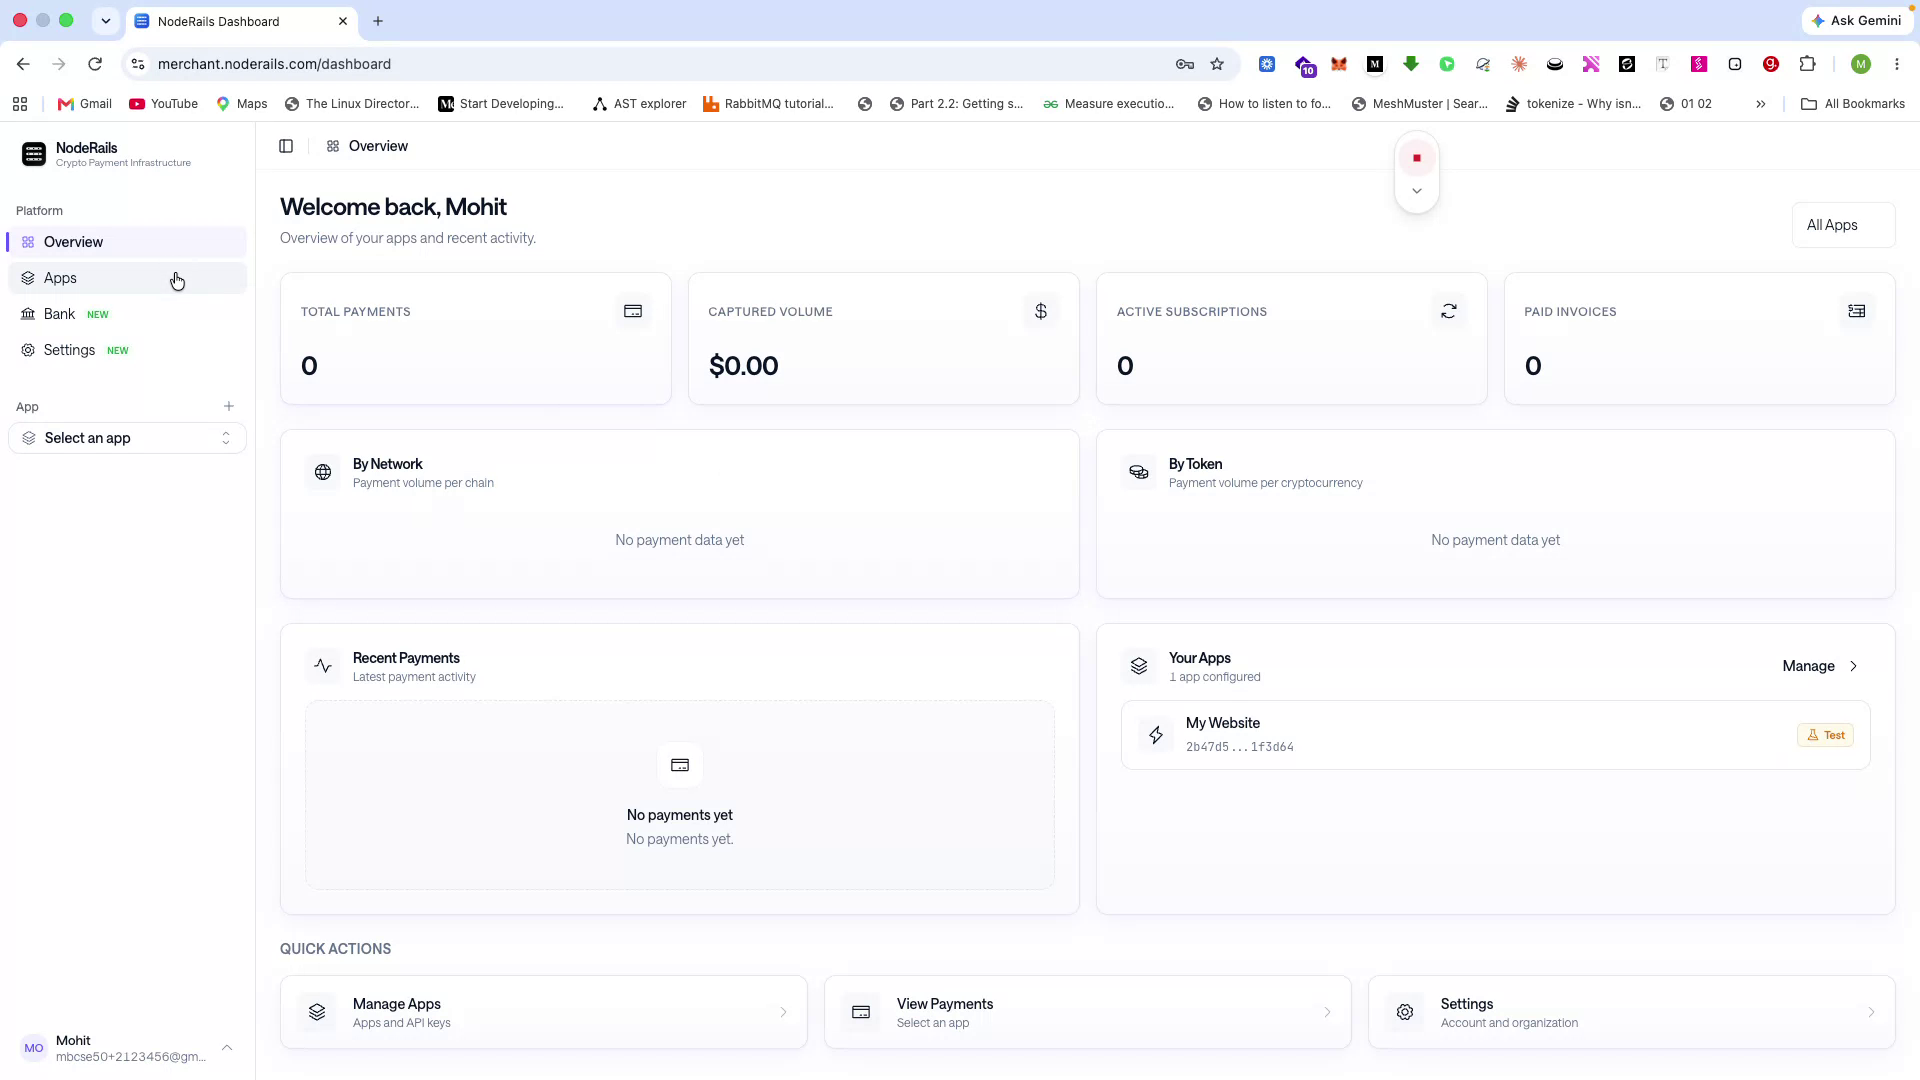
Here you can see which tokens and networks customers are using to pay you, as well as active subscriptions across all of your apps. You can also create multiple apps - for example, one for your website, one for your mobile app, and another for tools or services - so you can accept payments across all of them.
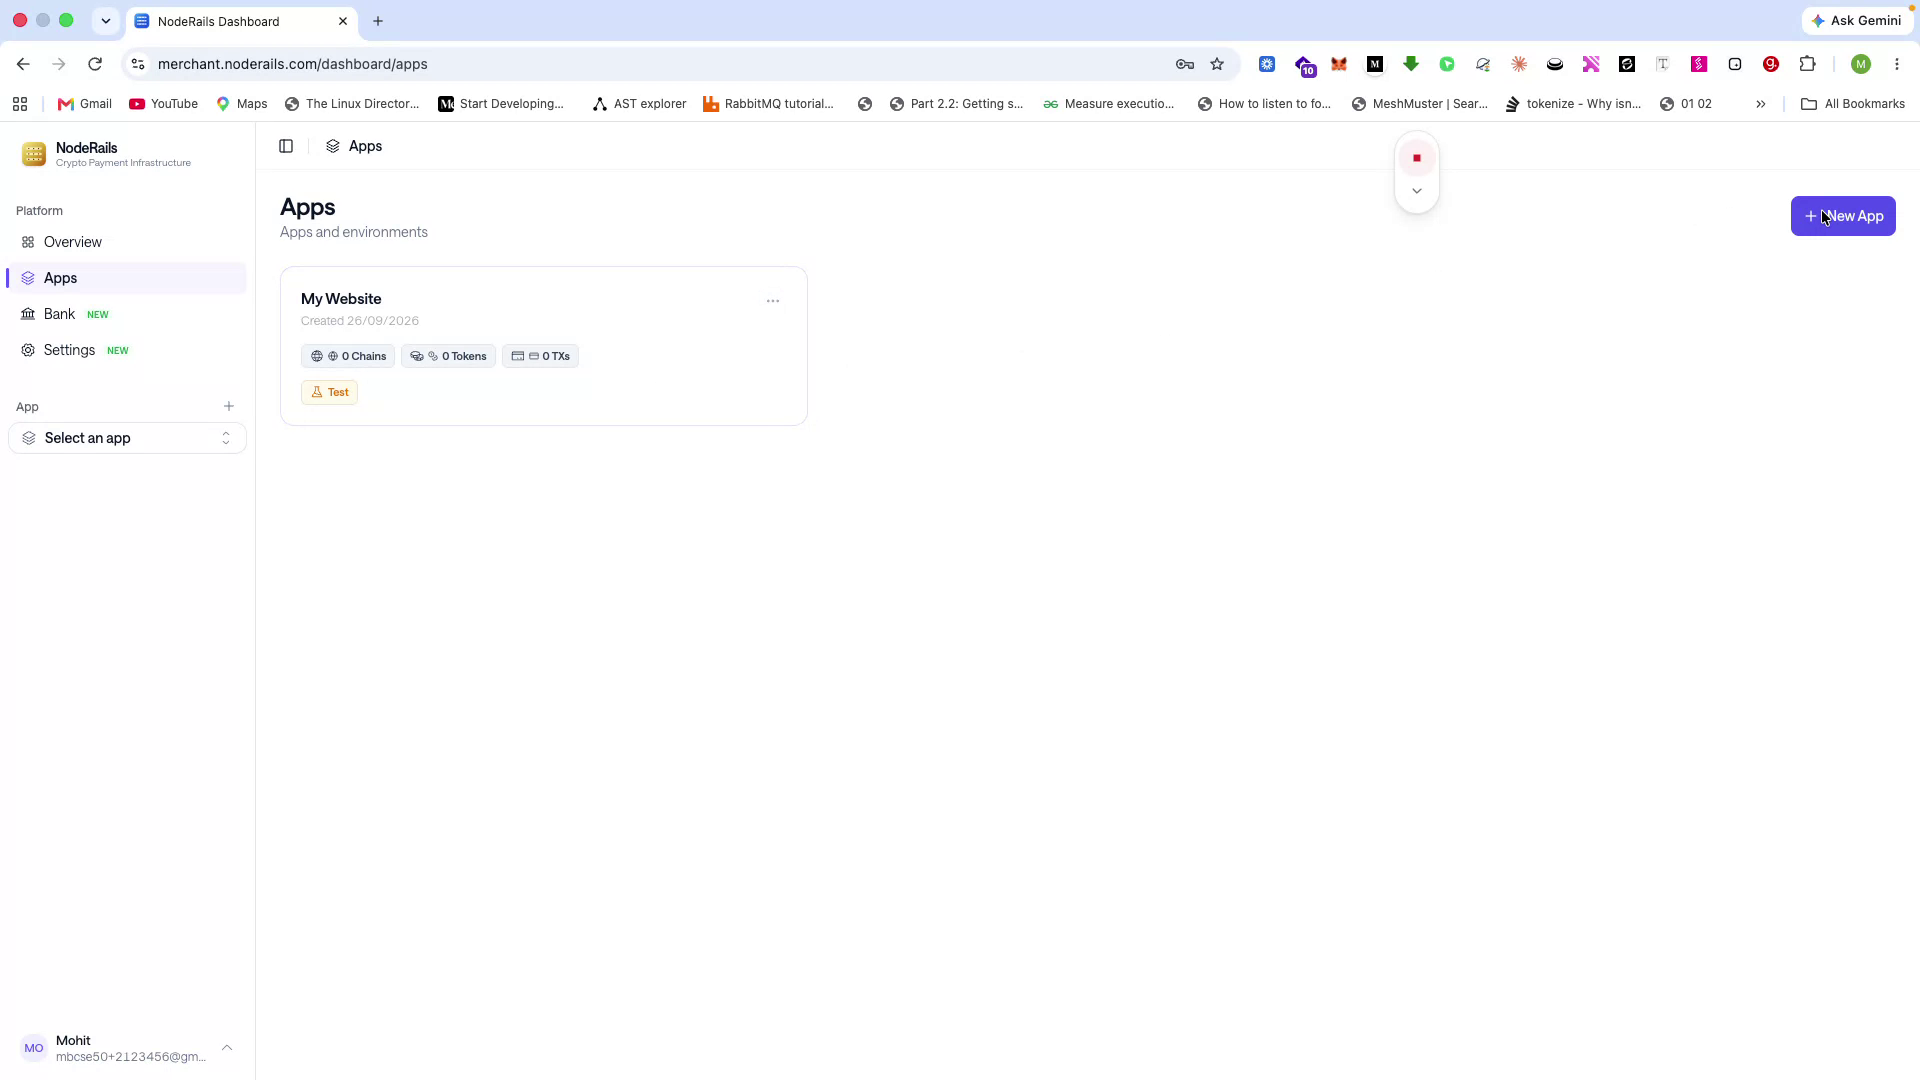
You already created a test app during onboarding; you can later create a production app in the same way.
Configure Bank Settlement and Global Accounts
Step 5 of 14
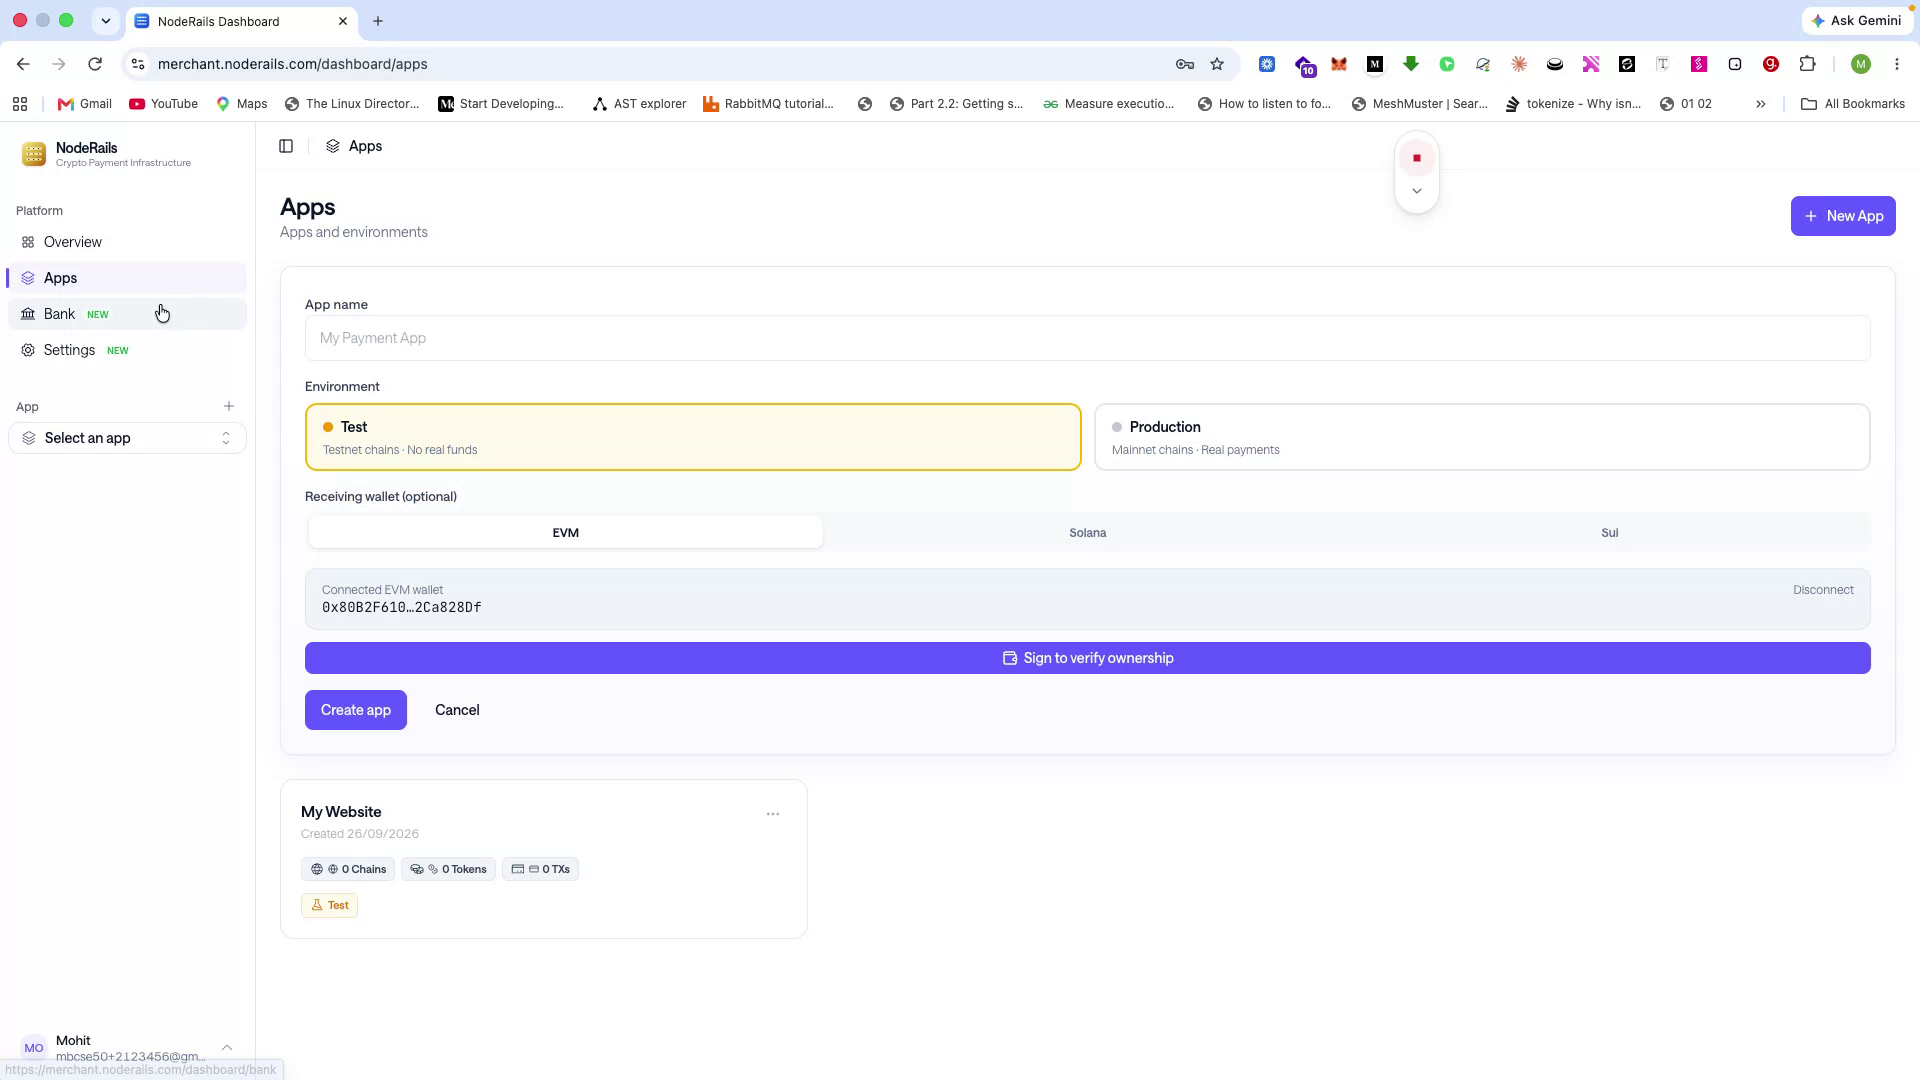
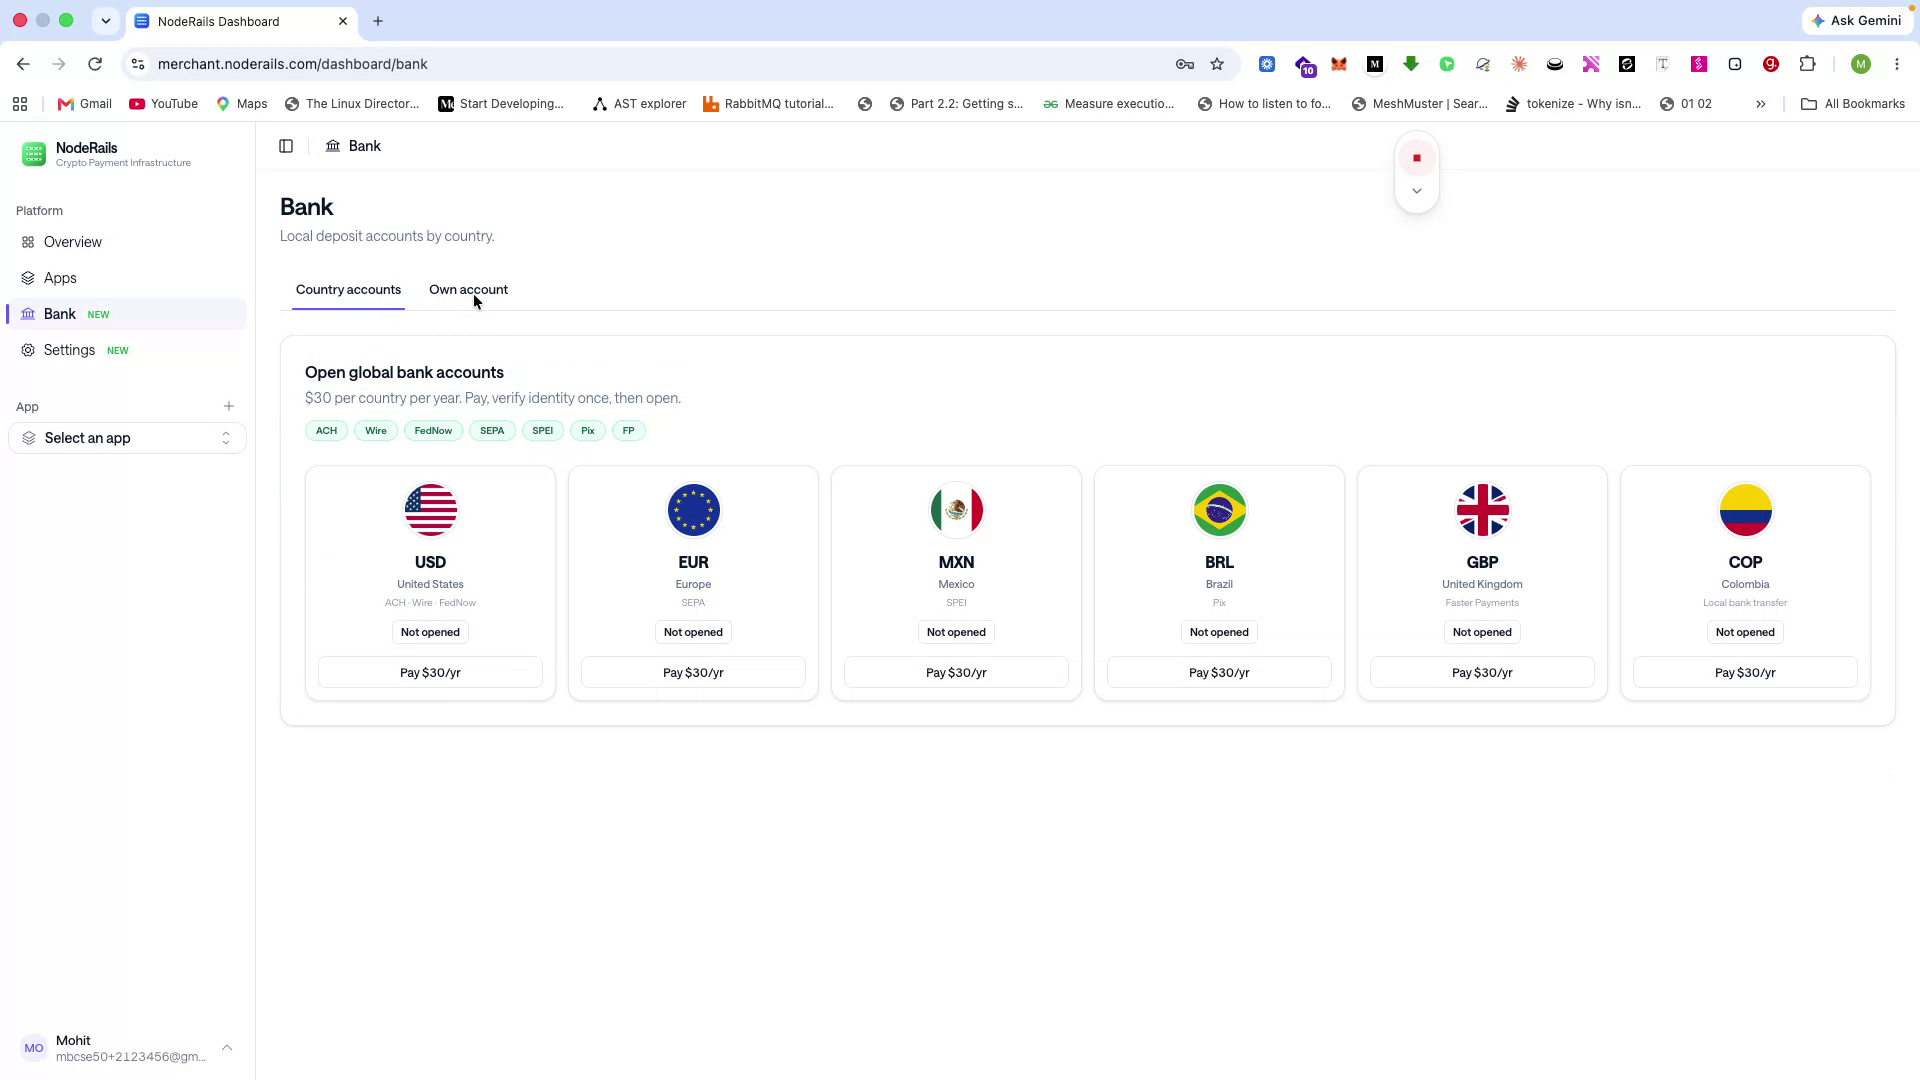
From the banking/settlement section, you can either connect your own bank account or start a new bank account with NodeRails.
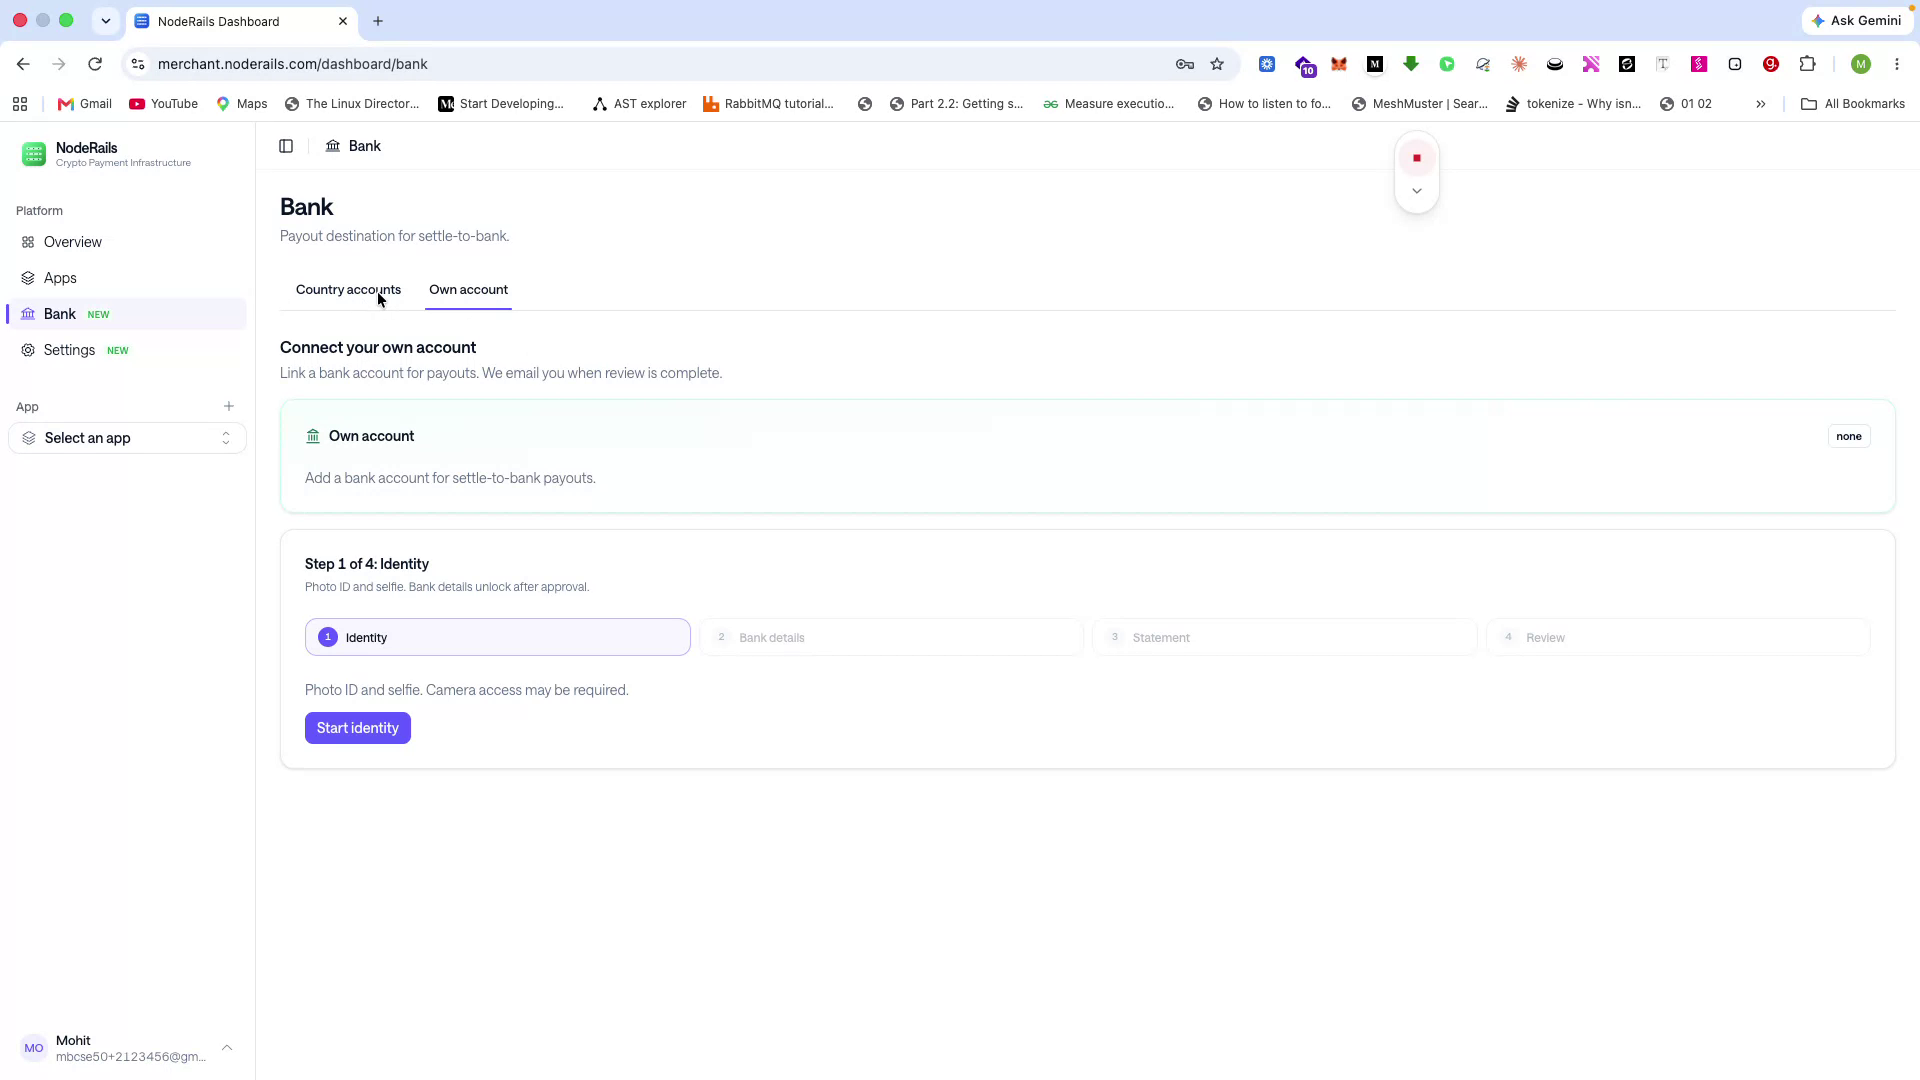
If you prefer to settle funds directly to your bank instead of your crypto wallet, connect your bank account, provide the required information, and complete KYC/KYB verification. Once approved, you can settle funds to your bank.
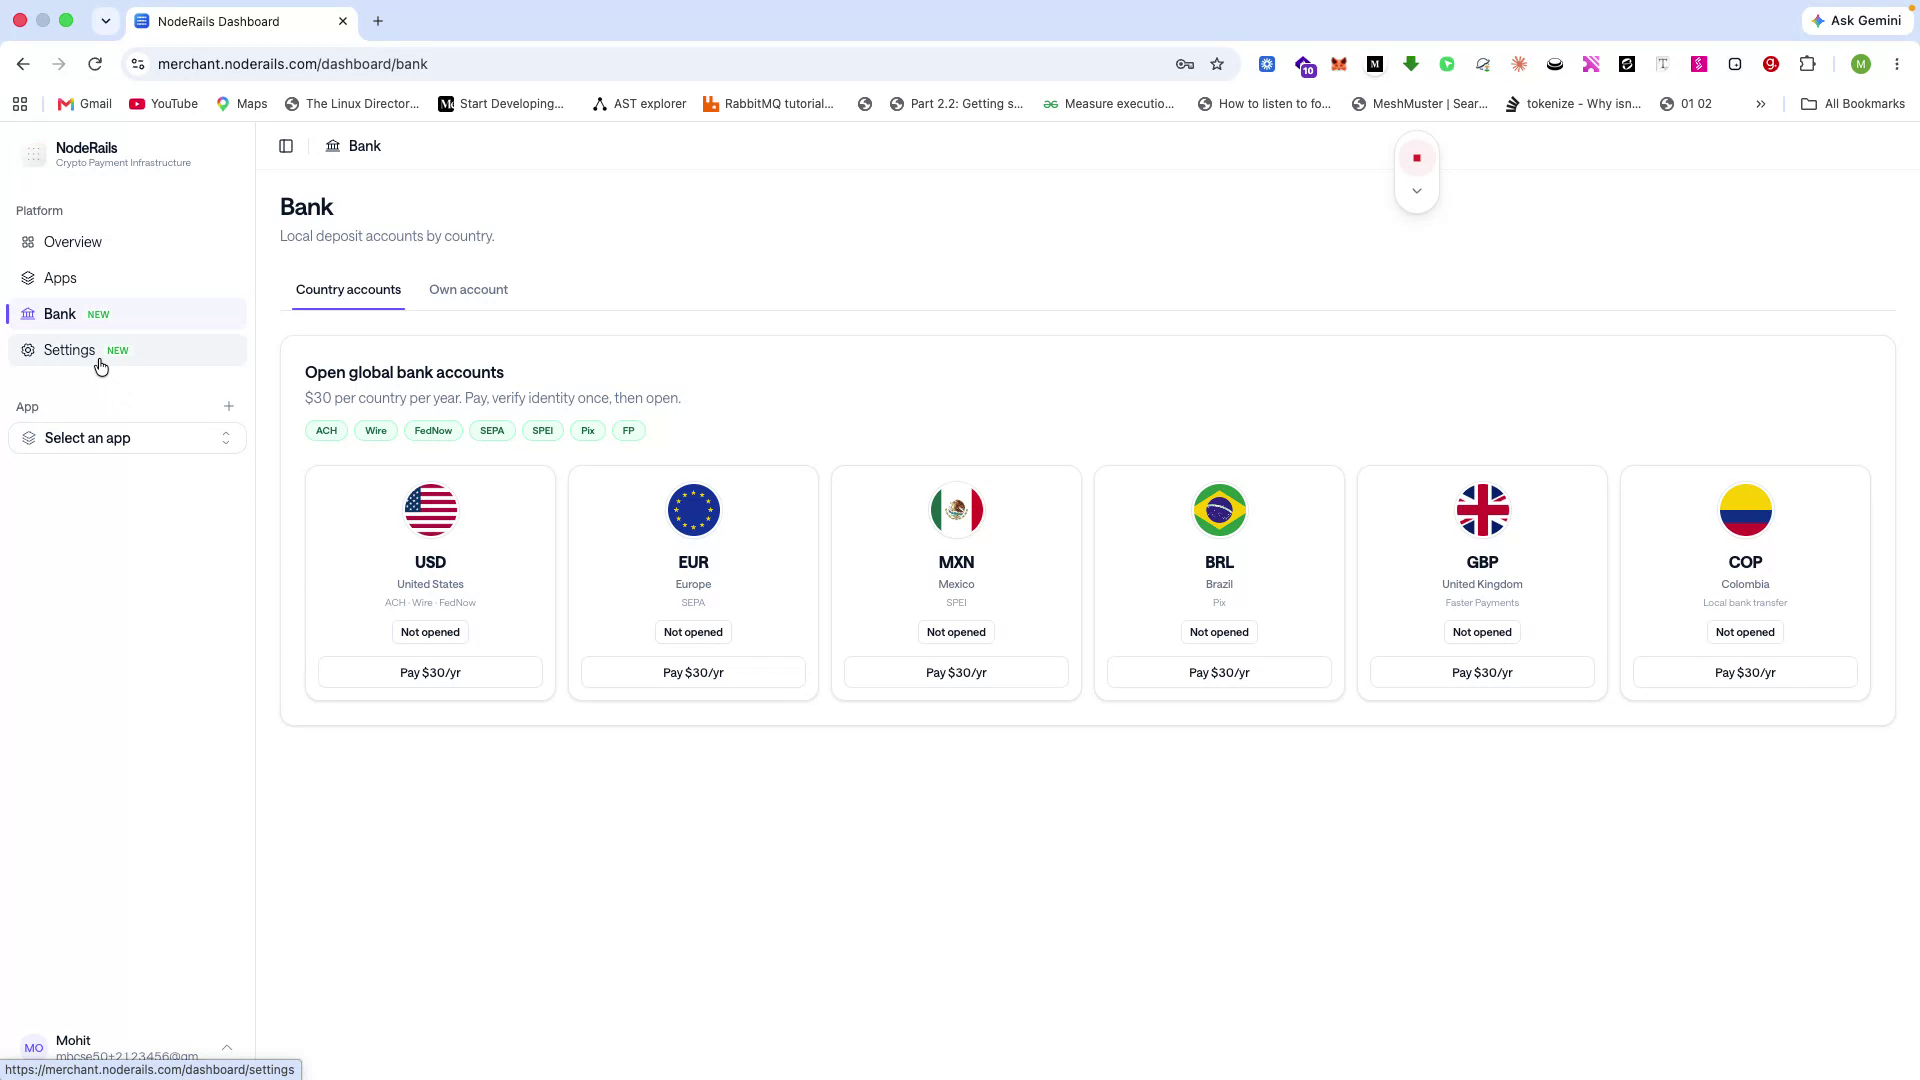
If you do not have a bank account or want to receive funds in global currencies, you can open global accounts (e.g., USD, EUR, BRL, GBP) with NodeRails at a rate of $30 per year. Funds settle to these accounts, convert to stablecoins, and then to your wallet.
Manage Your Organization, Team, and Tax Settings
Step 6 of 14
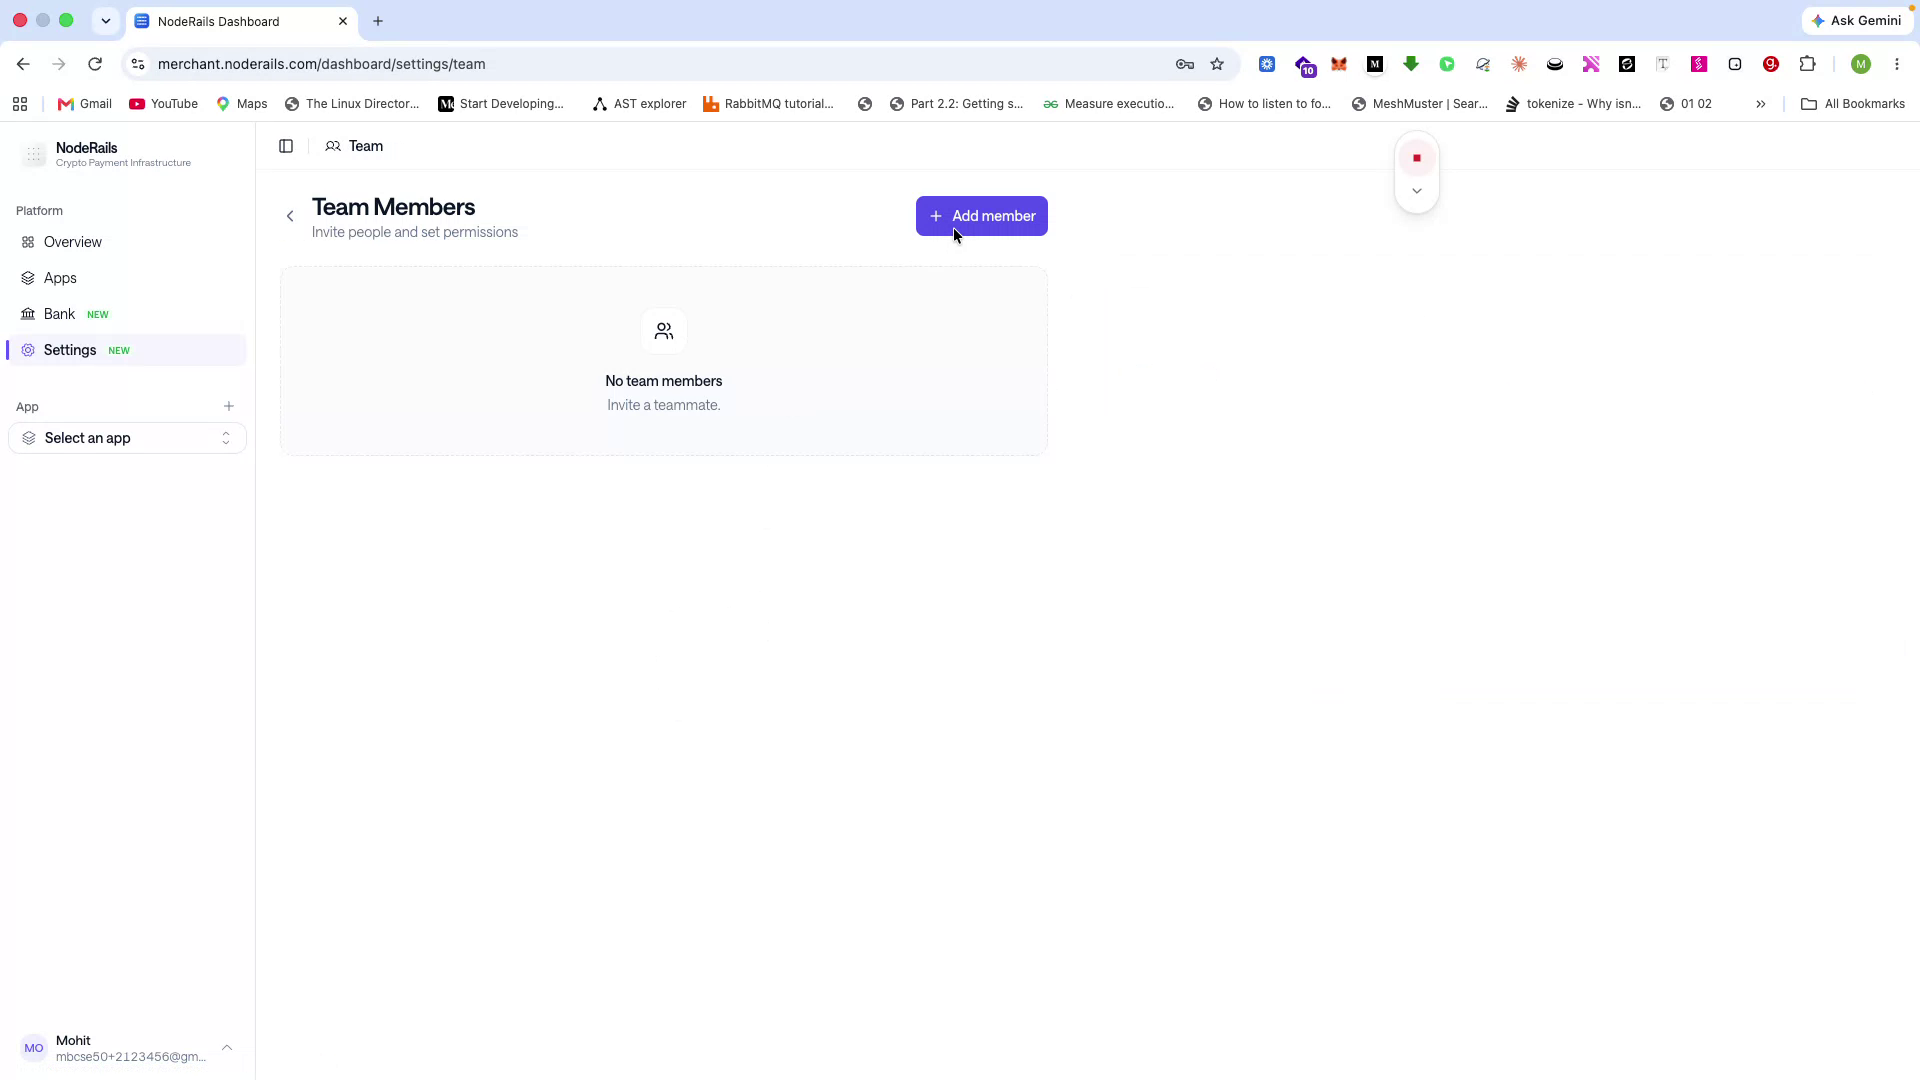
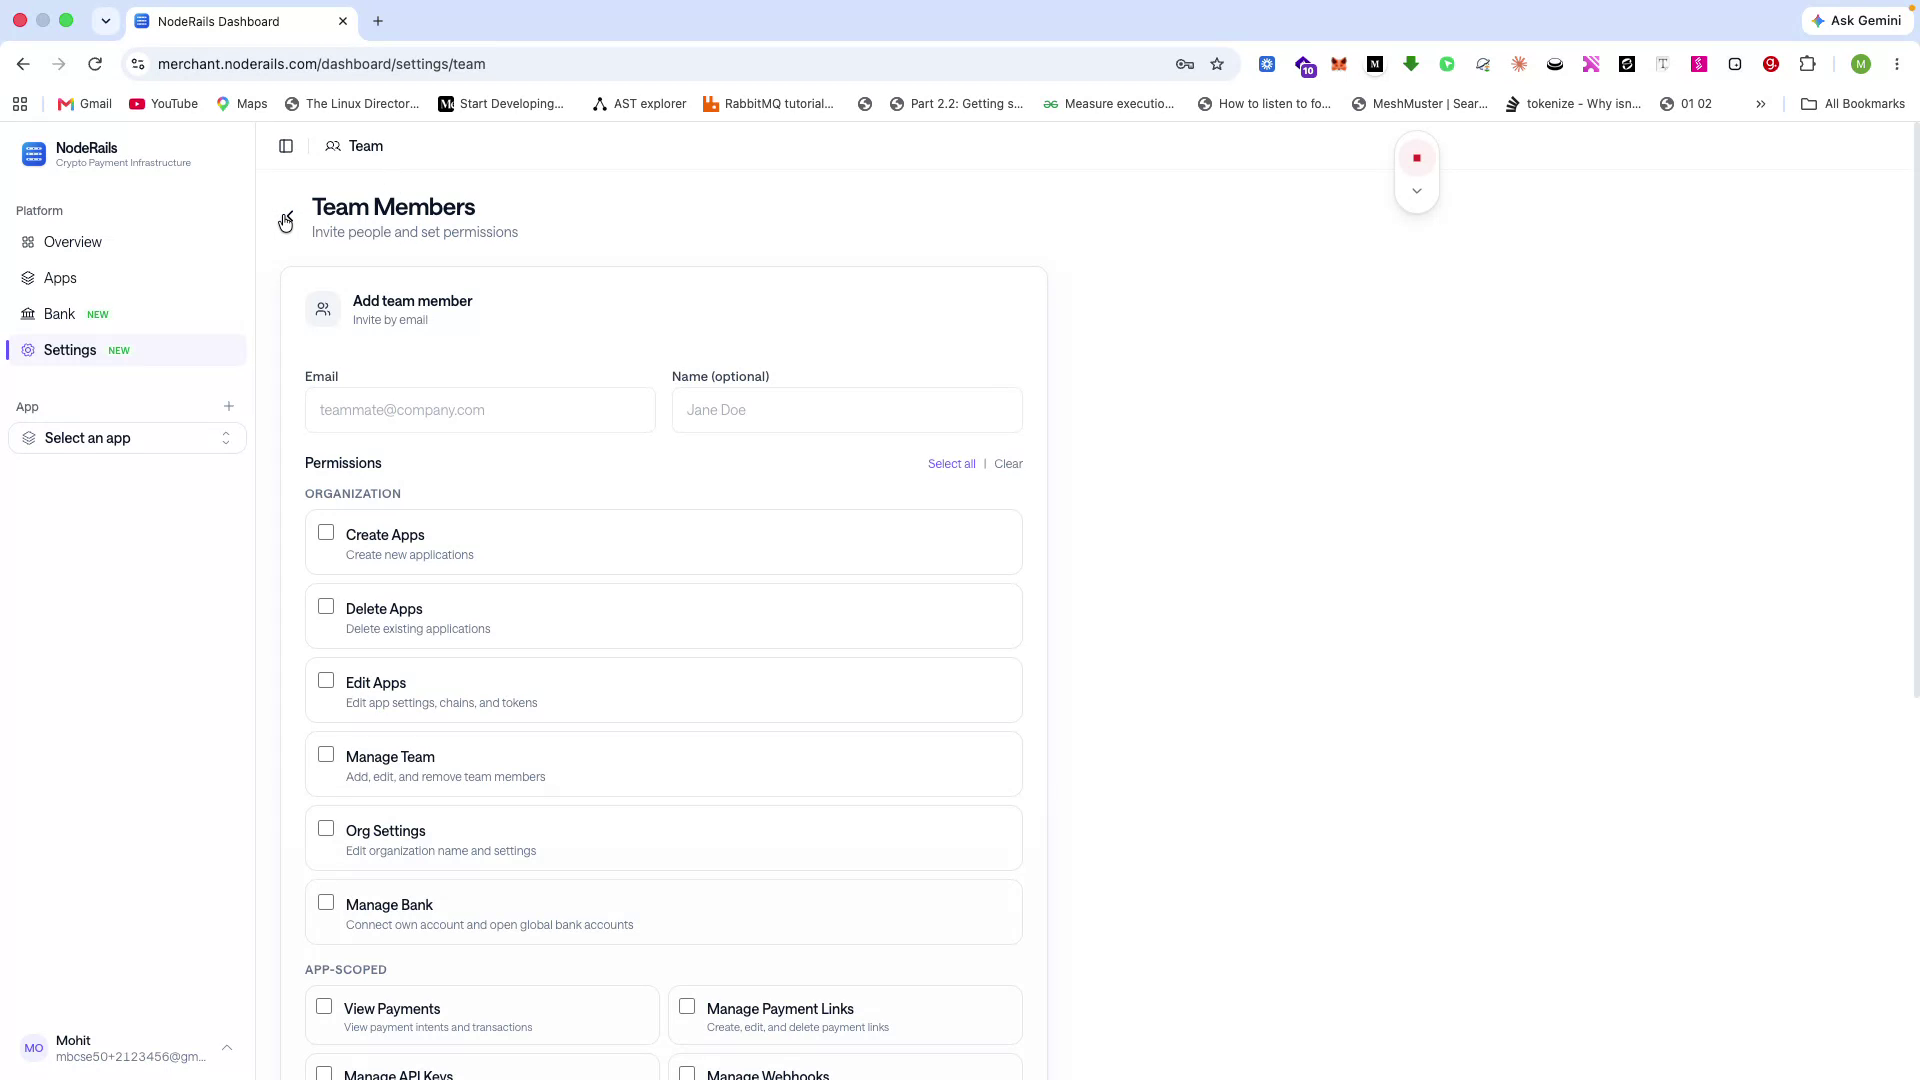
As an organization or individual merchant, you can add team members and define their permissions - controlling what they can monitor and access within your organization.
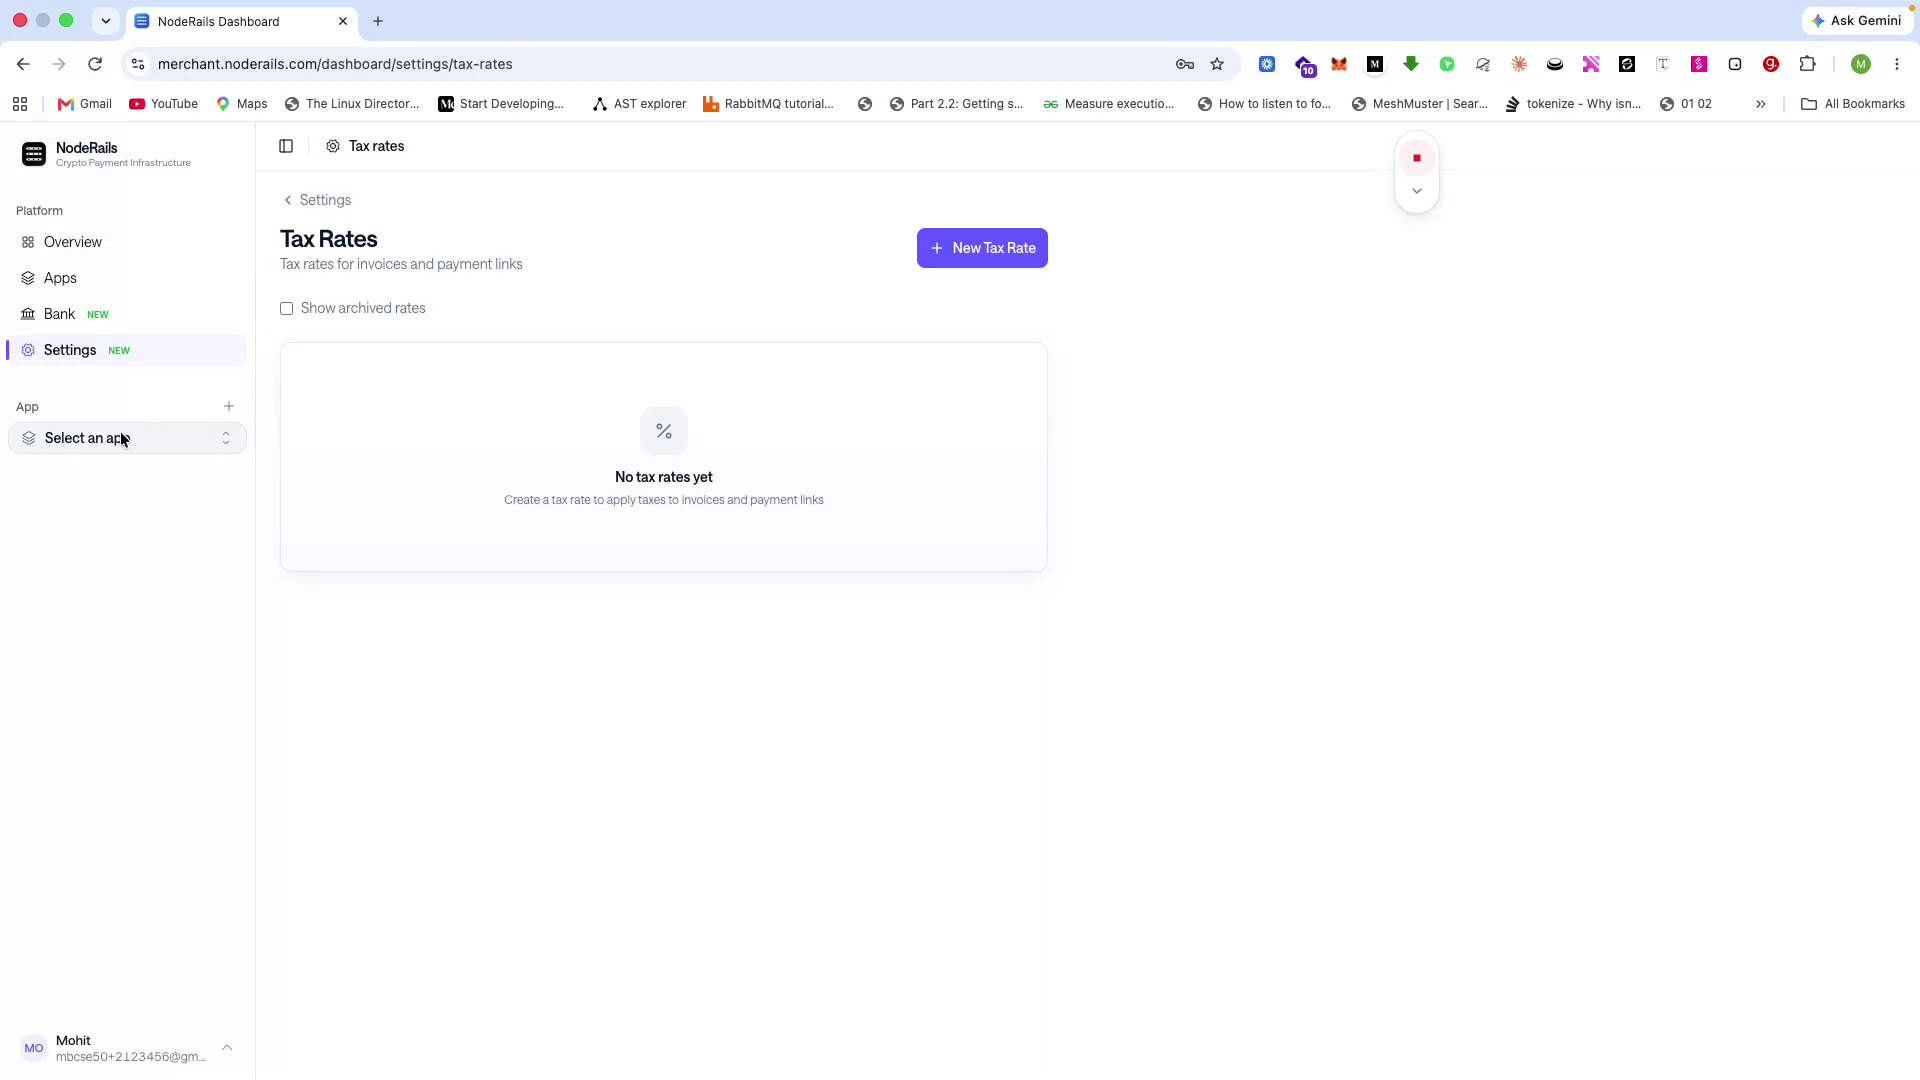
Similarly, configure tax rates (such as GST or VAT) based on the country in which you operate.
Review App-Level Analytics and Core Features
Step 7 of 14
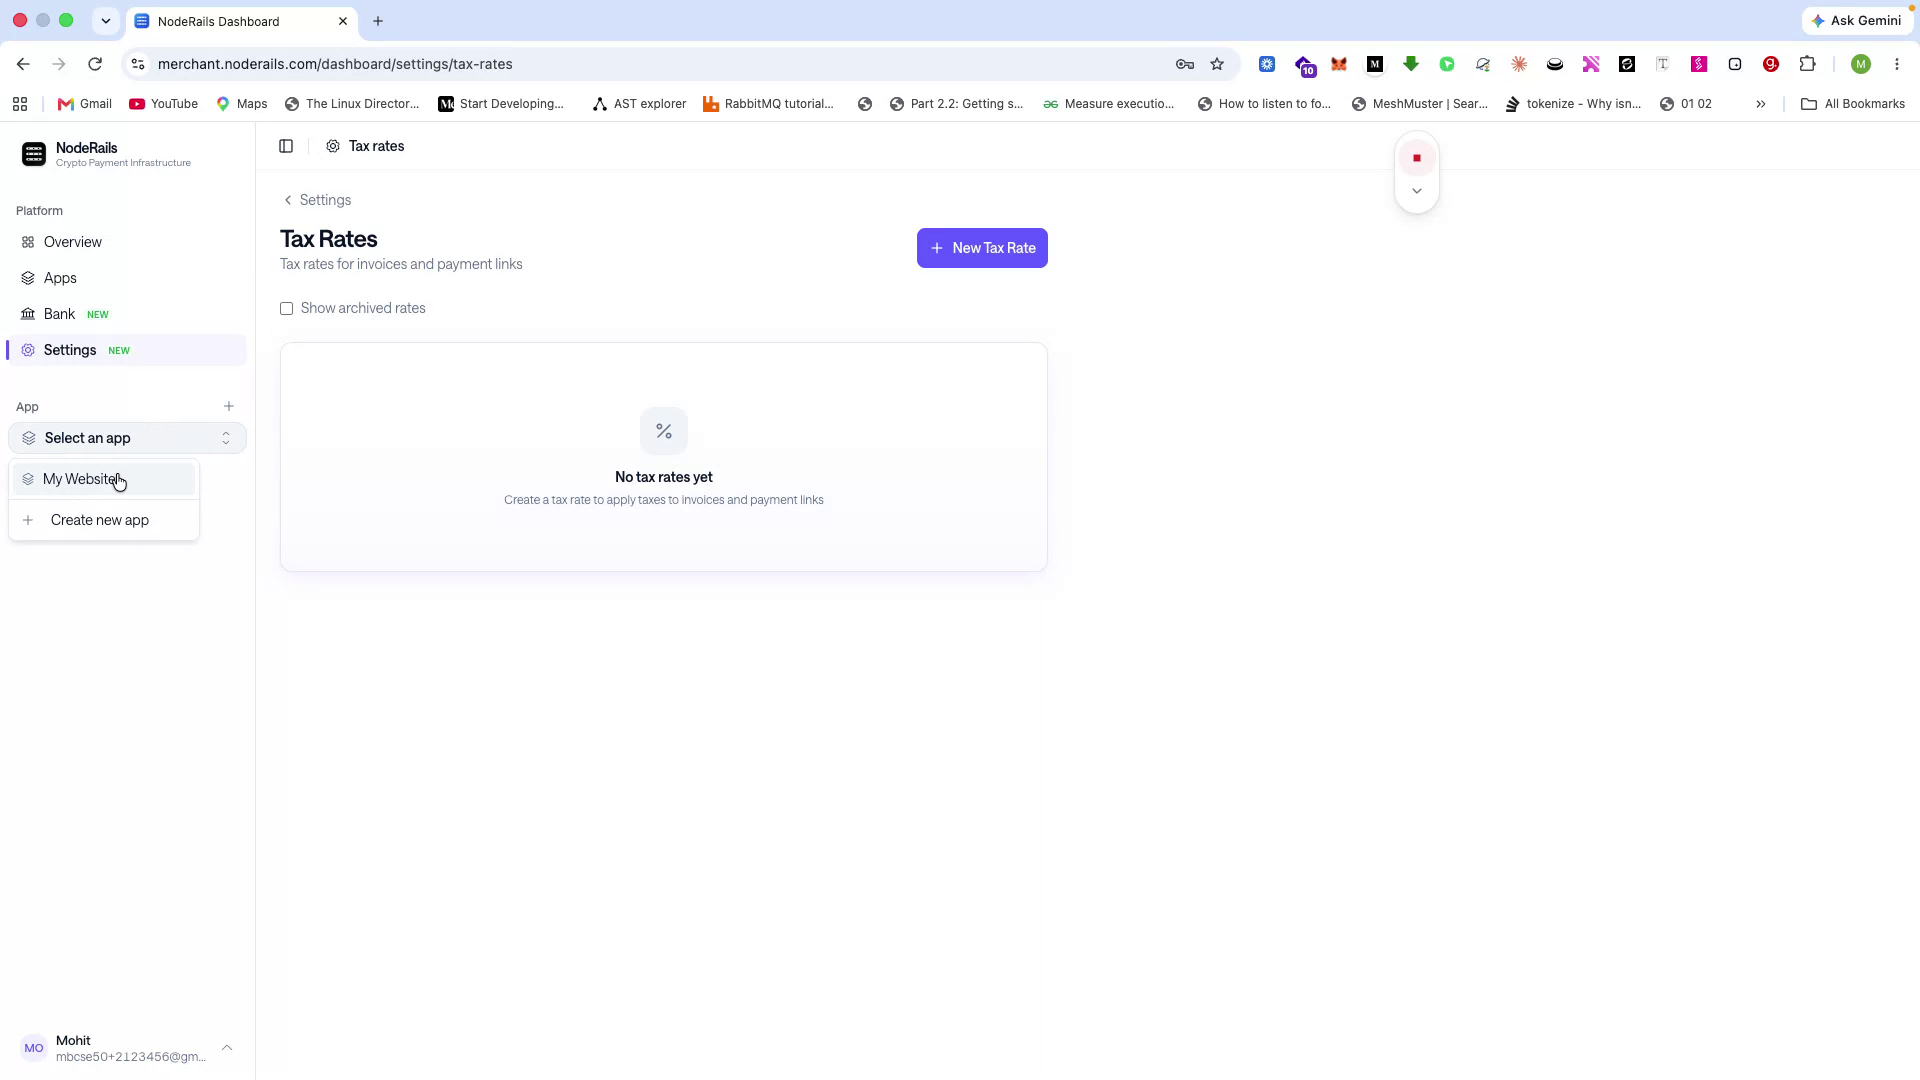
Go to the Apps section to access app-level analytics and configuration.
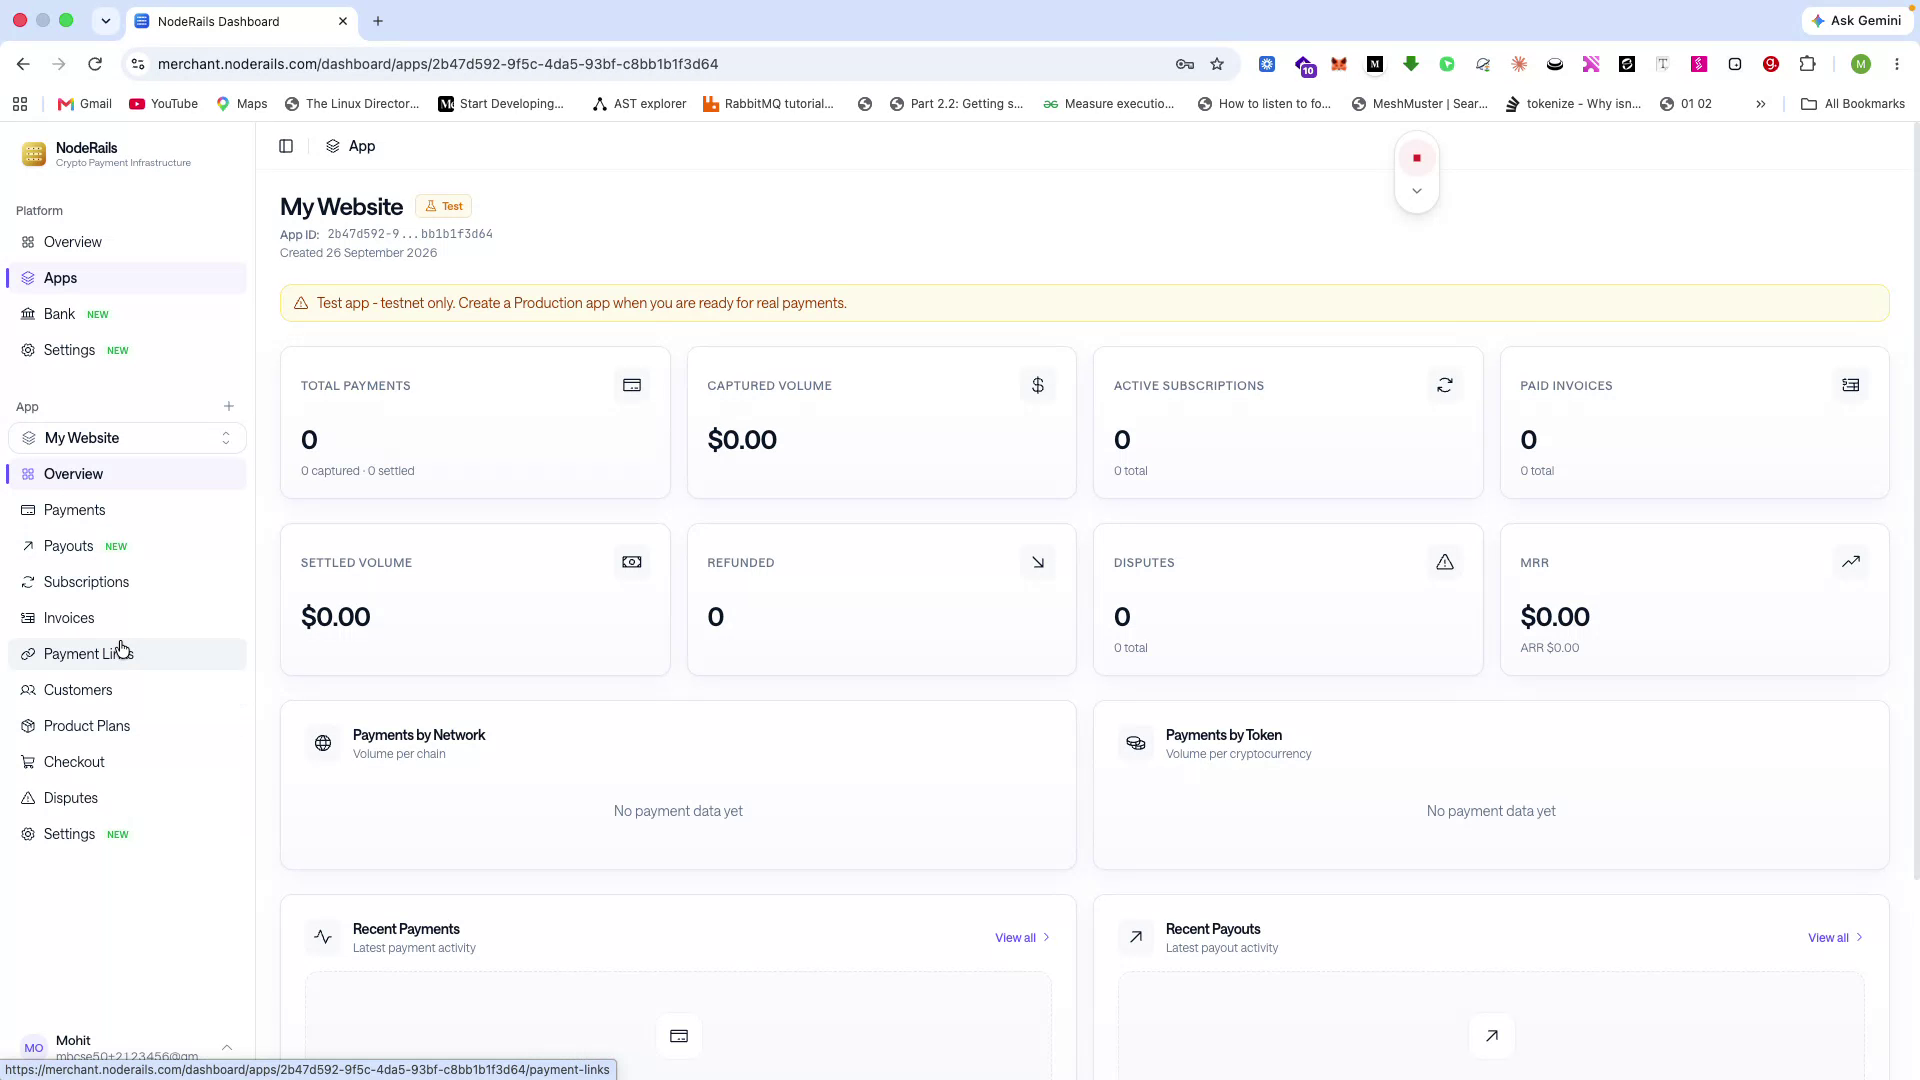
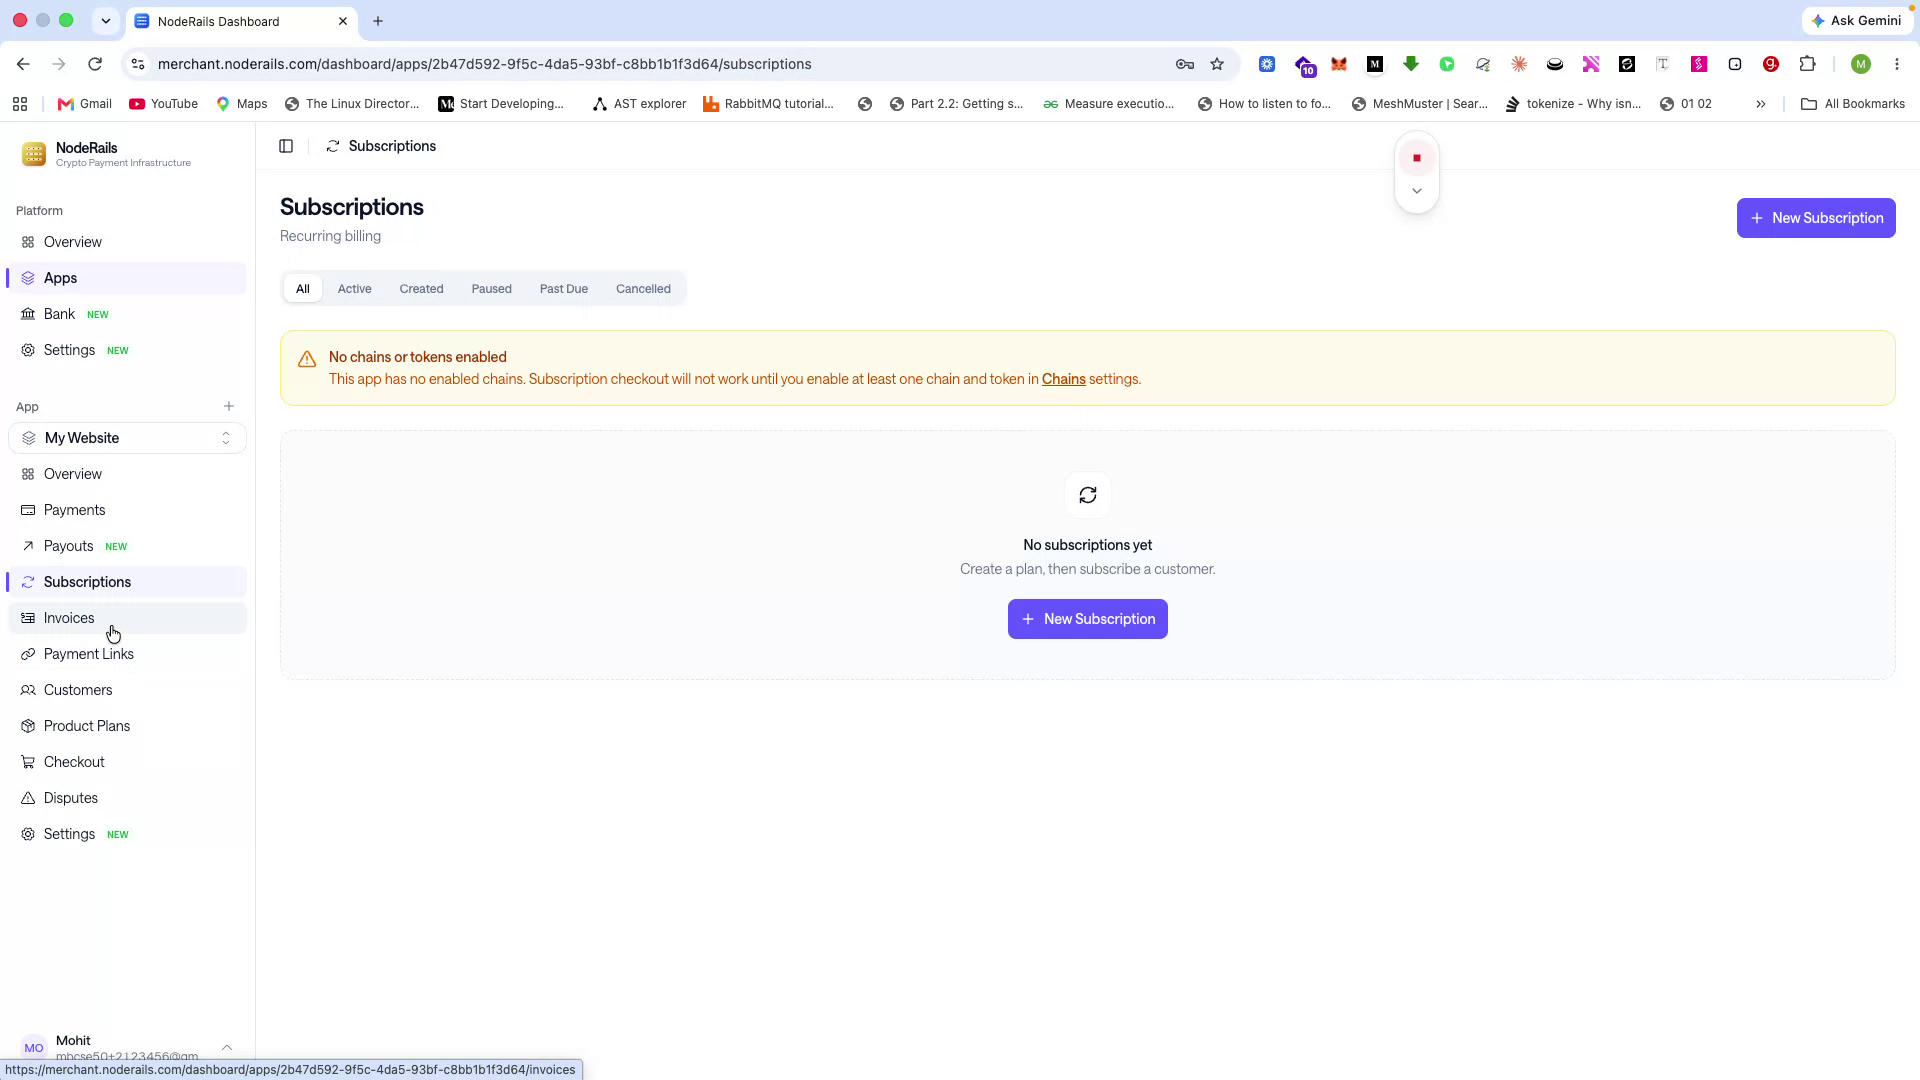
For each app, you can track metrics such as monthly revenue, disputes, refunds, active subscriptions, and total payments. You will also find tools to:
- Create payment links
- Create subscriptions
- Generate invoices and accept invoice payments directly
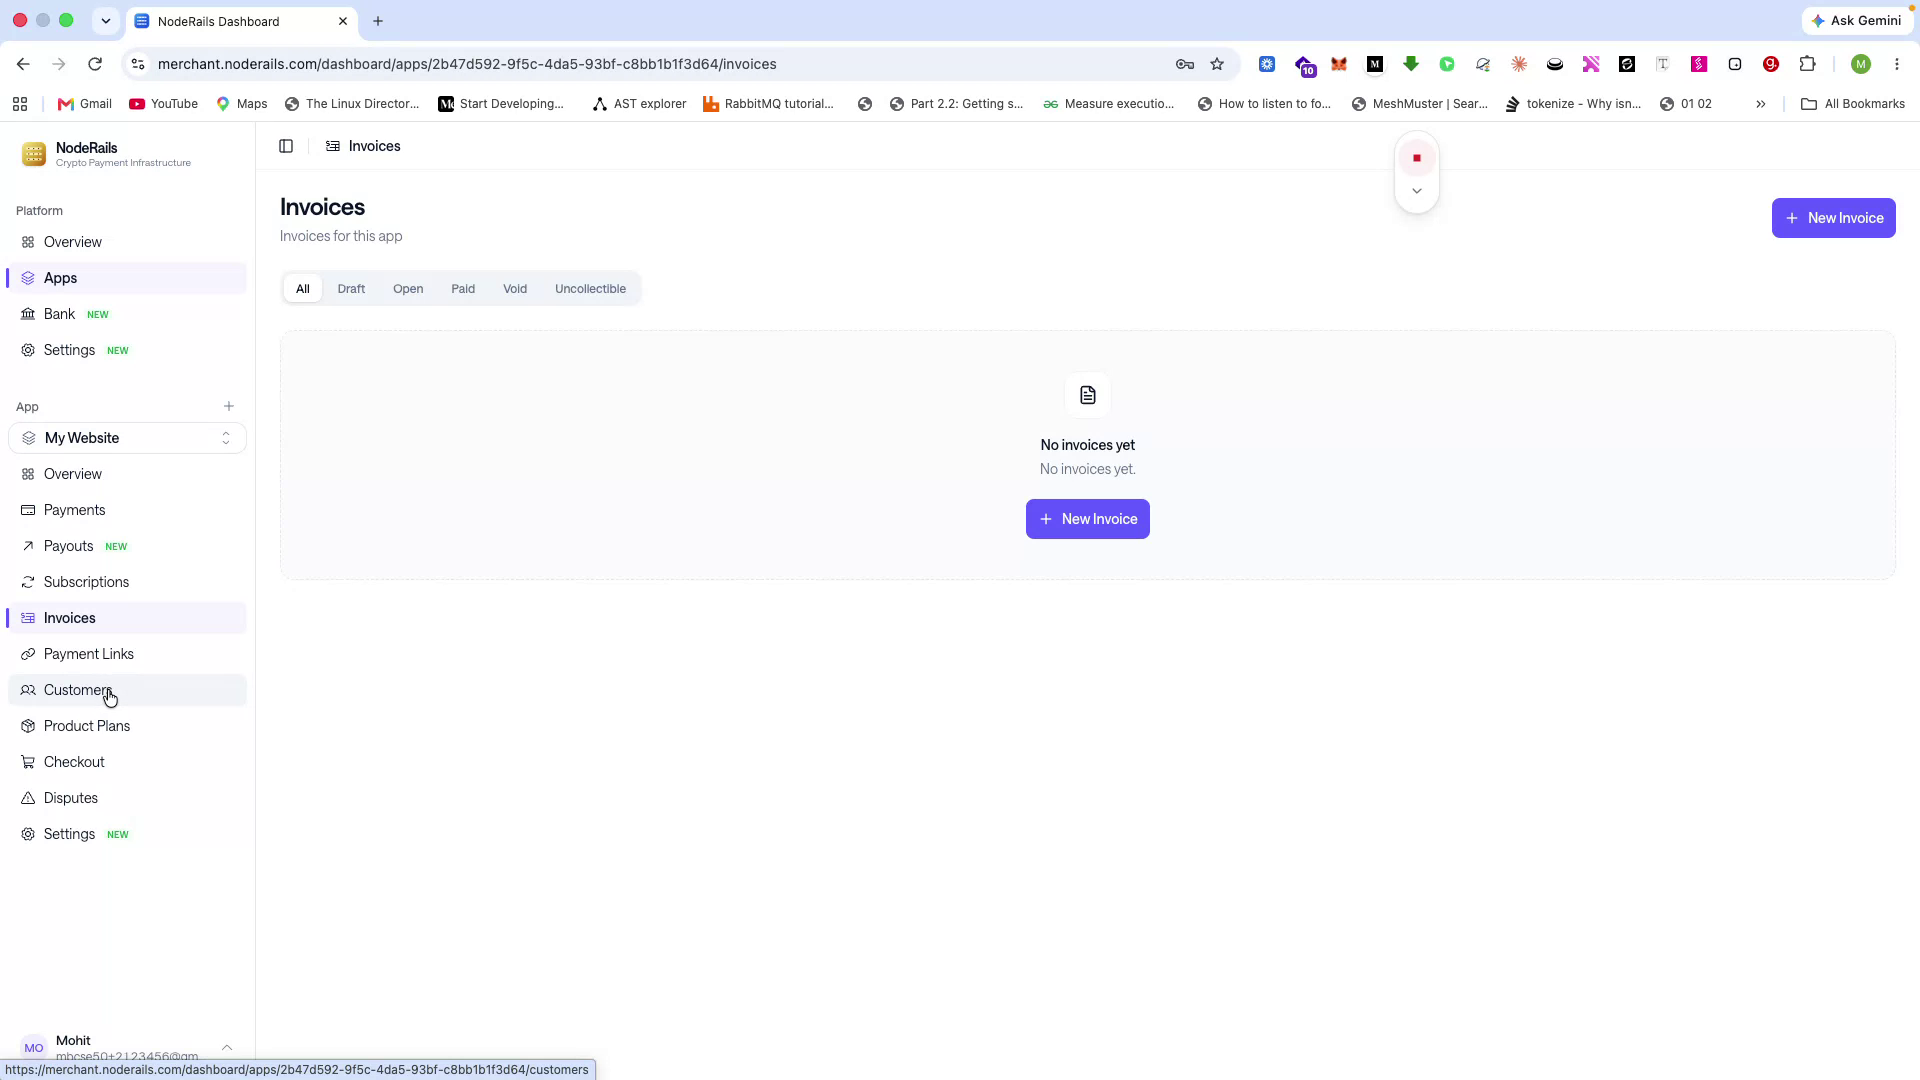
You can manage customers: whenever someone pays you, their wallet and activity are tracked automatically so you can analyze their behavior and history.
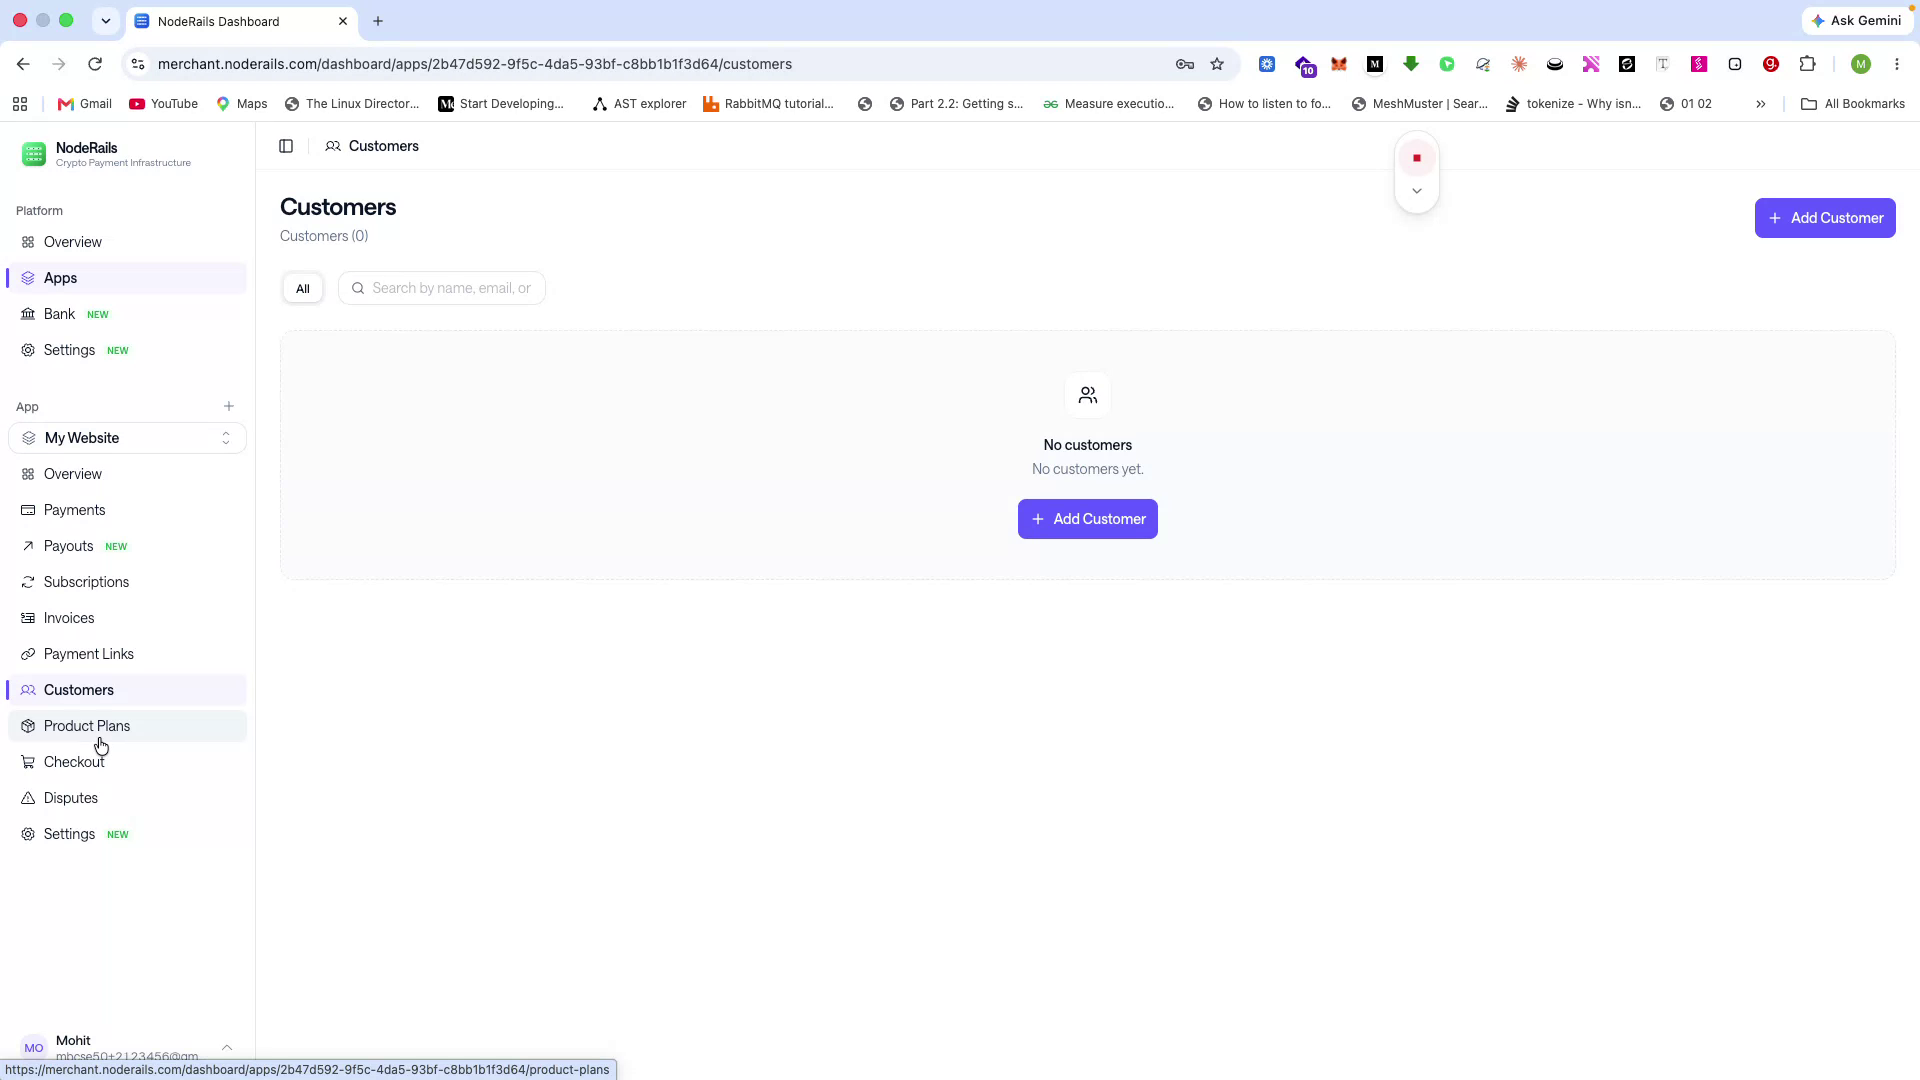
You can also create product plans (e.g., $10, $20, $30 plans) tailored to your use cases.
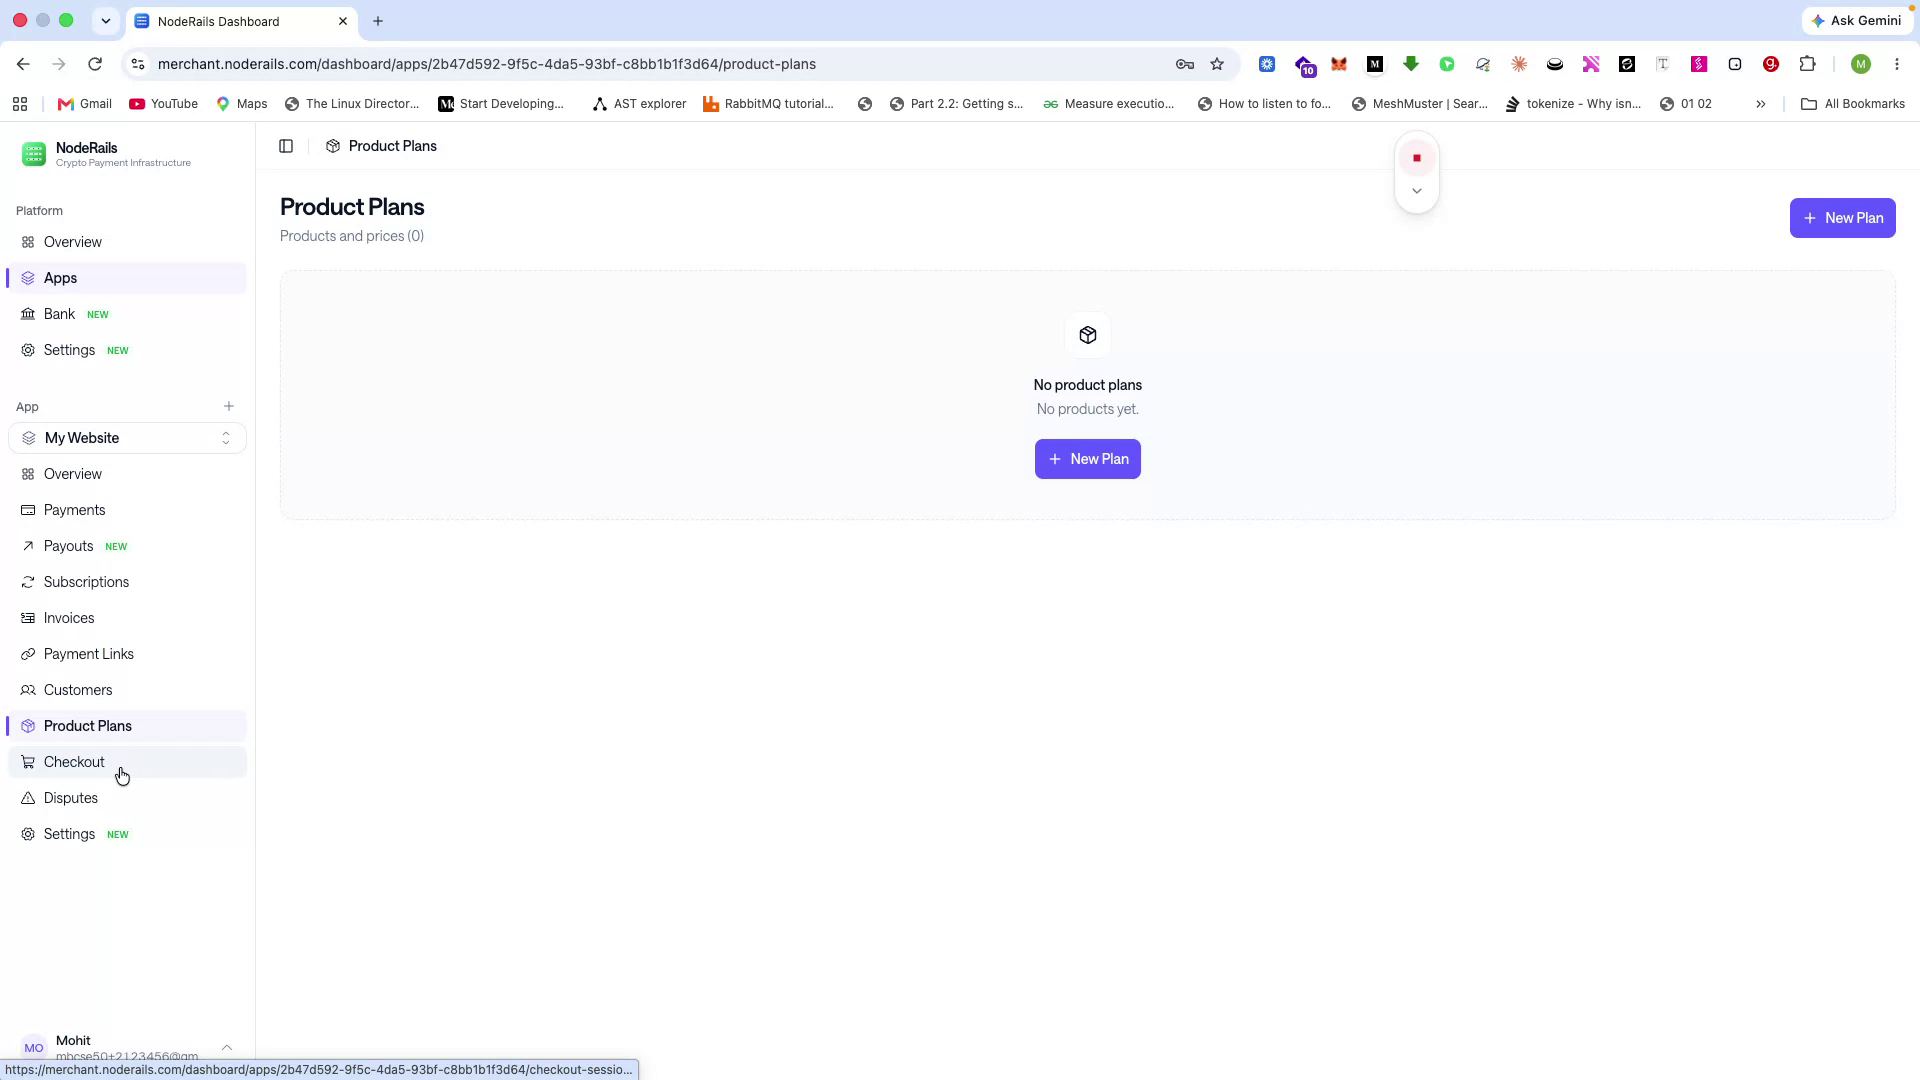
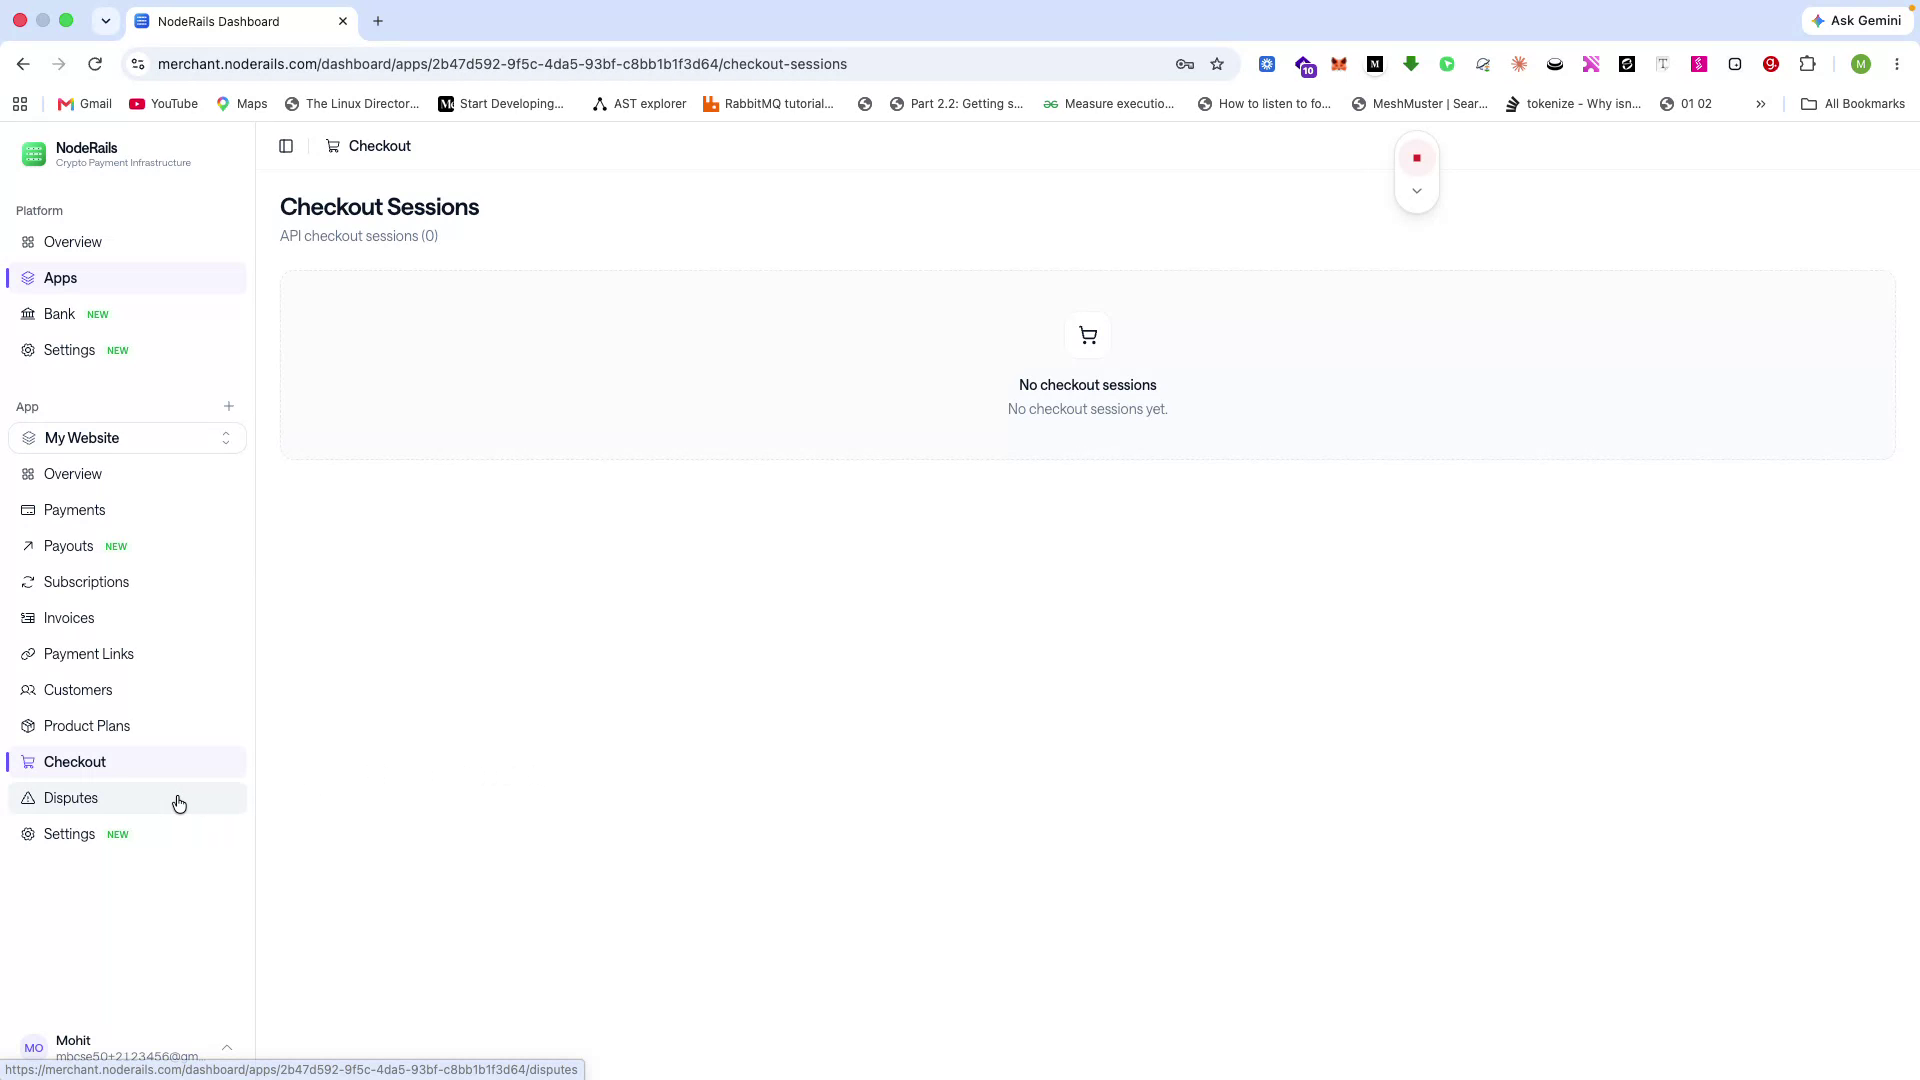
Additionally, you can track checkout sessions happening on your website and access a disputes section to monitor and respond to disputes.
Enable Networks and Tokens for Your App
Step 8 of 14
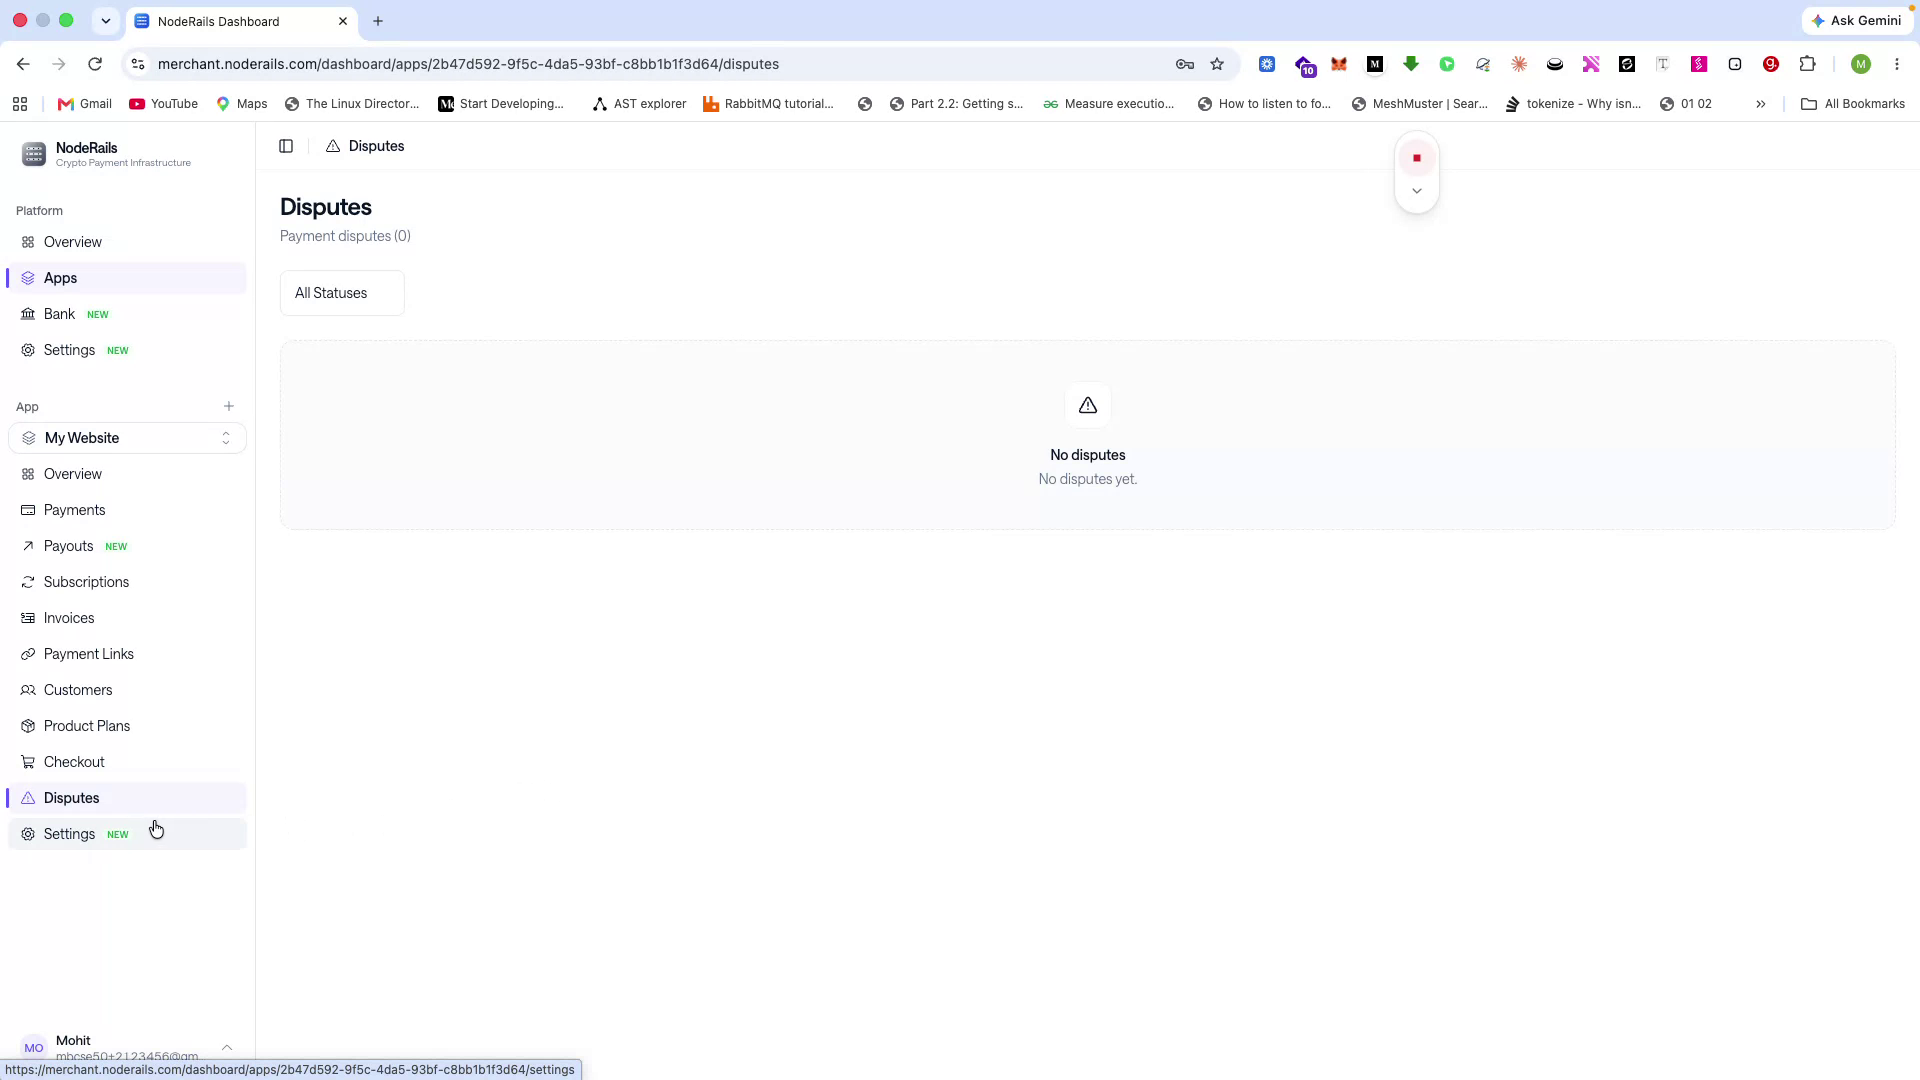
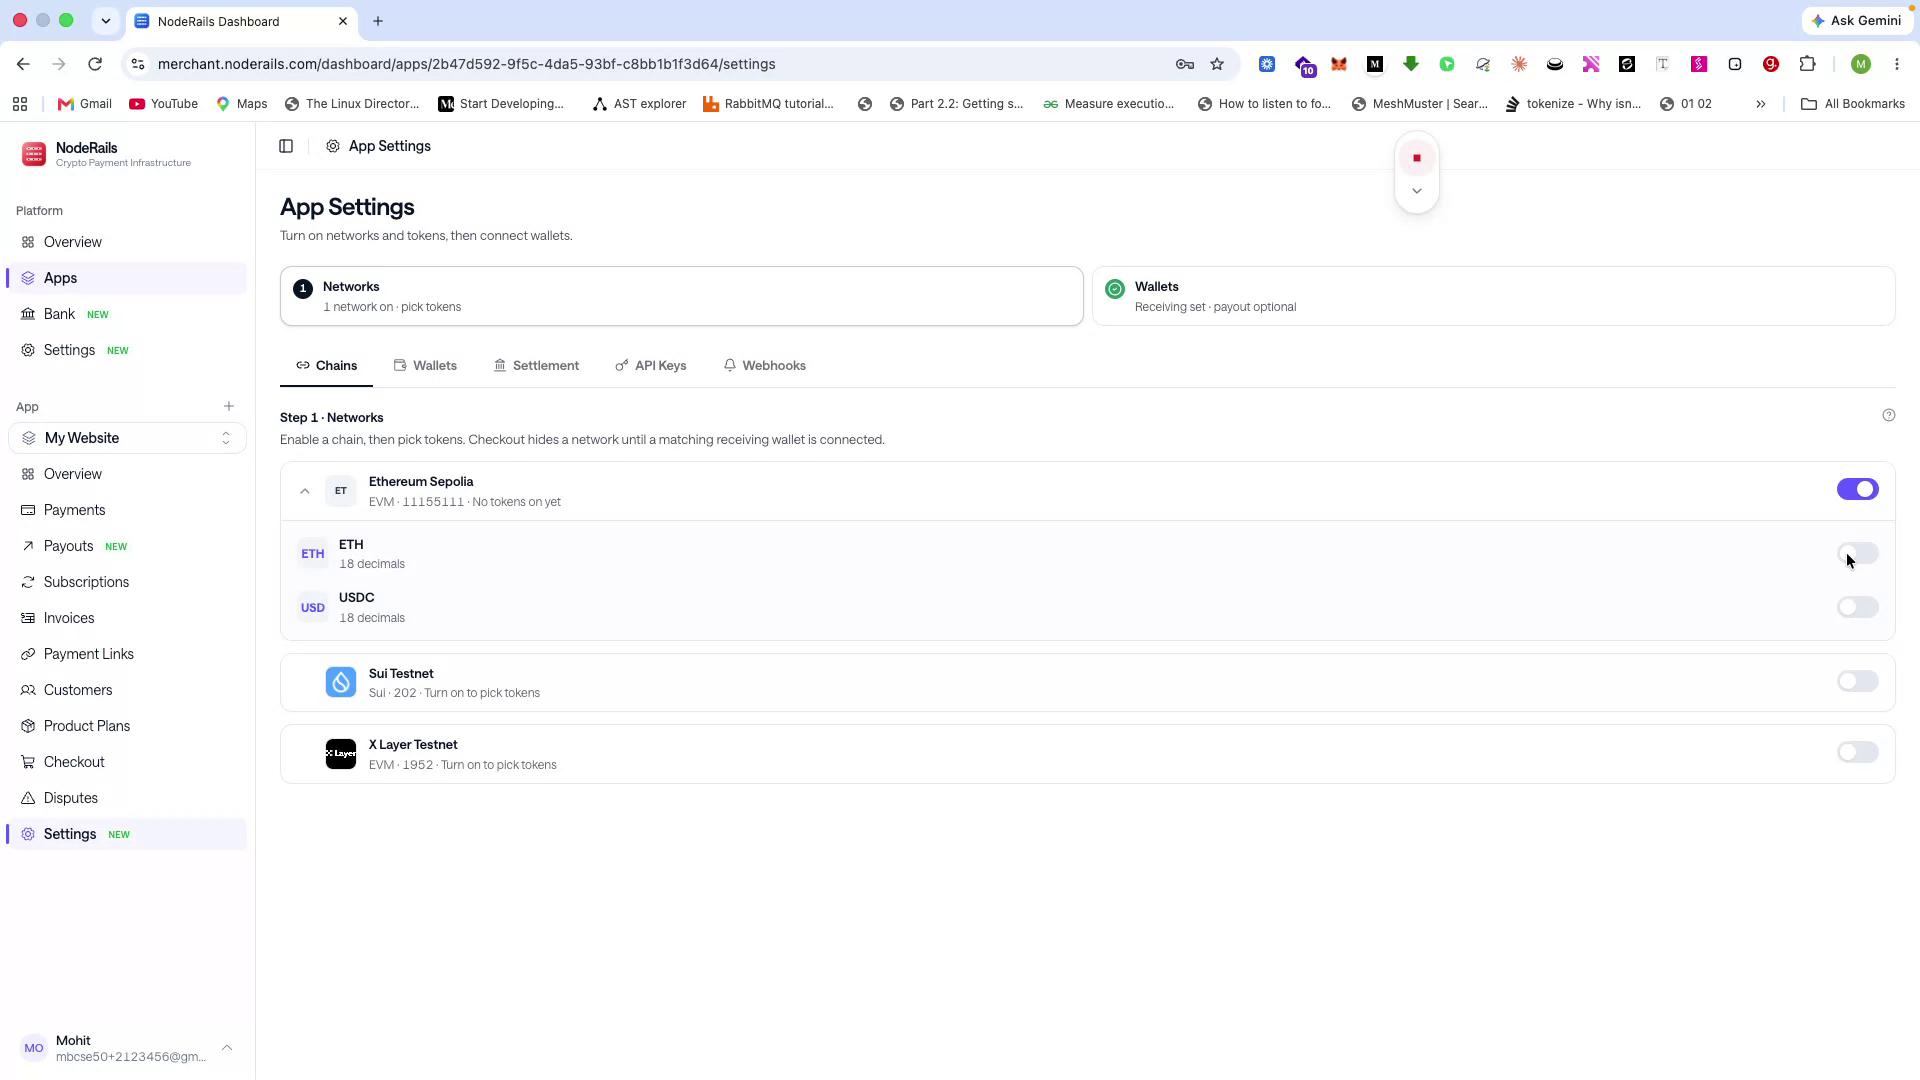
When you first create an app, you must enable the blockchain networks and tokens on which you want to accept payments.
Enable a network (for example, Ethereum Sepolia), then choose which tokens you will accept on that network.
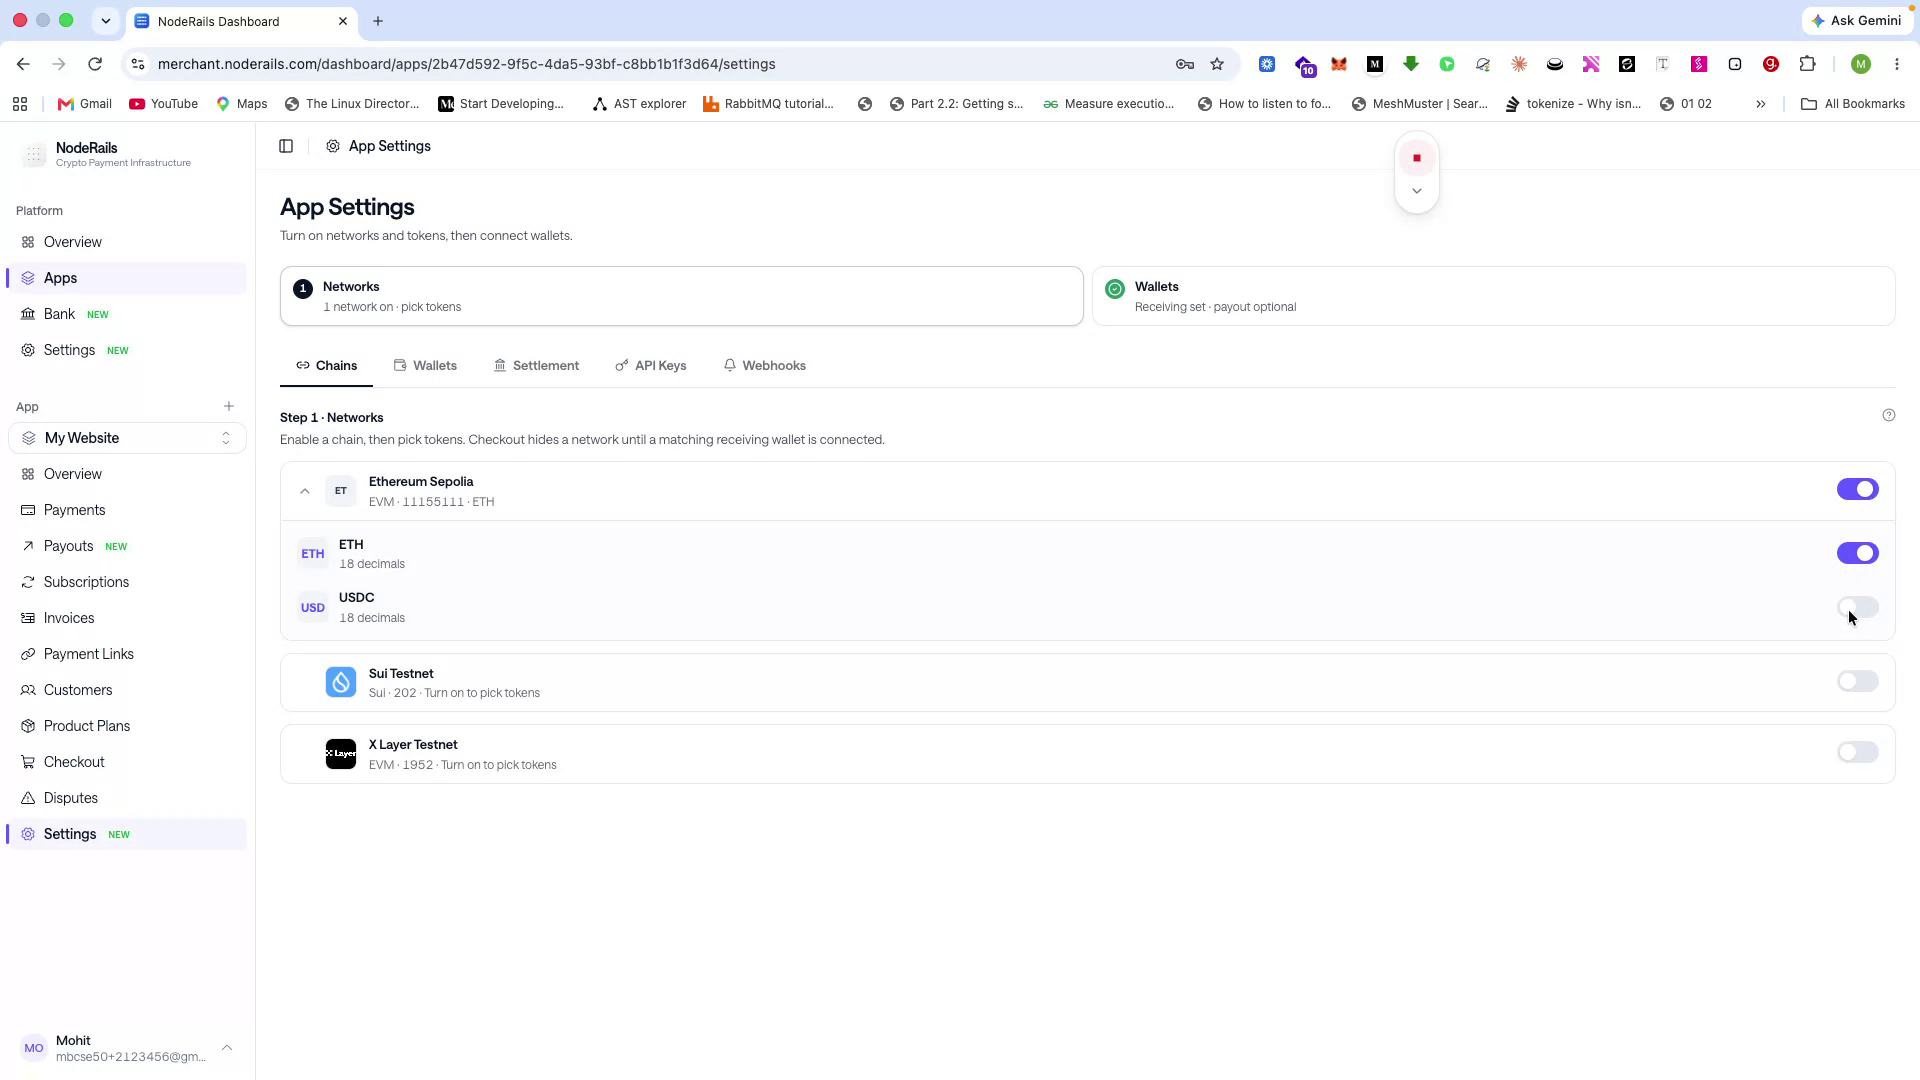
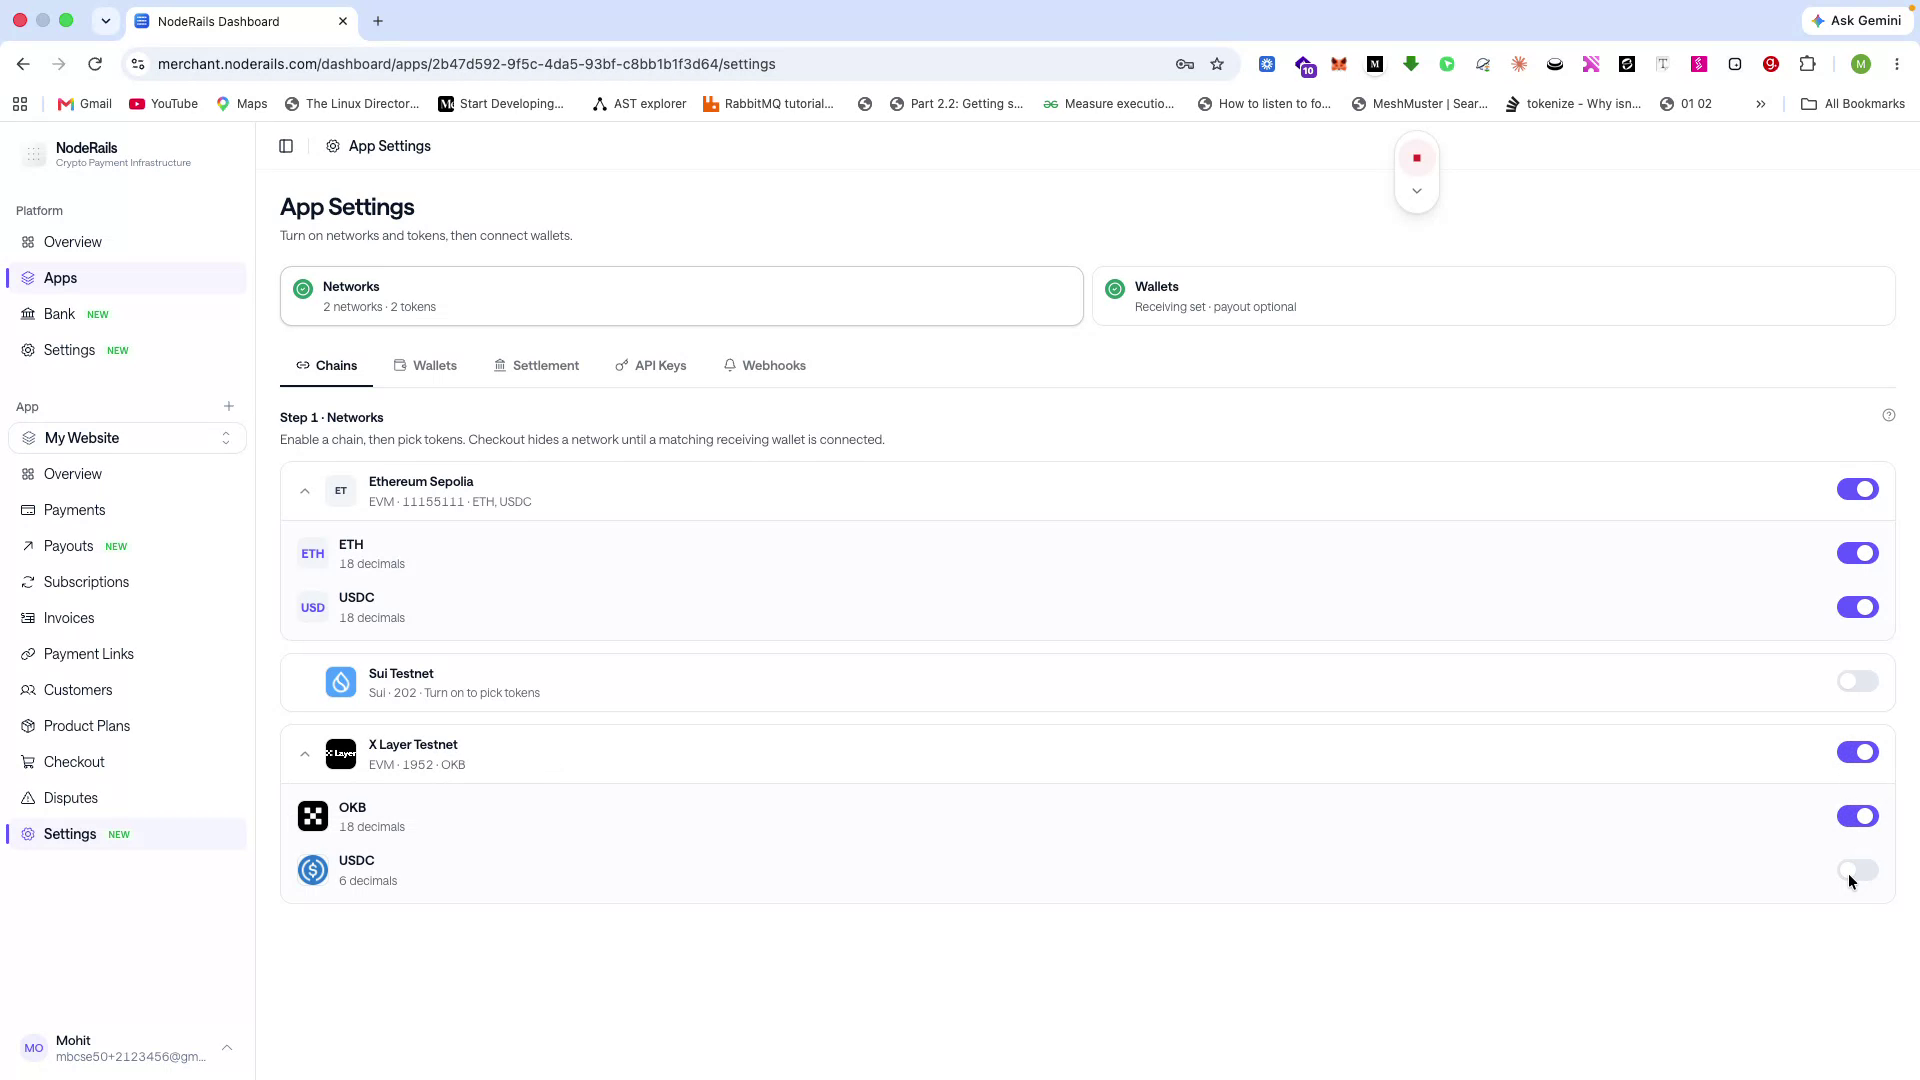
You can enable all available tokens or selectively enable/disable them depending on your business needs.
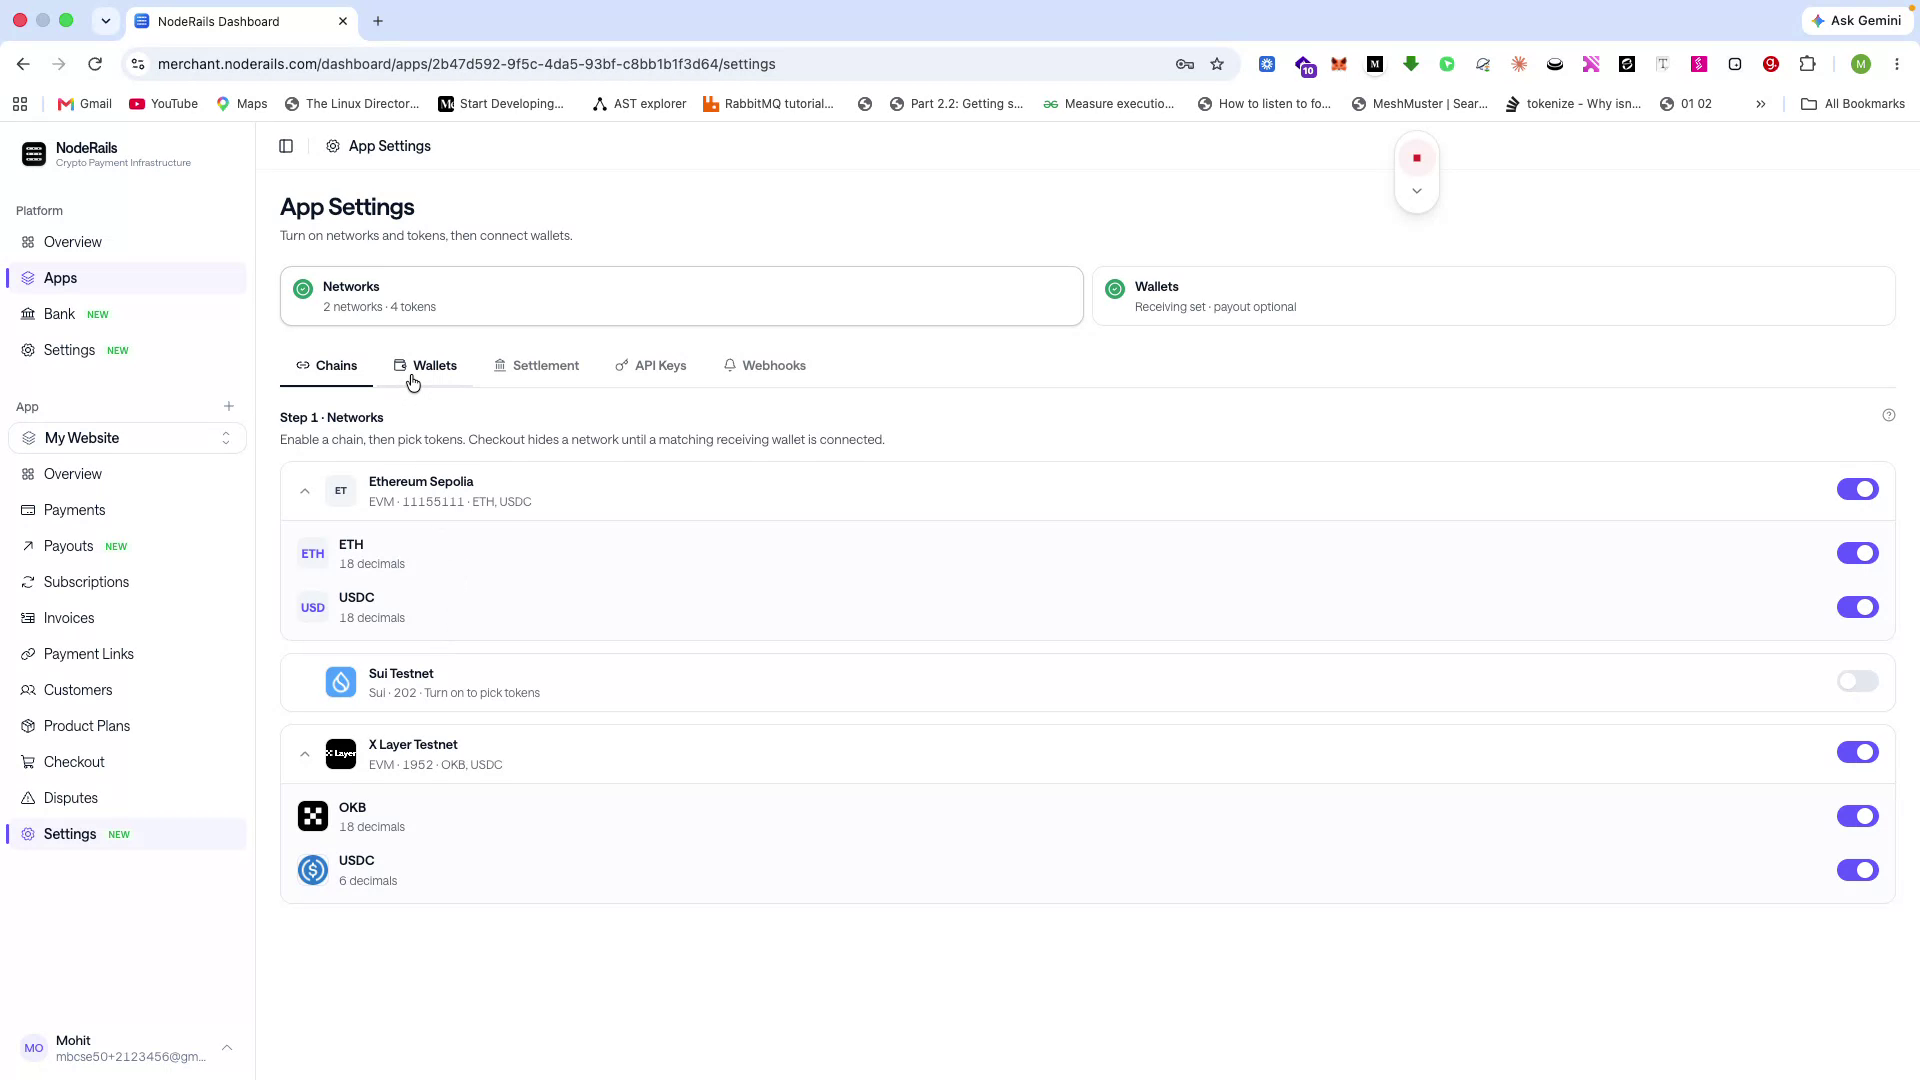
These are app-level configurations. If you need per-payment configuration (e.g., only specific tokens or networks for a particular payment), you can do that via the NodeRails SDK. All operations visible in the dashboard are also available programmatically through the SDK.
Once your networks and tokens are configured, ensure the appropriate wallets are connected. If you are accepting payments on networks like Solana or Sui, connect those wallets as well.
Configure Payouts and Settlement Rules
Step 9 of 14
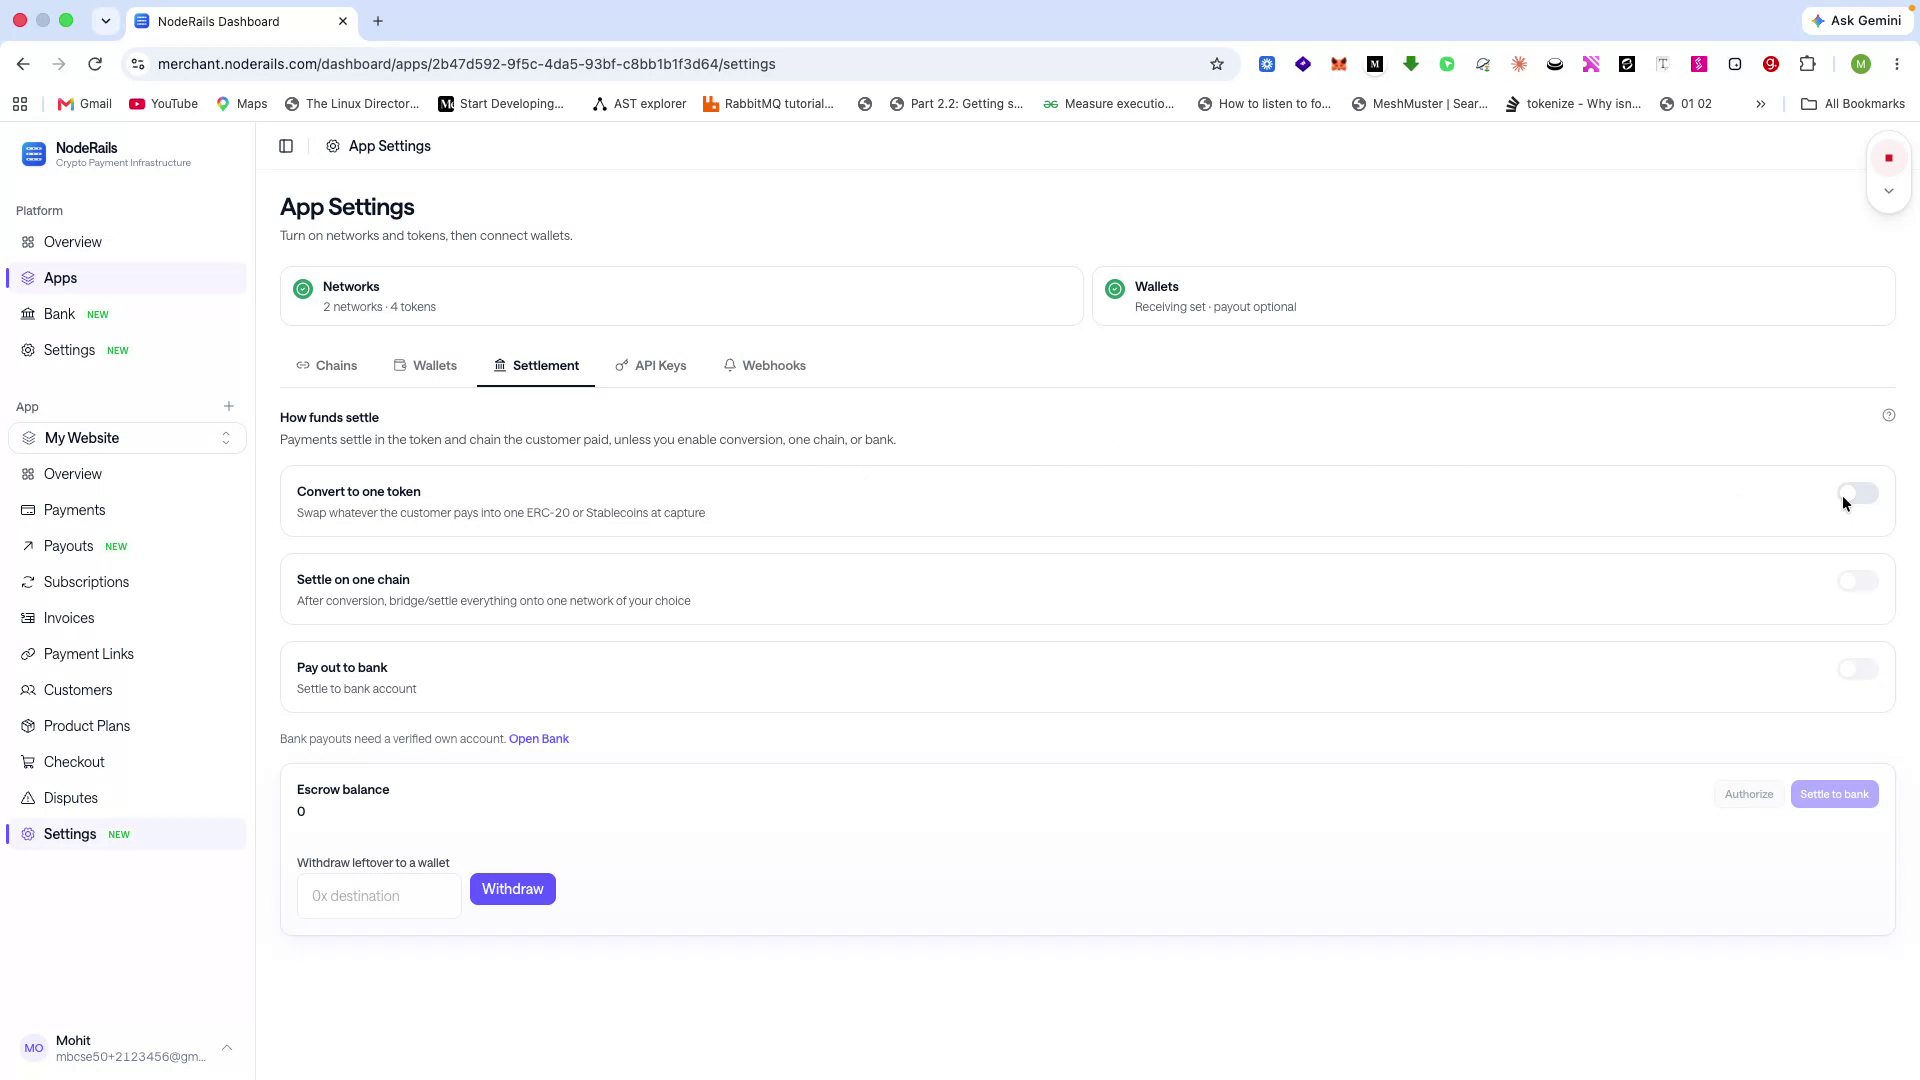
If you want to use NodeRails for payouts (e.g., global salary payments or sending funds to wallets or banks worldwide in stablecoins or crypto), configure the payout functionality.
One of the key settlement features is Convert to One Token. Enable this to accept any cryptocurrency while automatically settling into a chosen stablecoin.
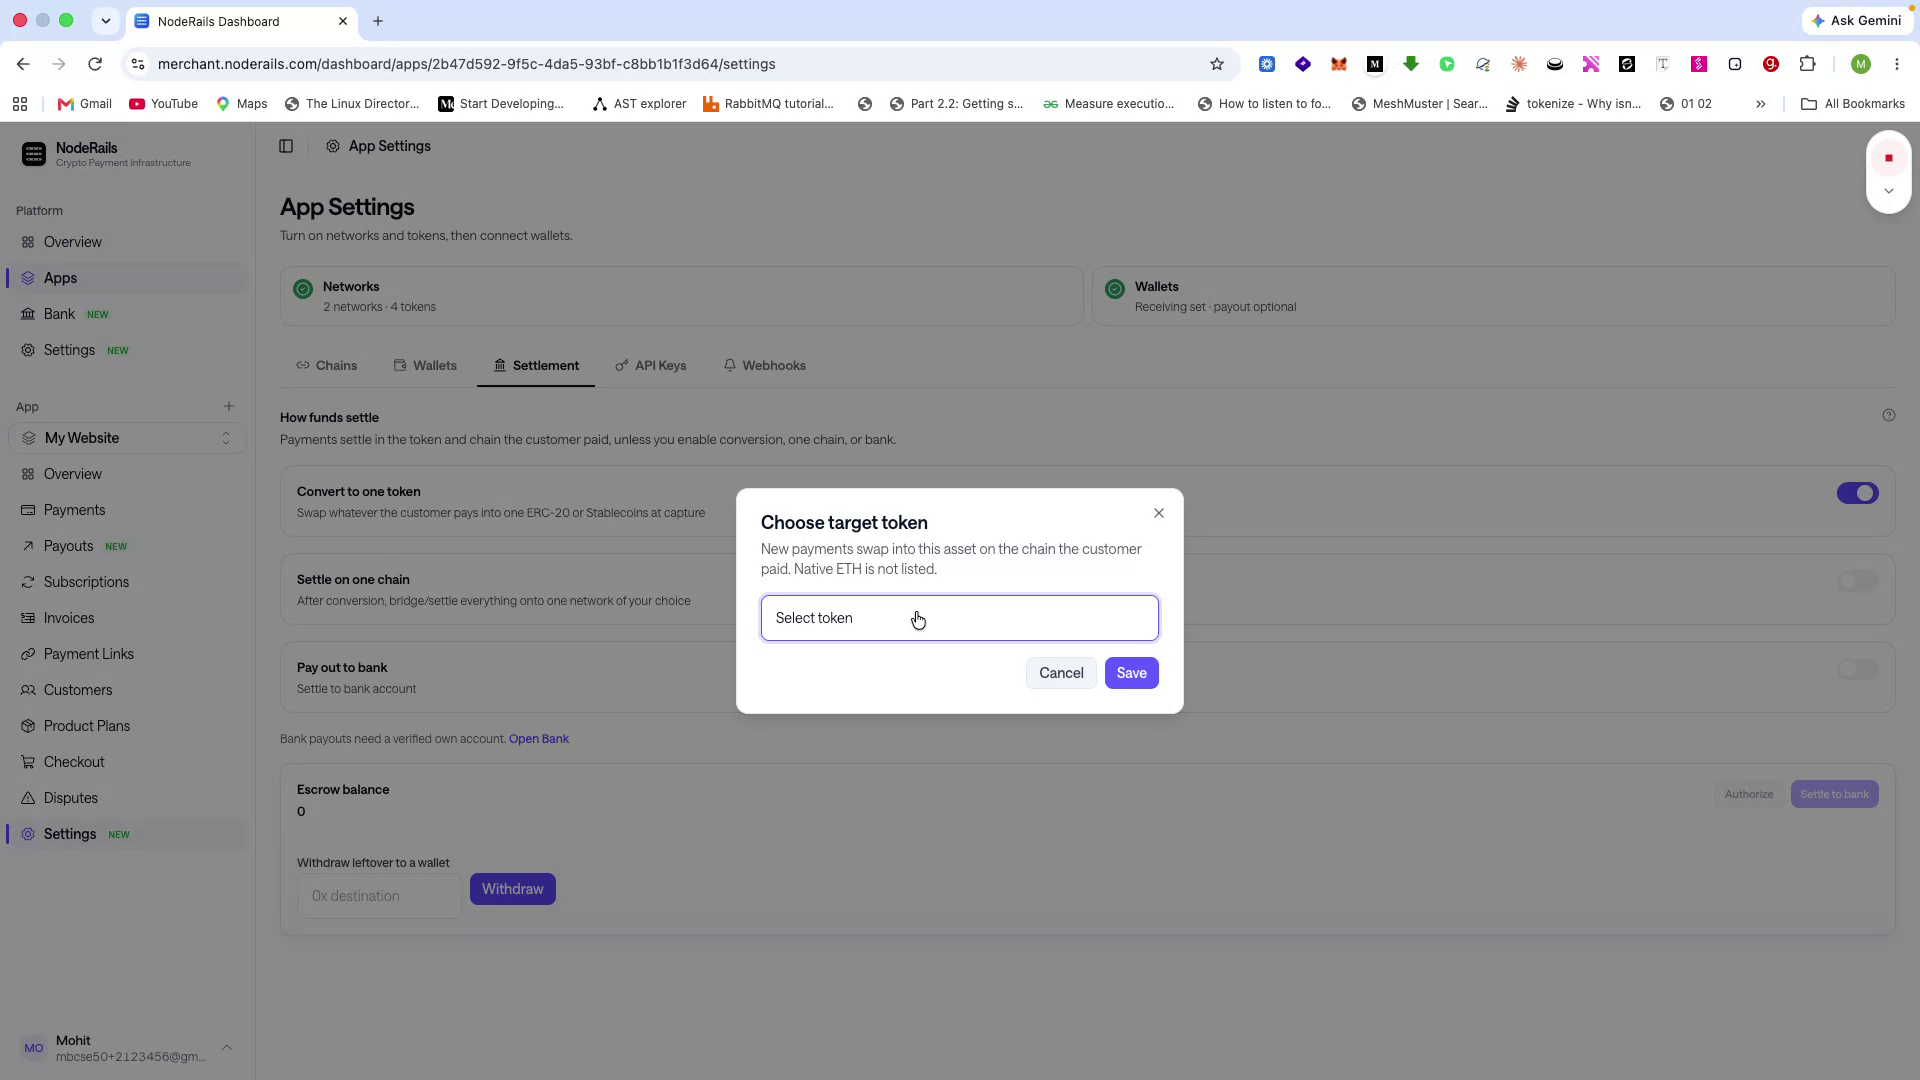
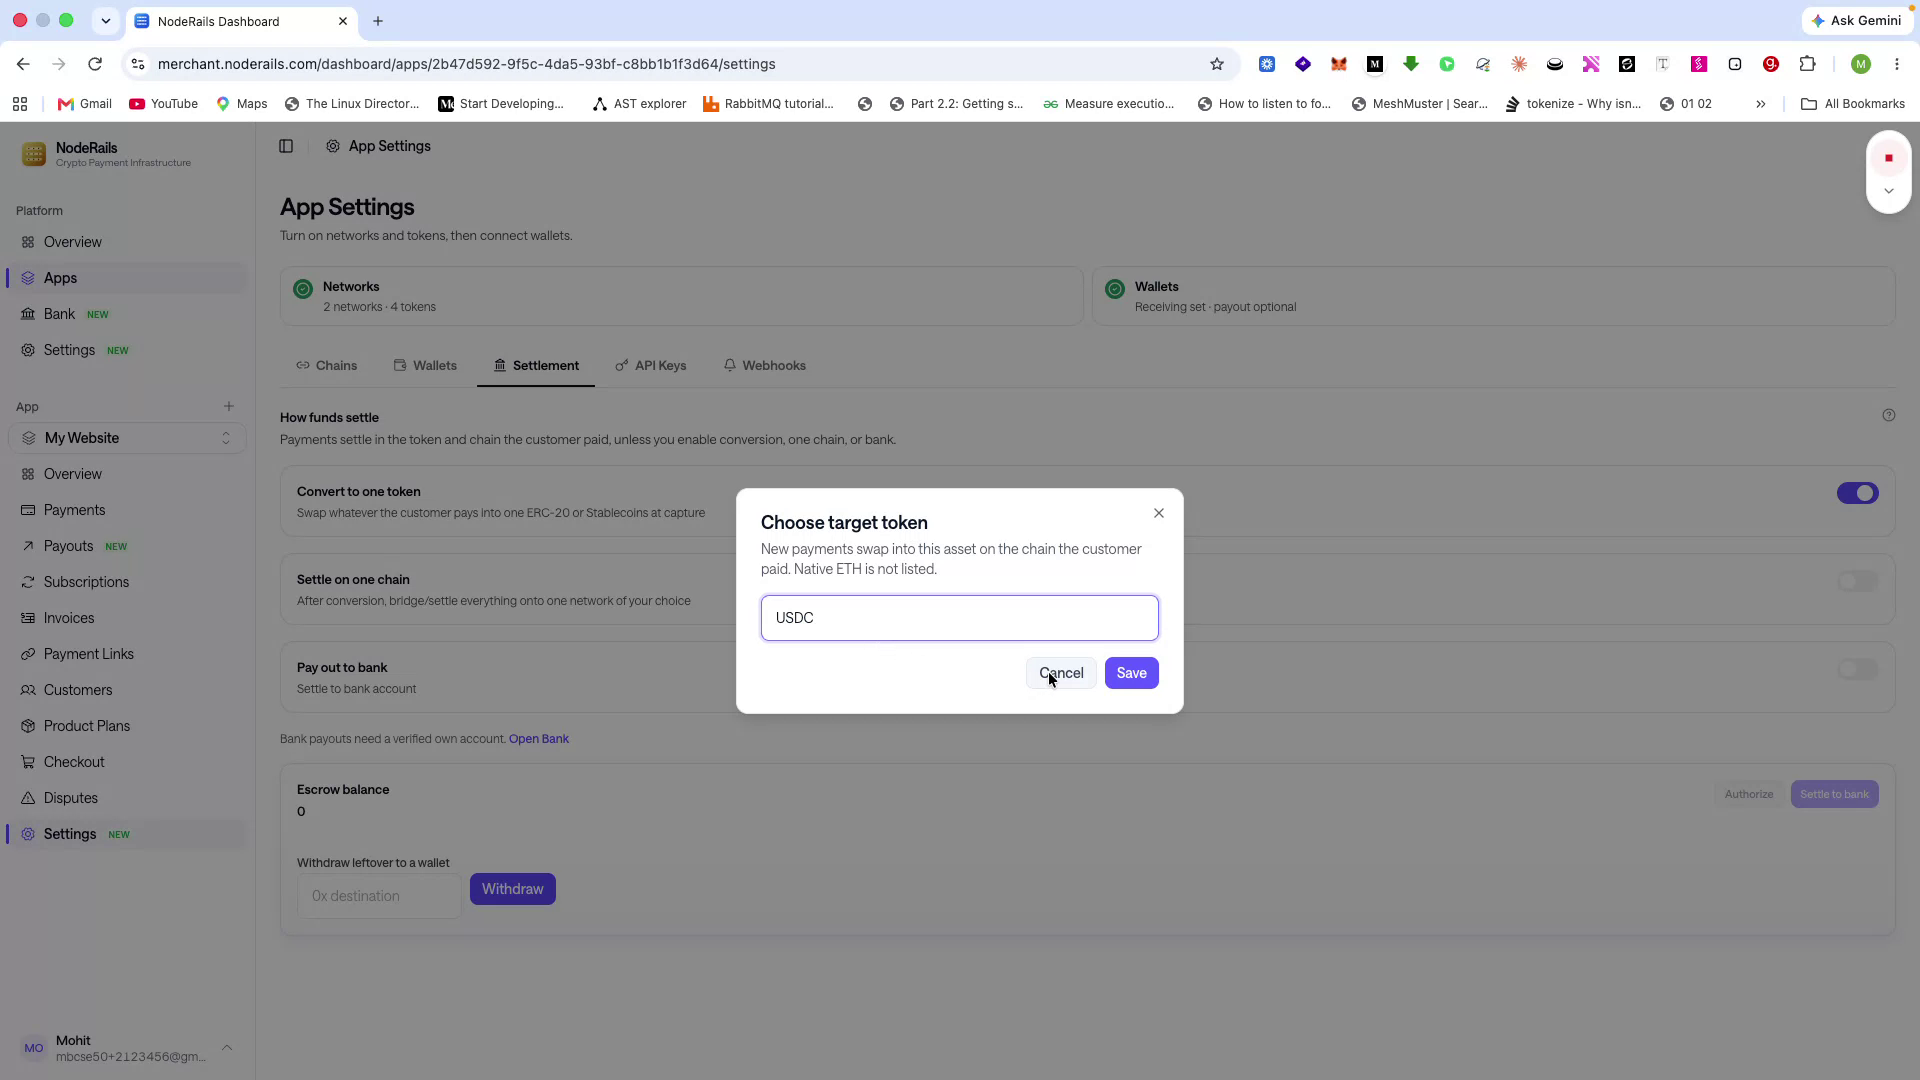
With this feature enabled, customers can pay with any supported token (e.g., Bitcoin, Ethereum), and NodeRails converts the payment to stablecoins at payment time, shielding you from crypto price volatility.
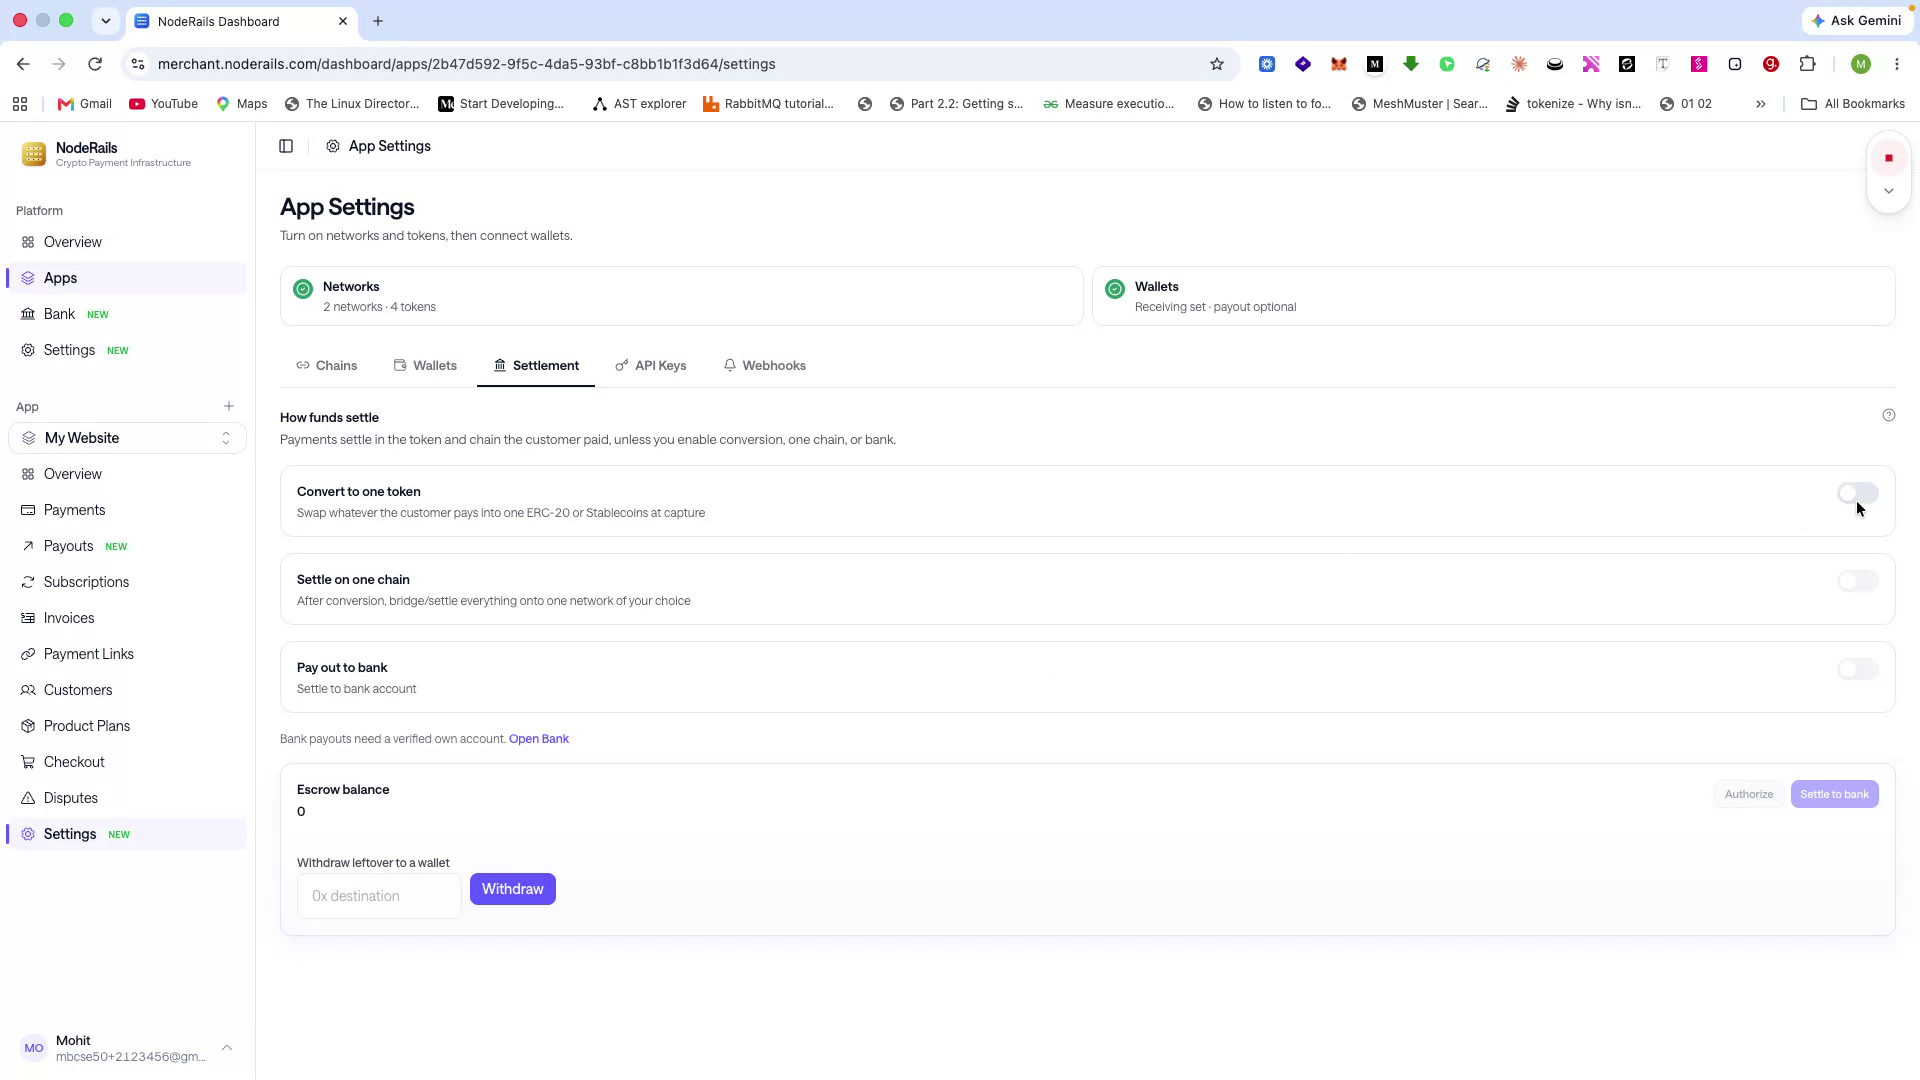
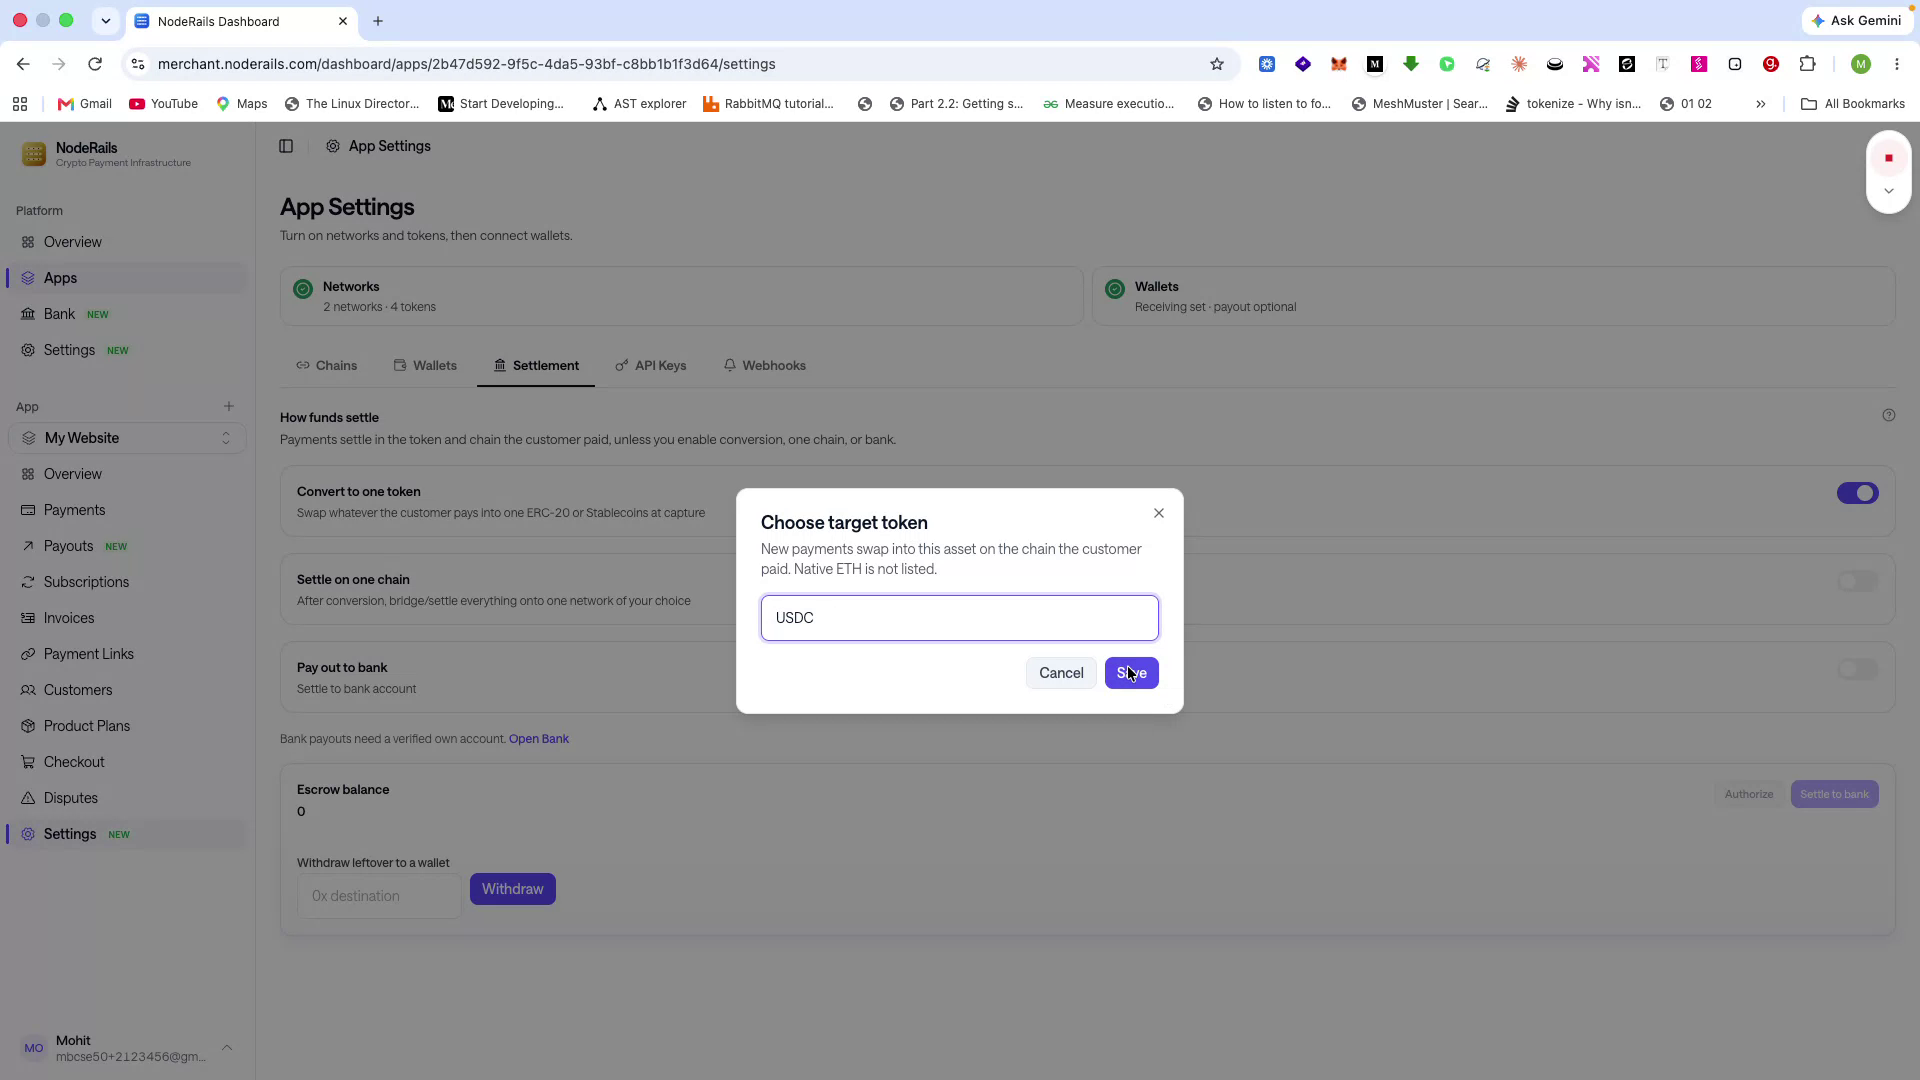
After enabling token conversion, you can also enable Settle to One Chain.
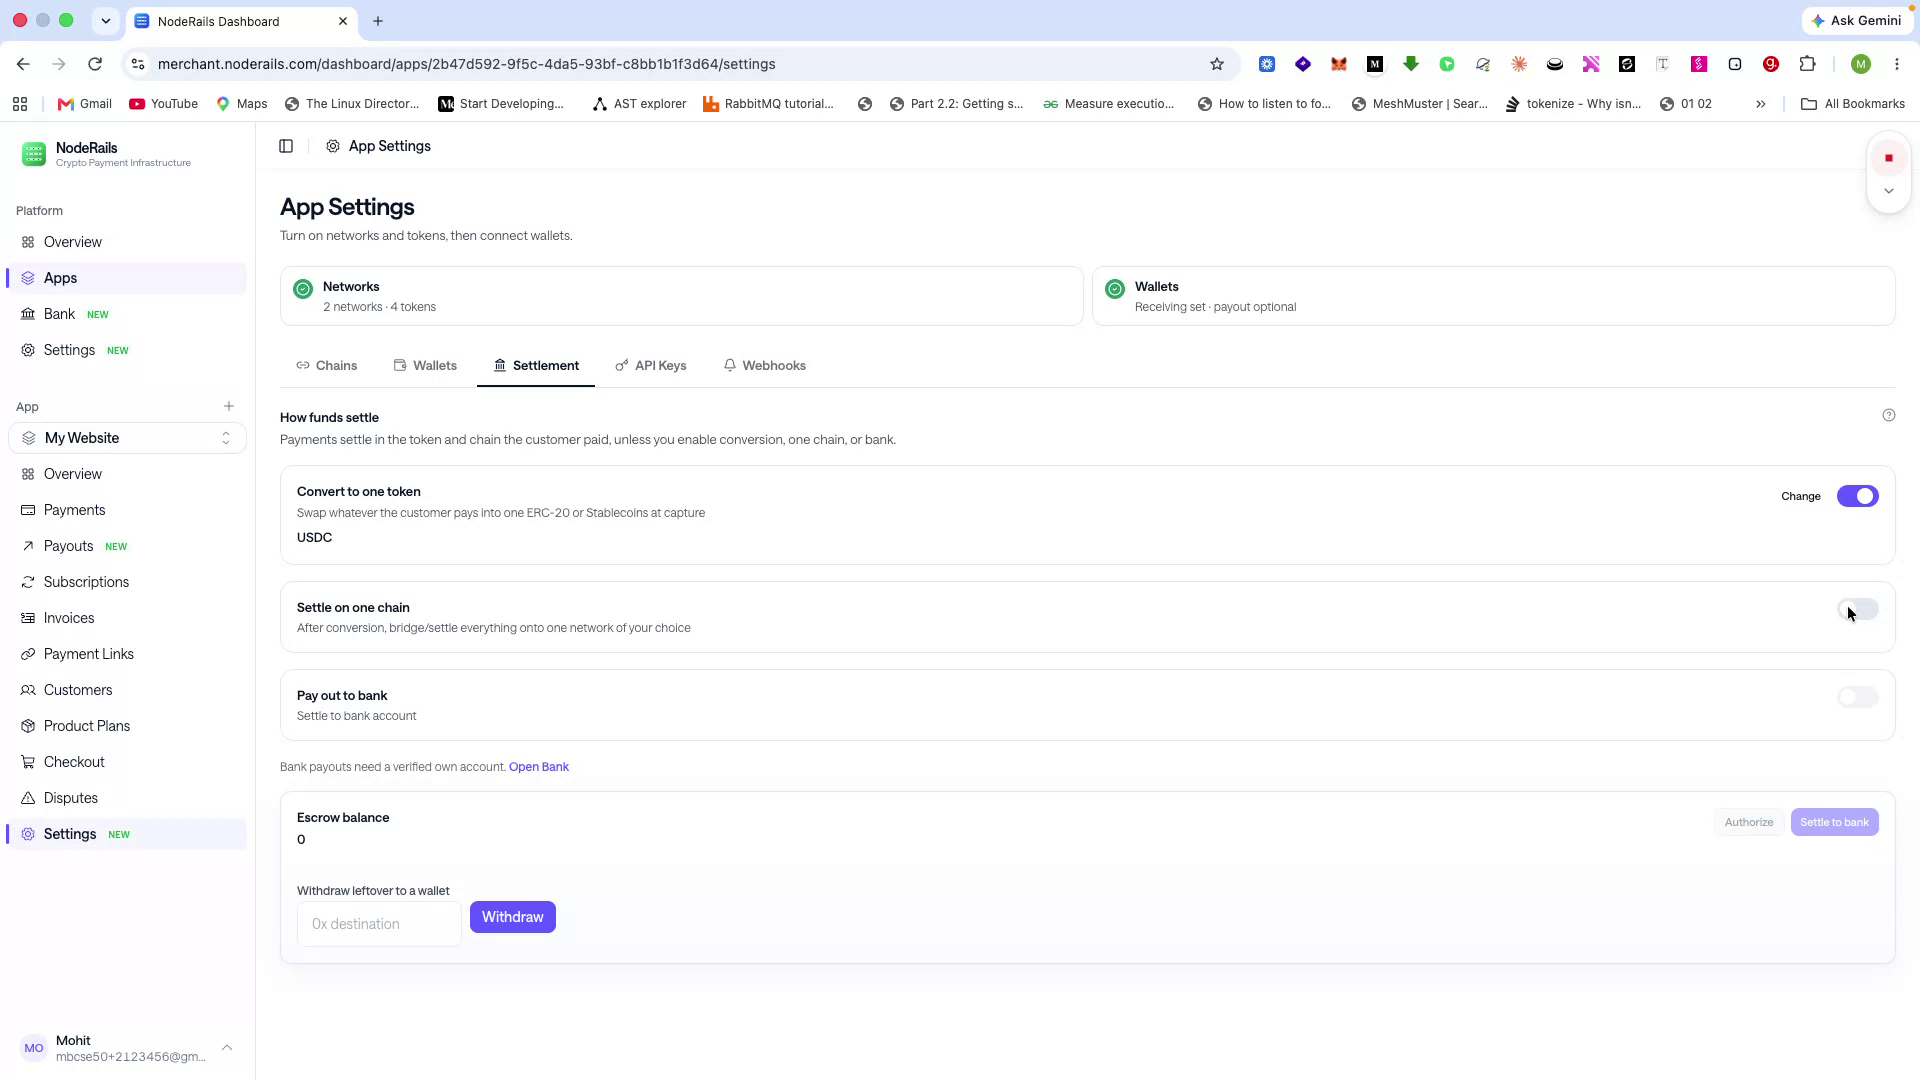
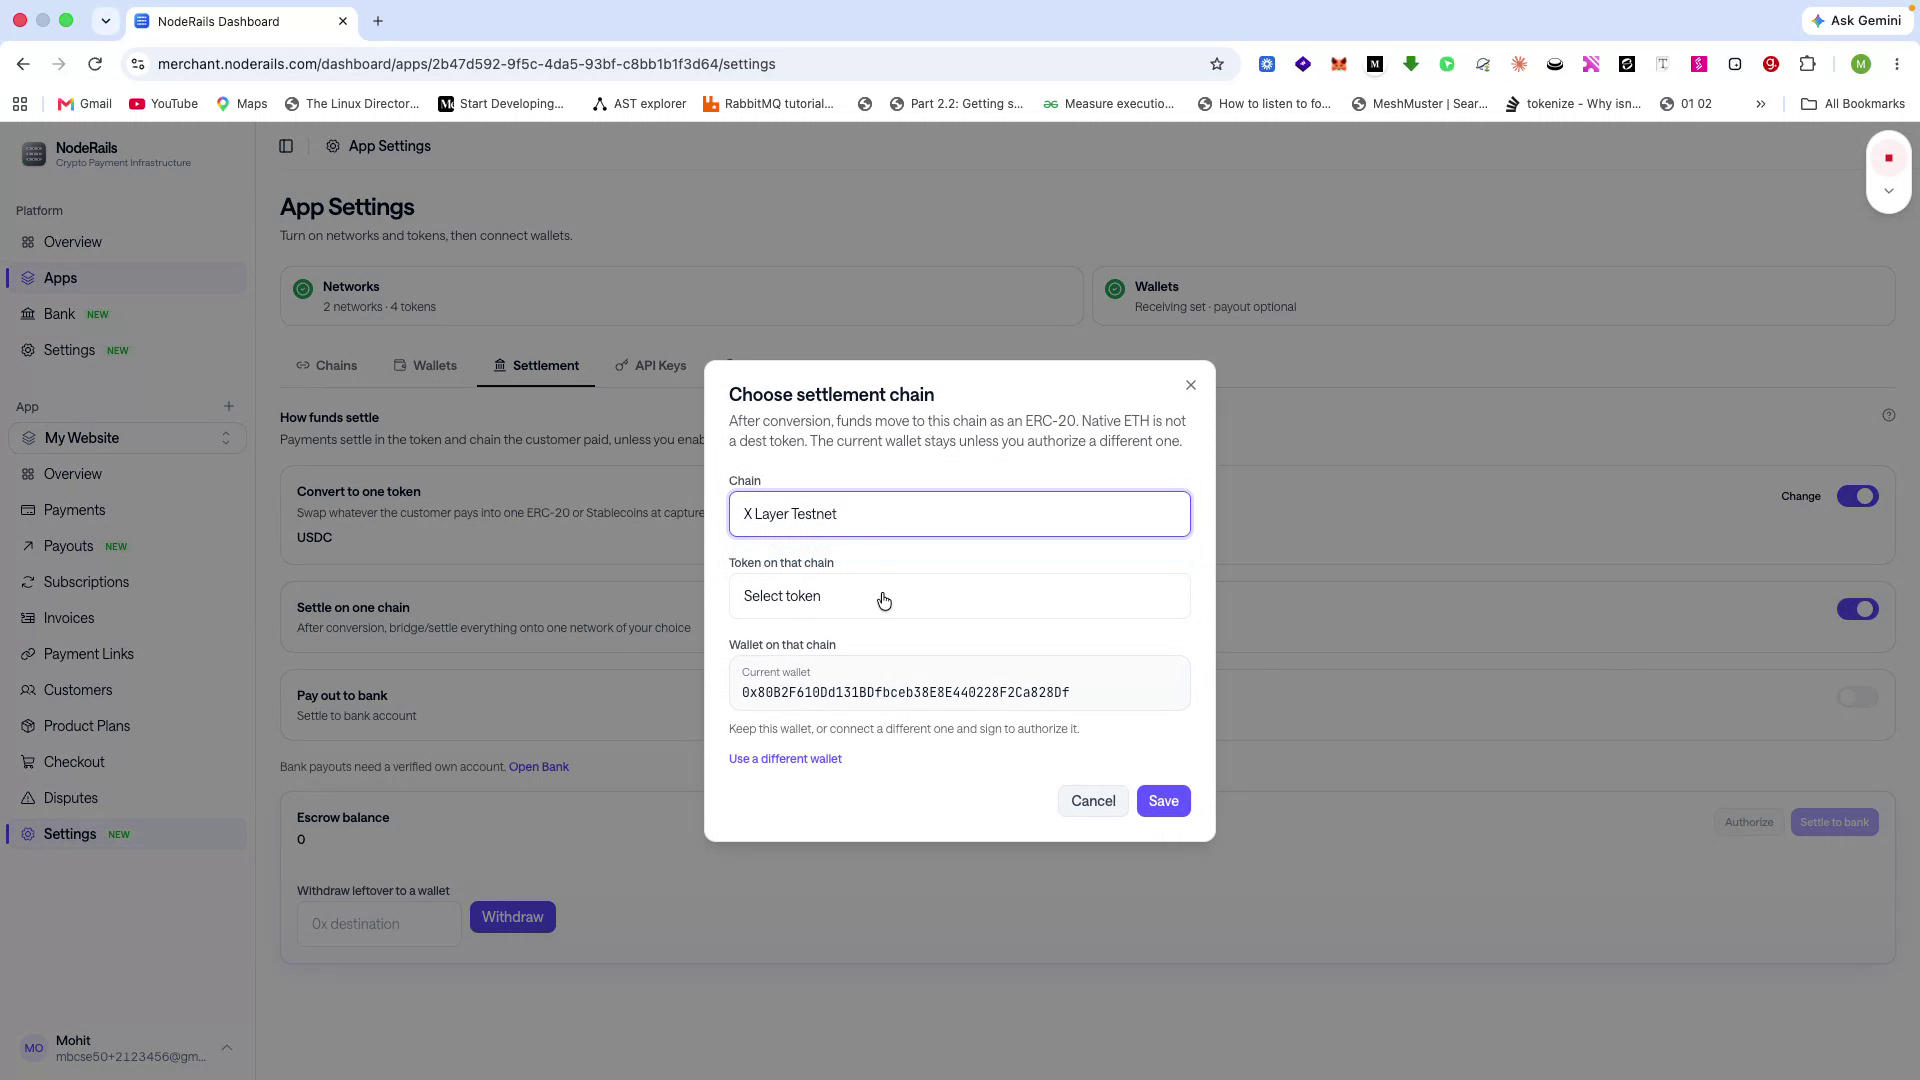
This lets you settle all funds to your wallet on a single blockchain instead of receiving them across multiple chains (such as Ethereum, Solana, Sui, or X Layer). NodeRails handles all bridging and swapping.
Choose which chain you want to settle on and which token you want to settle into.
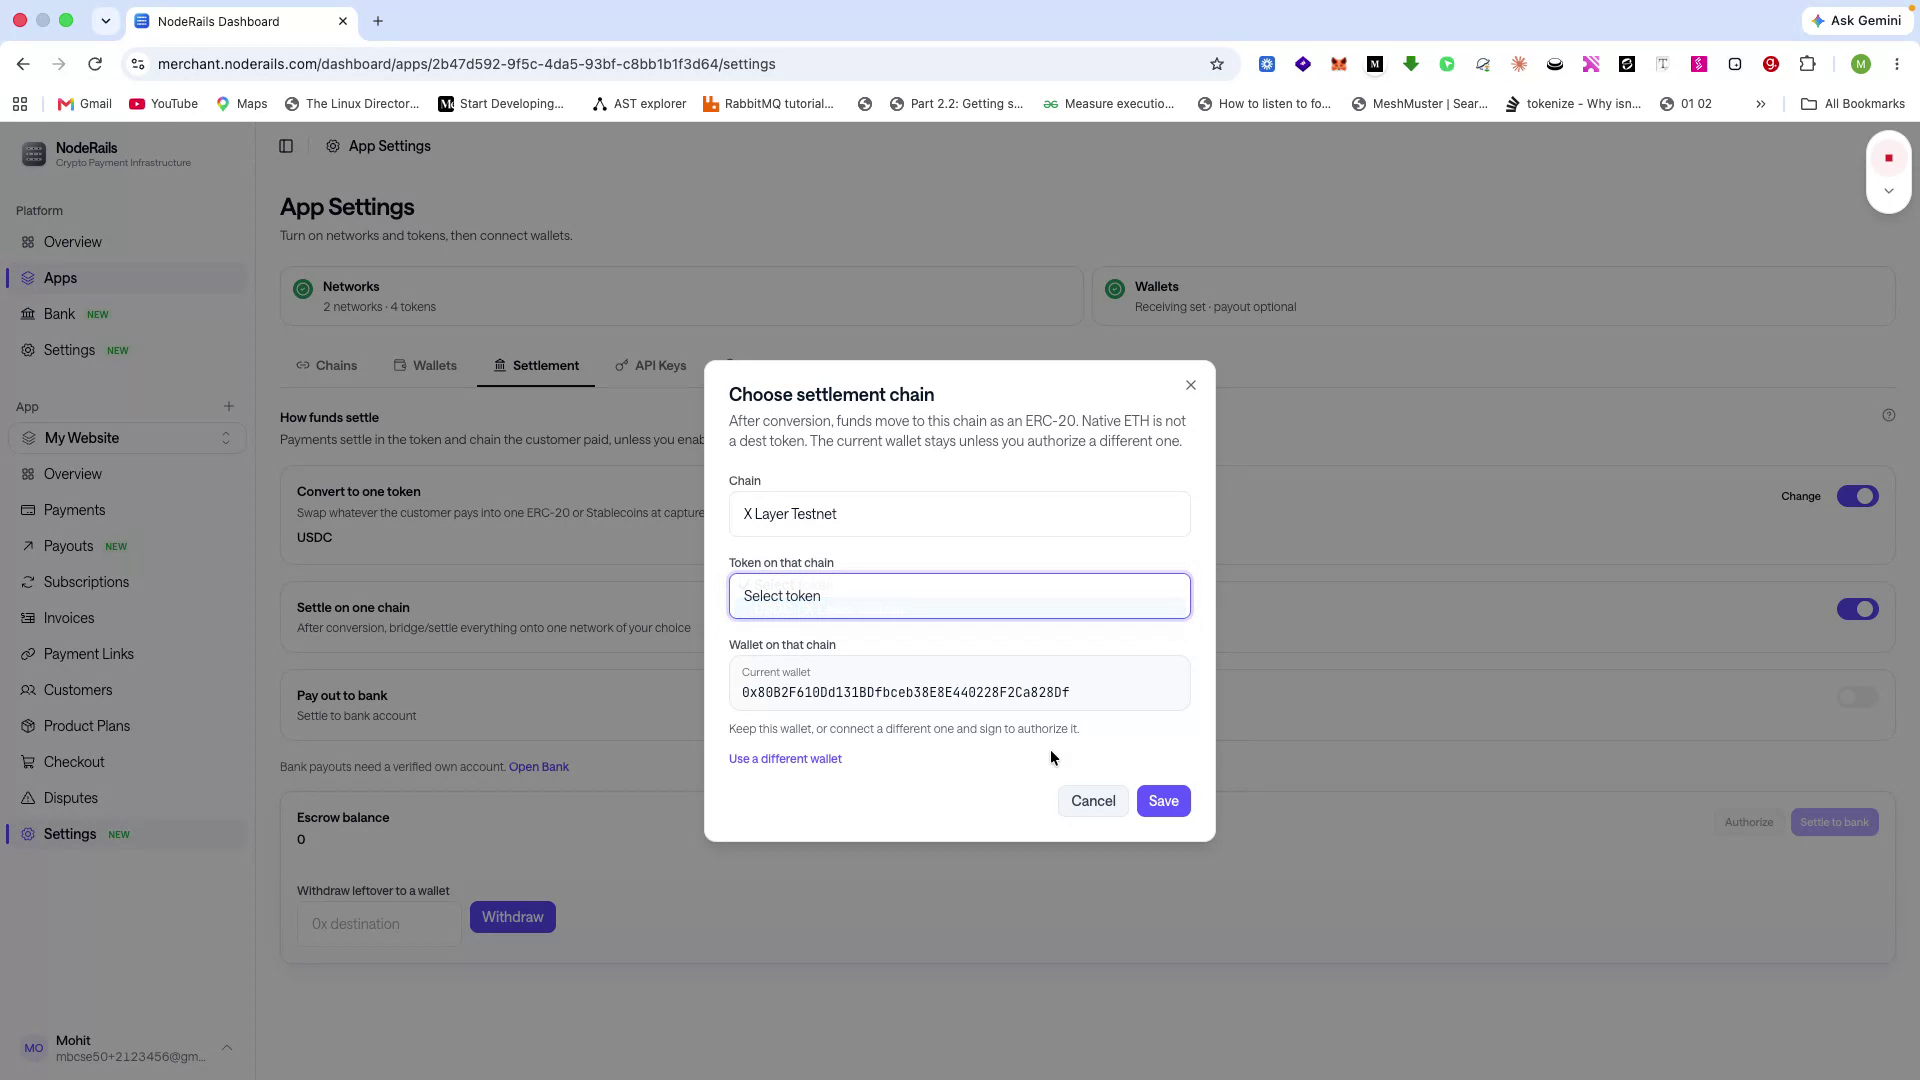
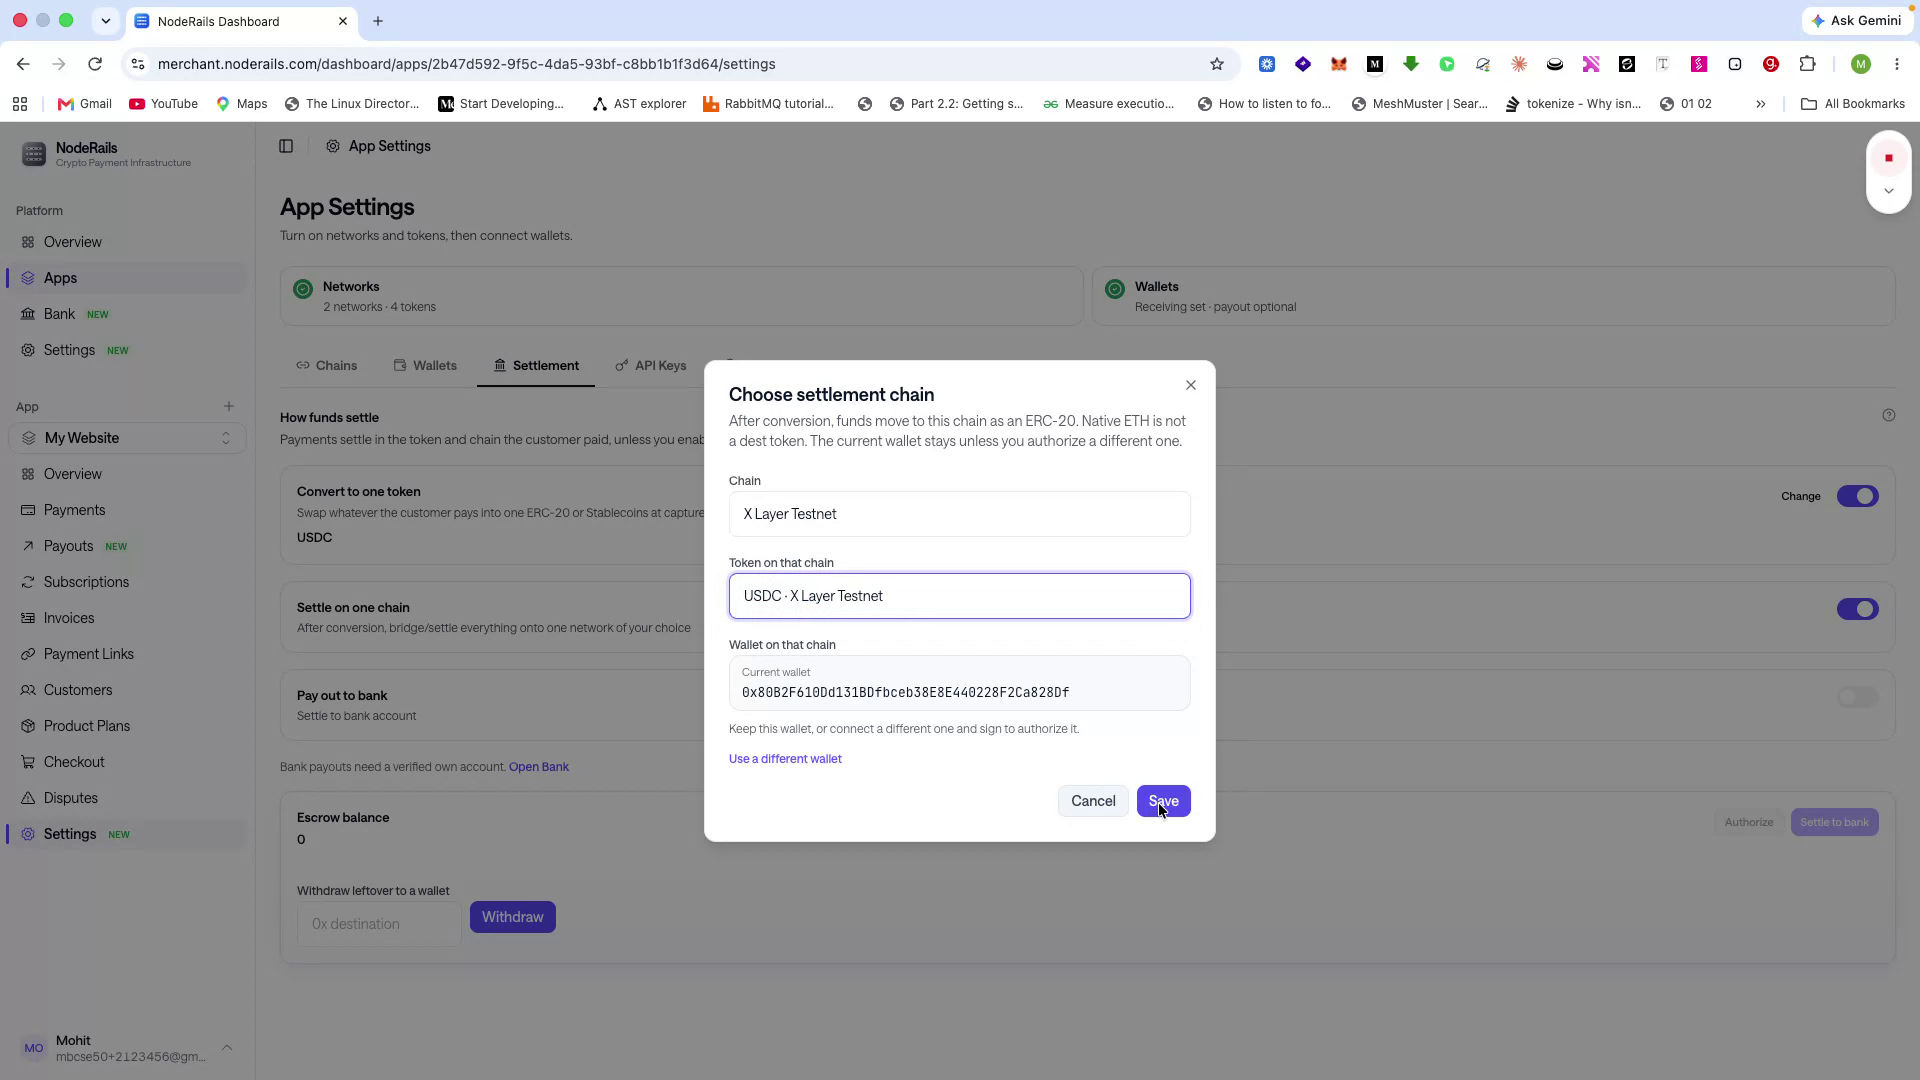
Once selected, your settlement configuration is complete.
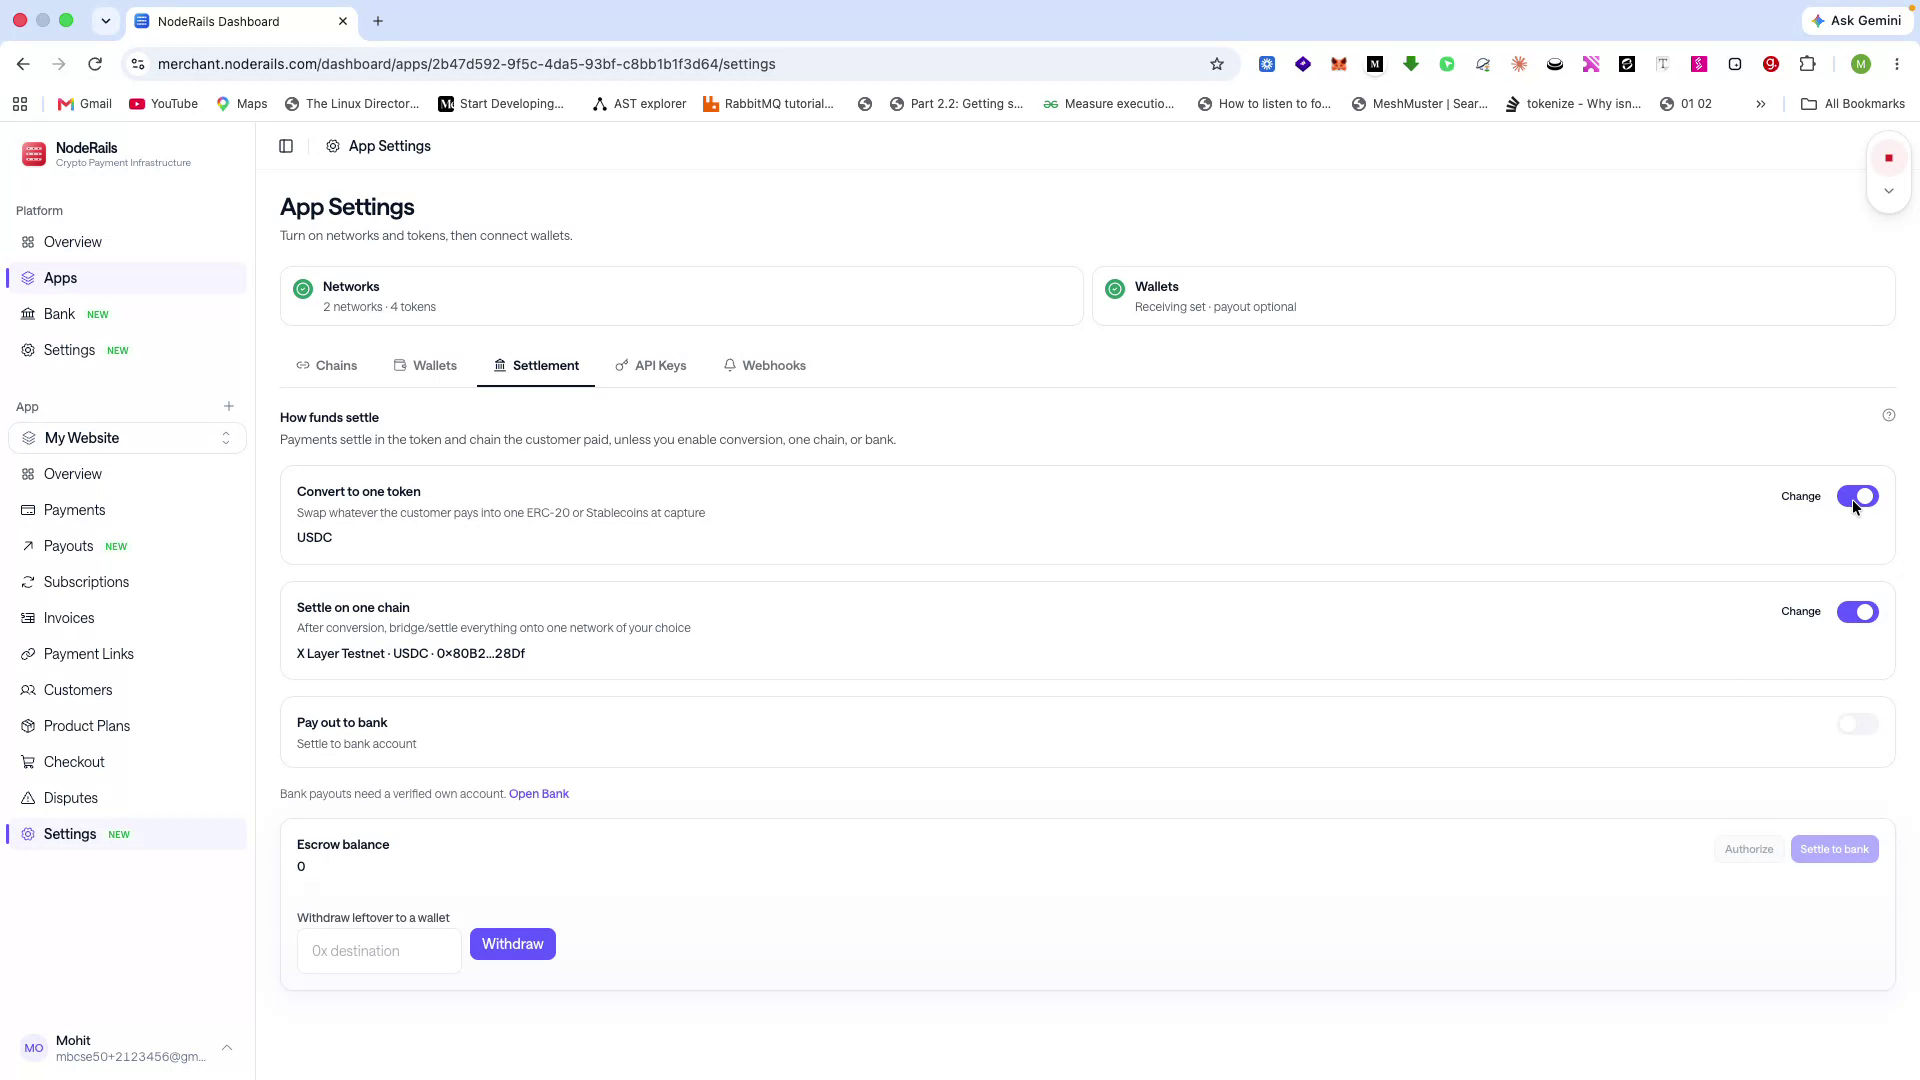
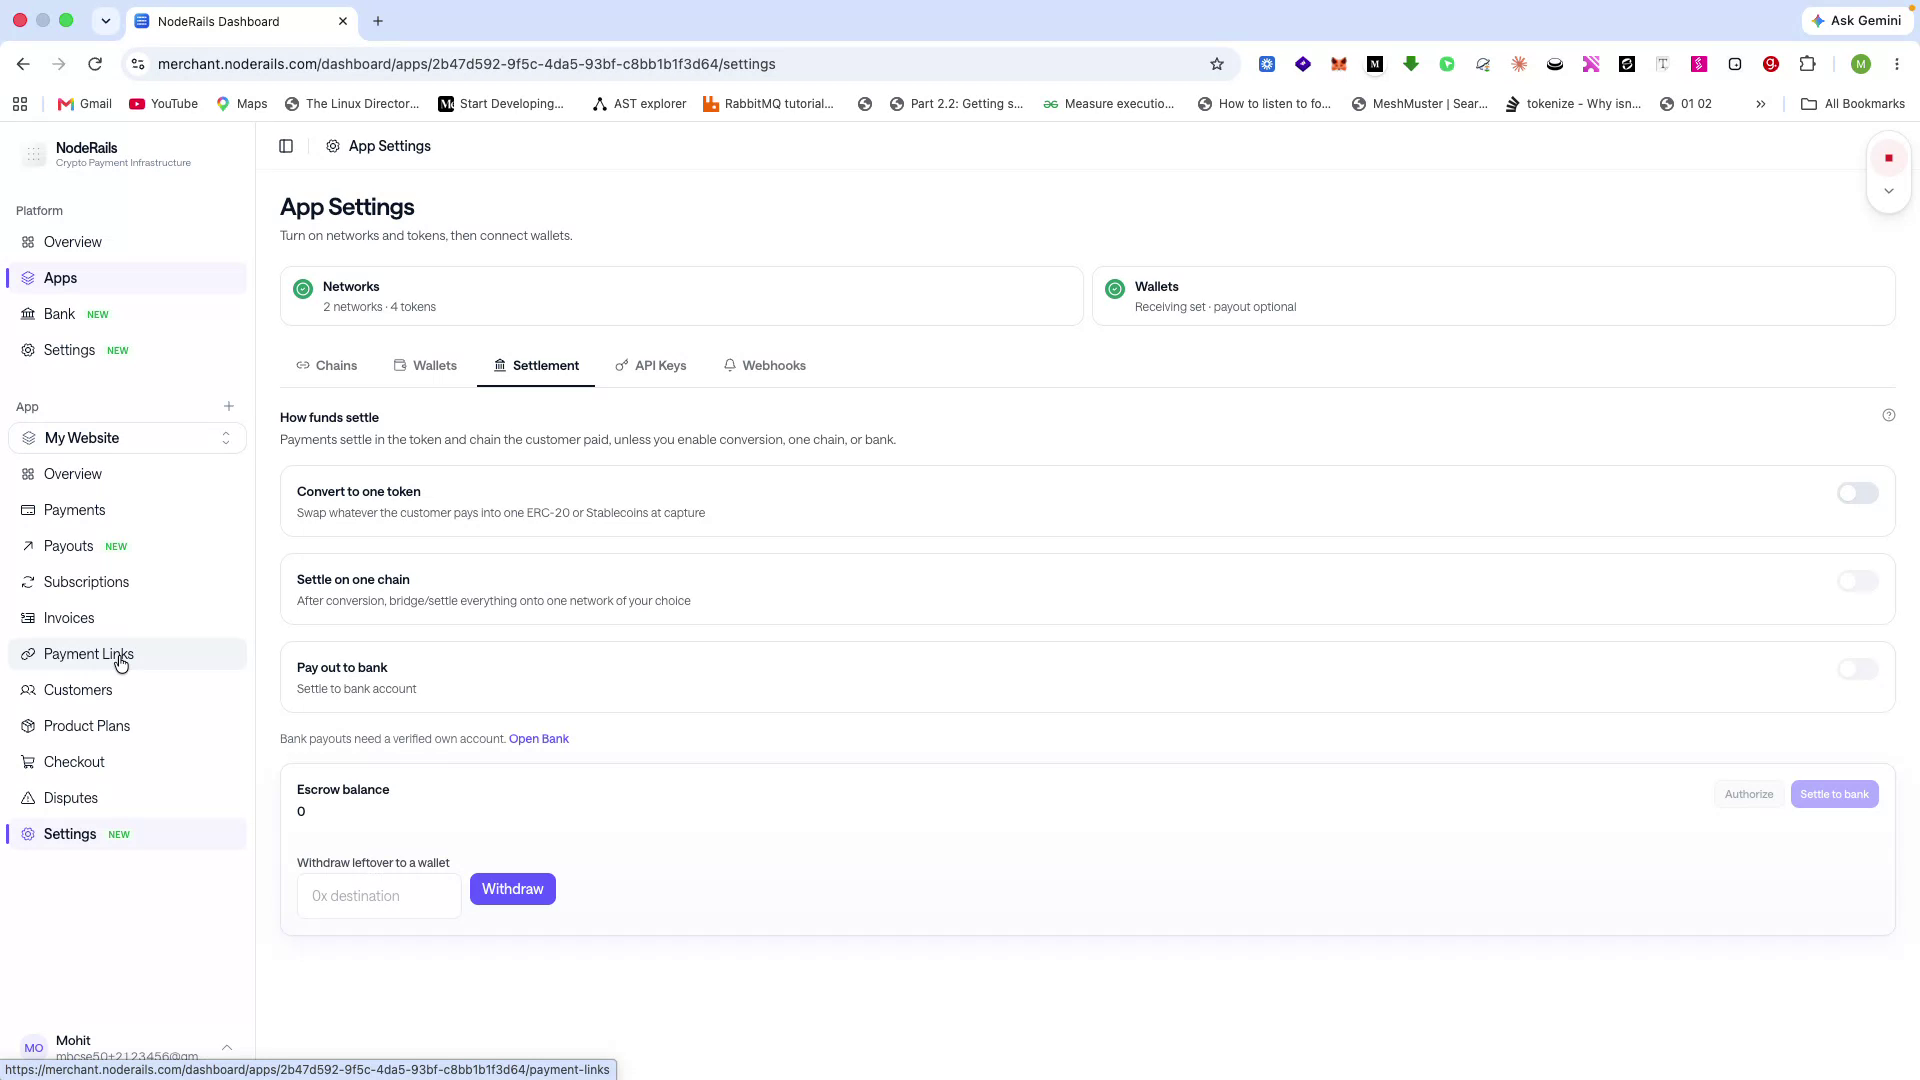
You can also configure payouts to bank accounts. Before using bank payouts, you must connect your bank account. For this demo, close the banking view and proceed to the Payment Links section.
Create a Payment Link
Step 10 of 14
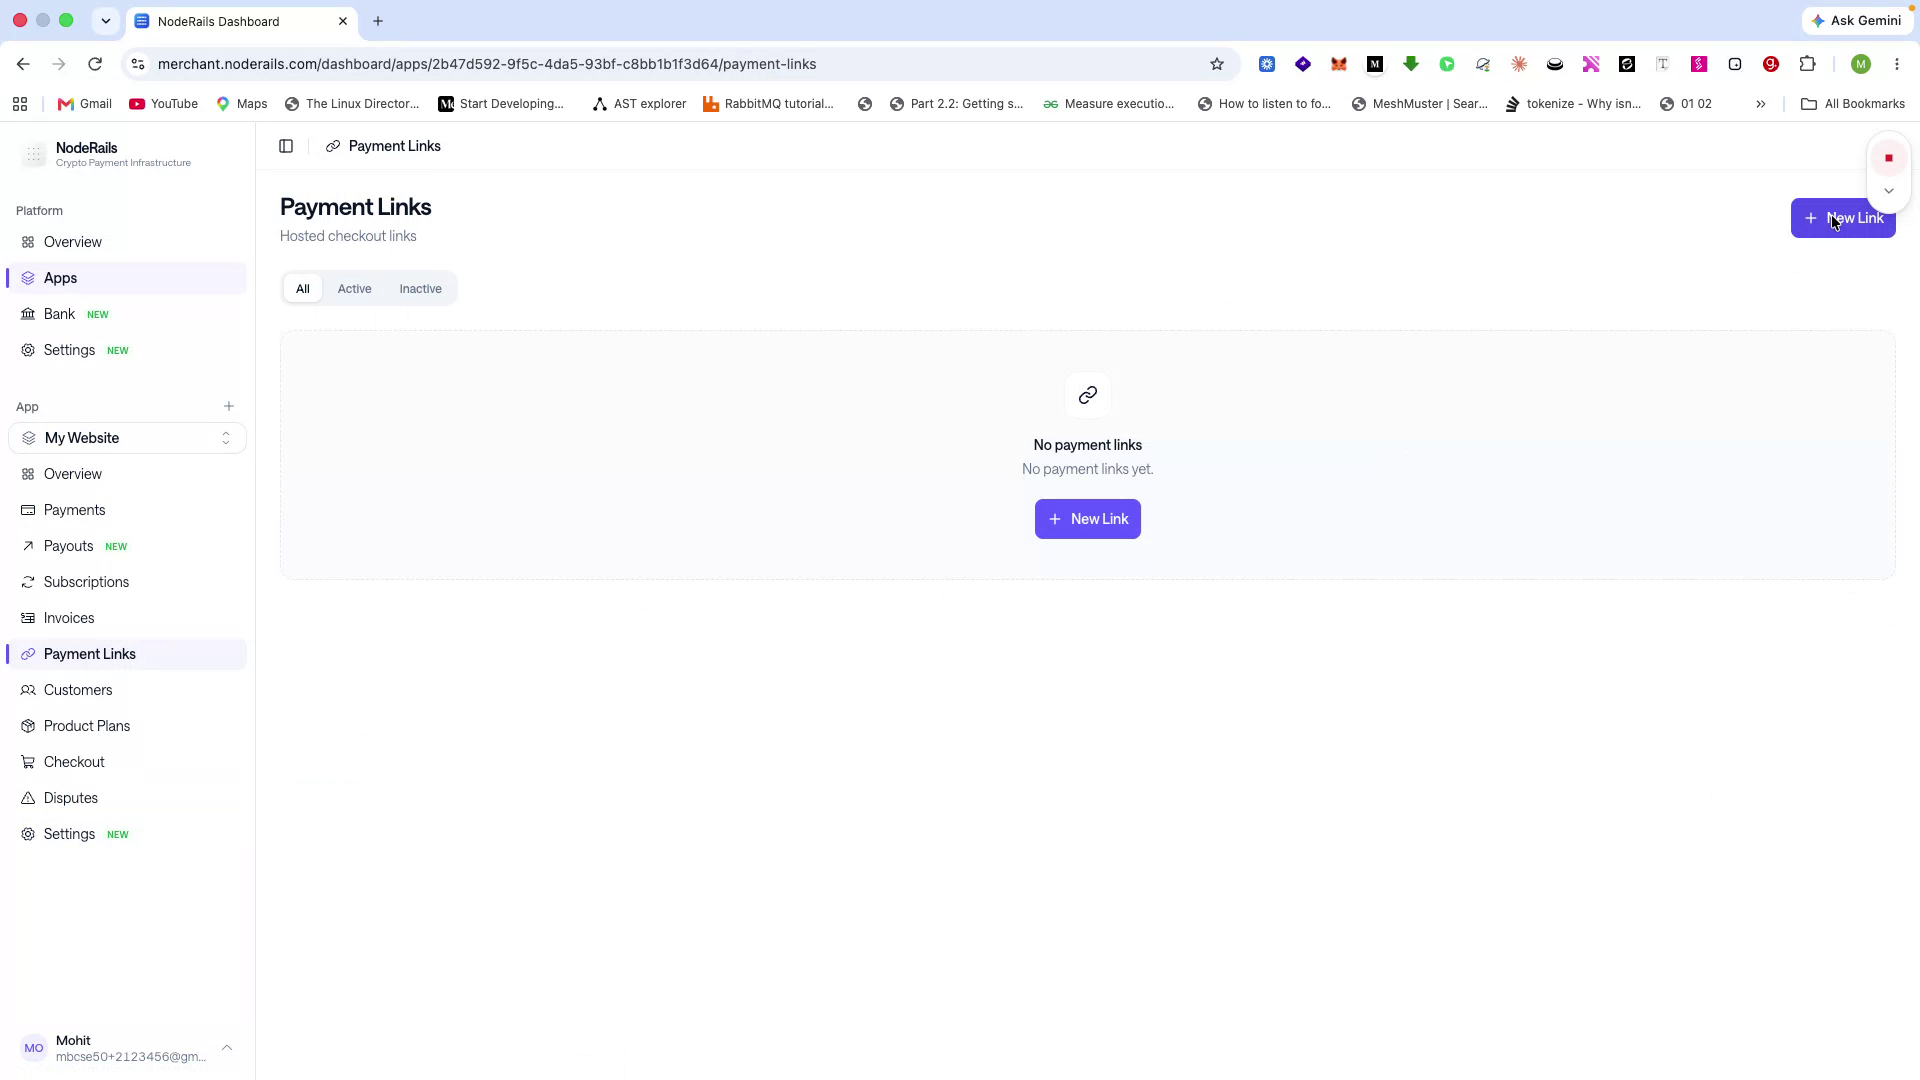
To create a new payment link, open the Payment Links section.
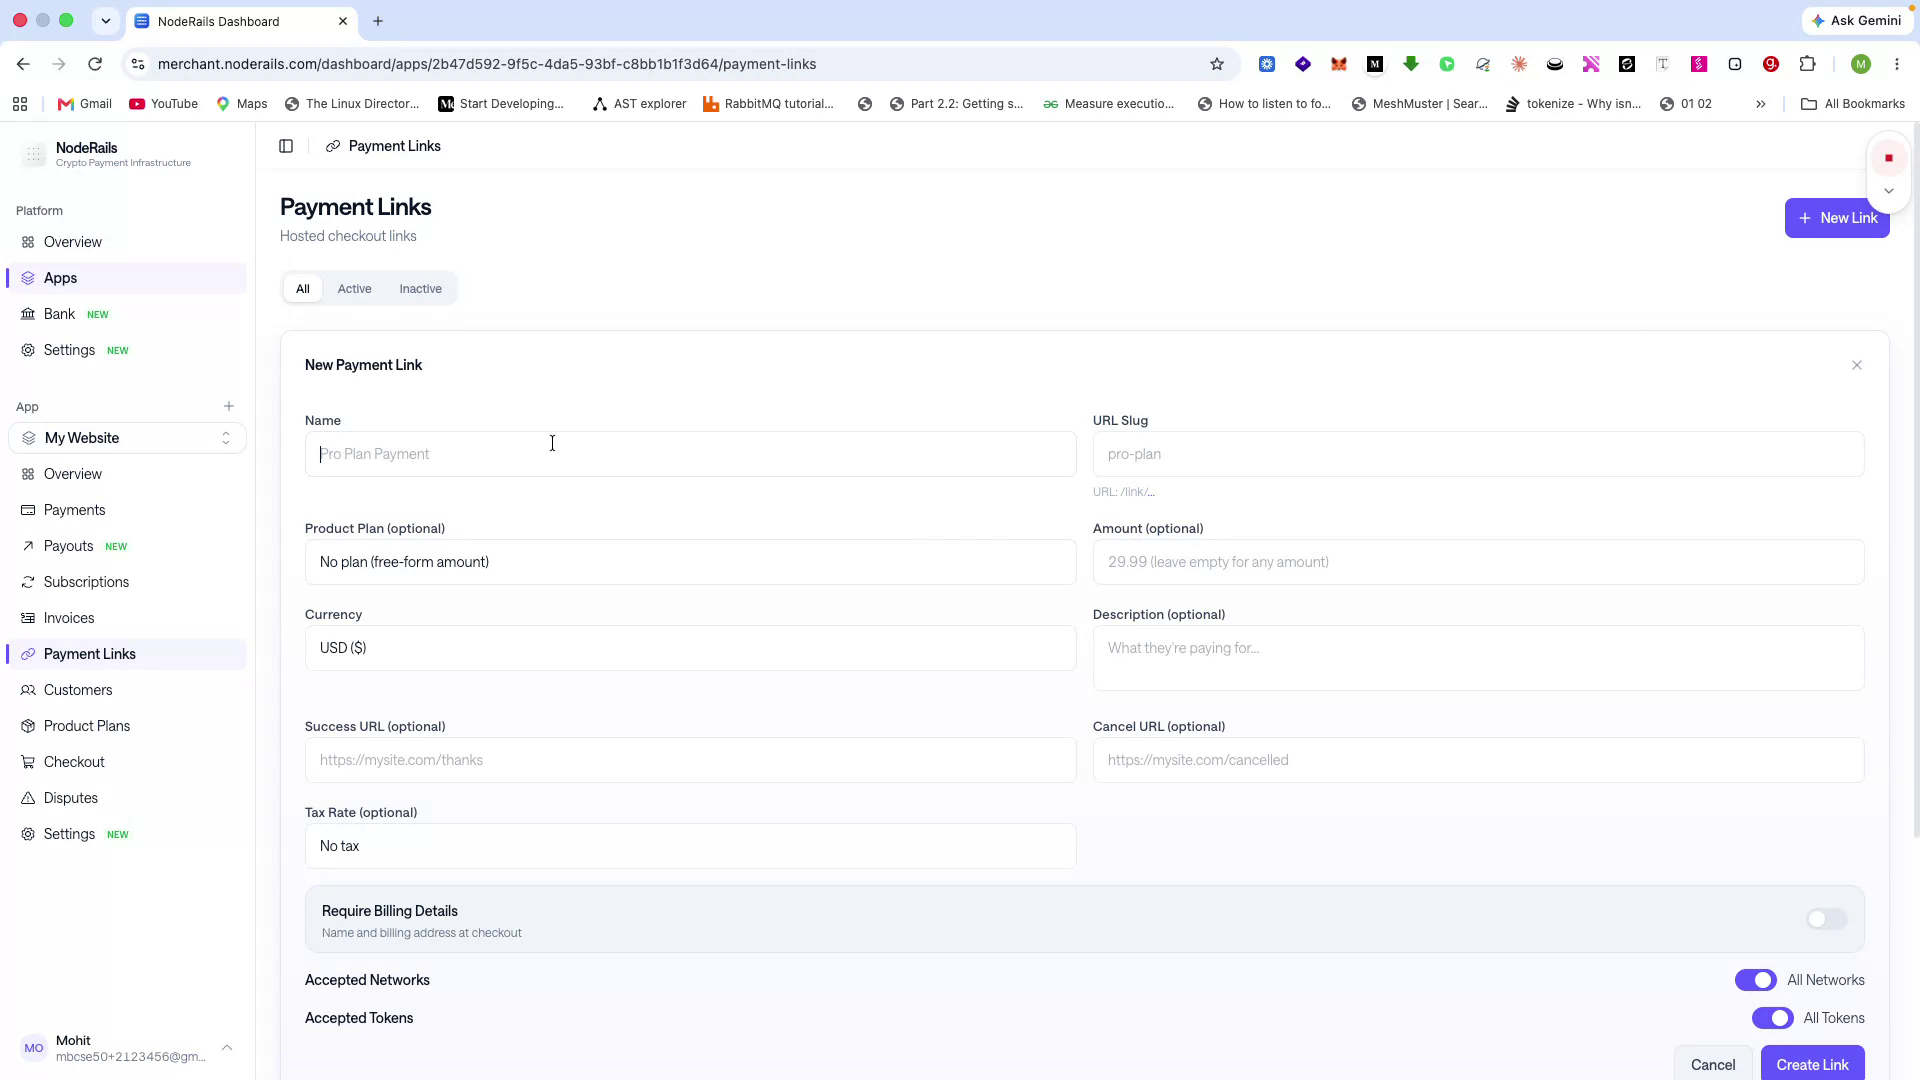
Name the payment link (for example, “Pro Payment Link for My Web App”).
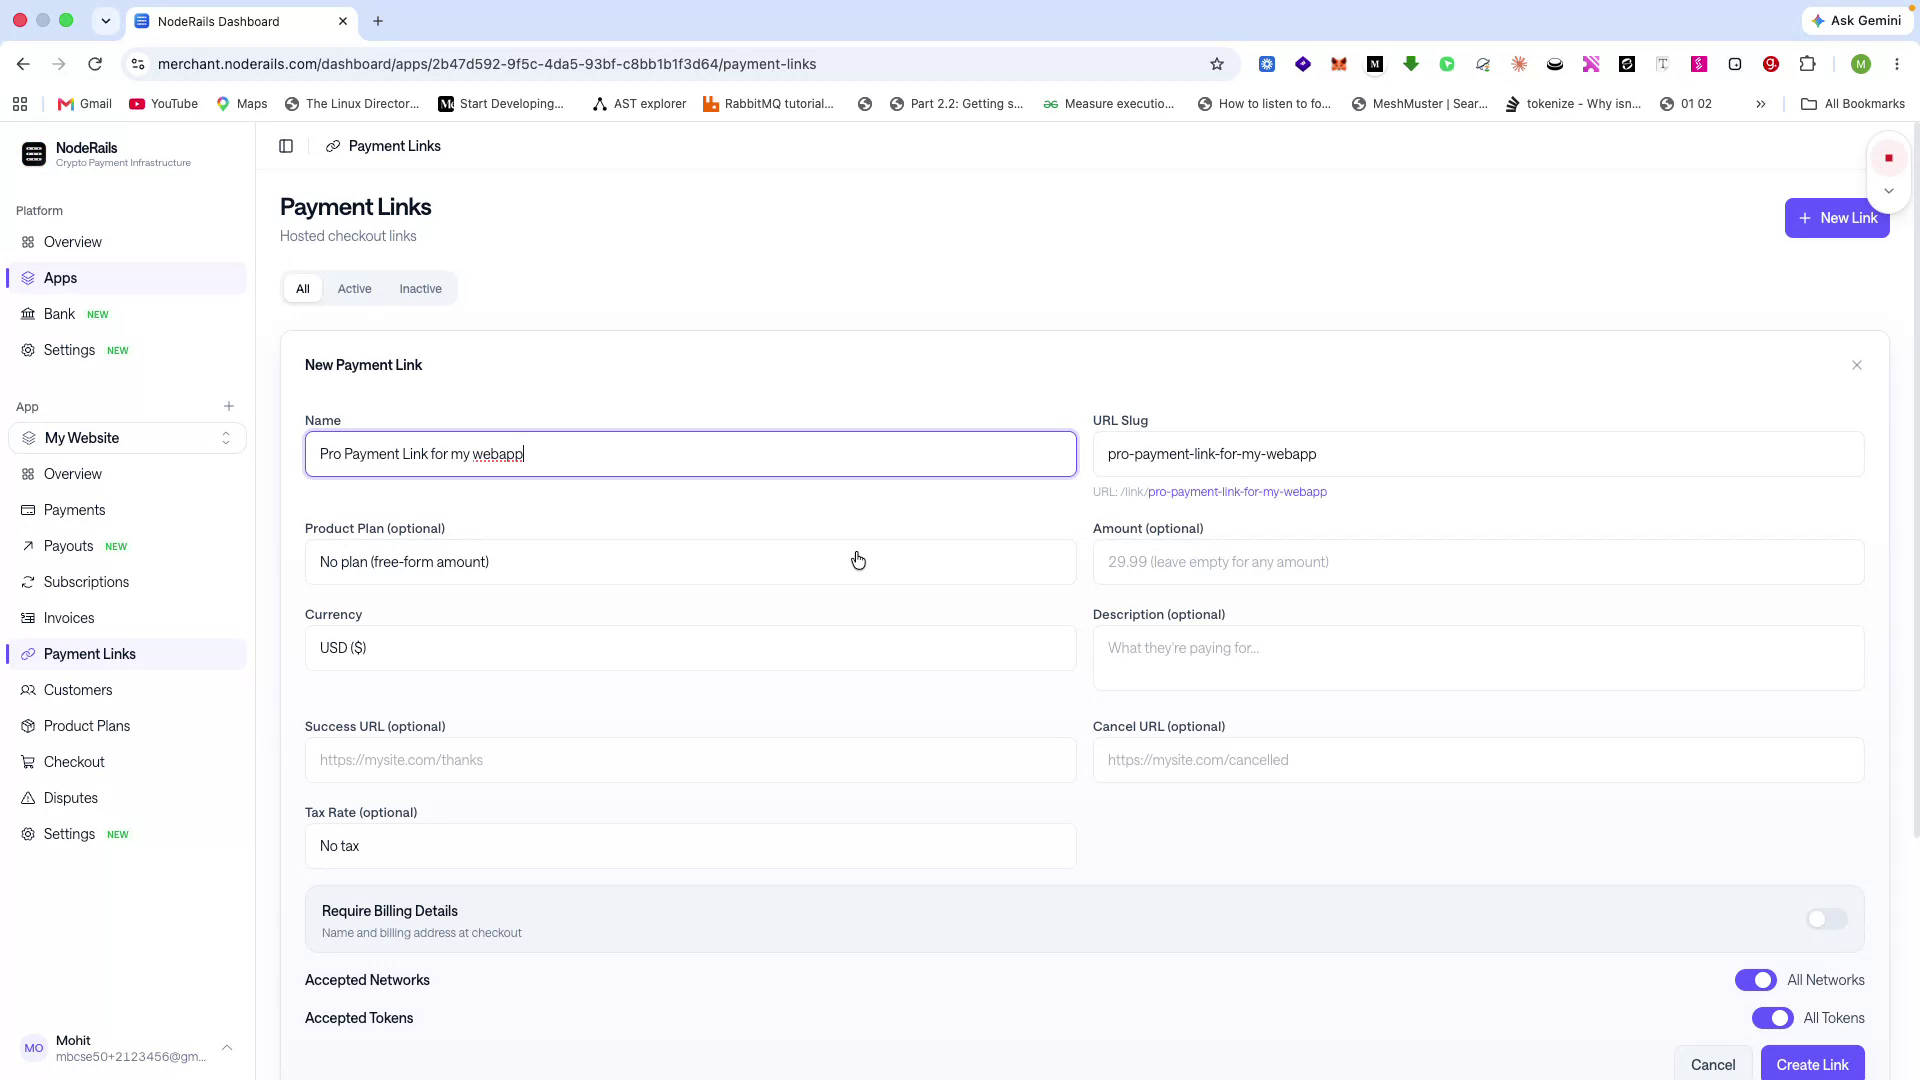
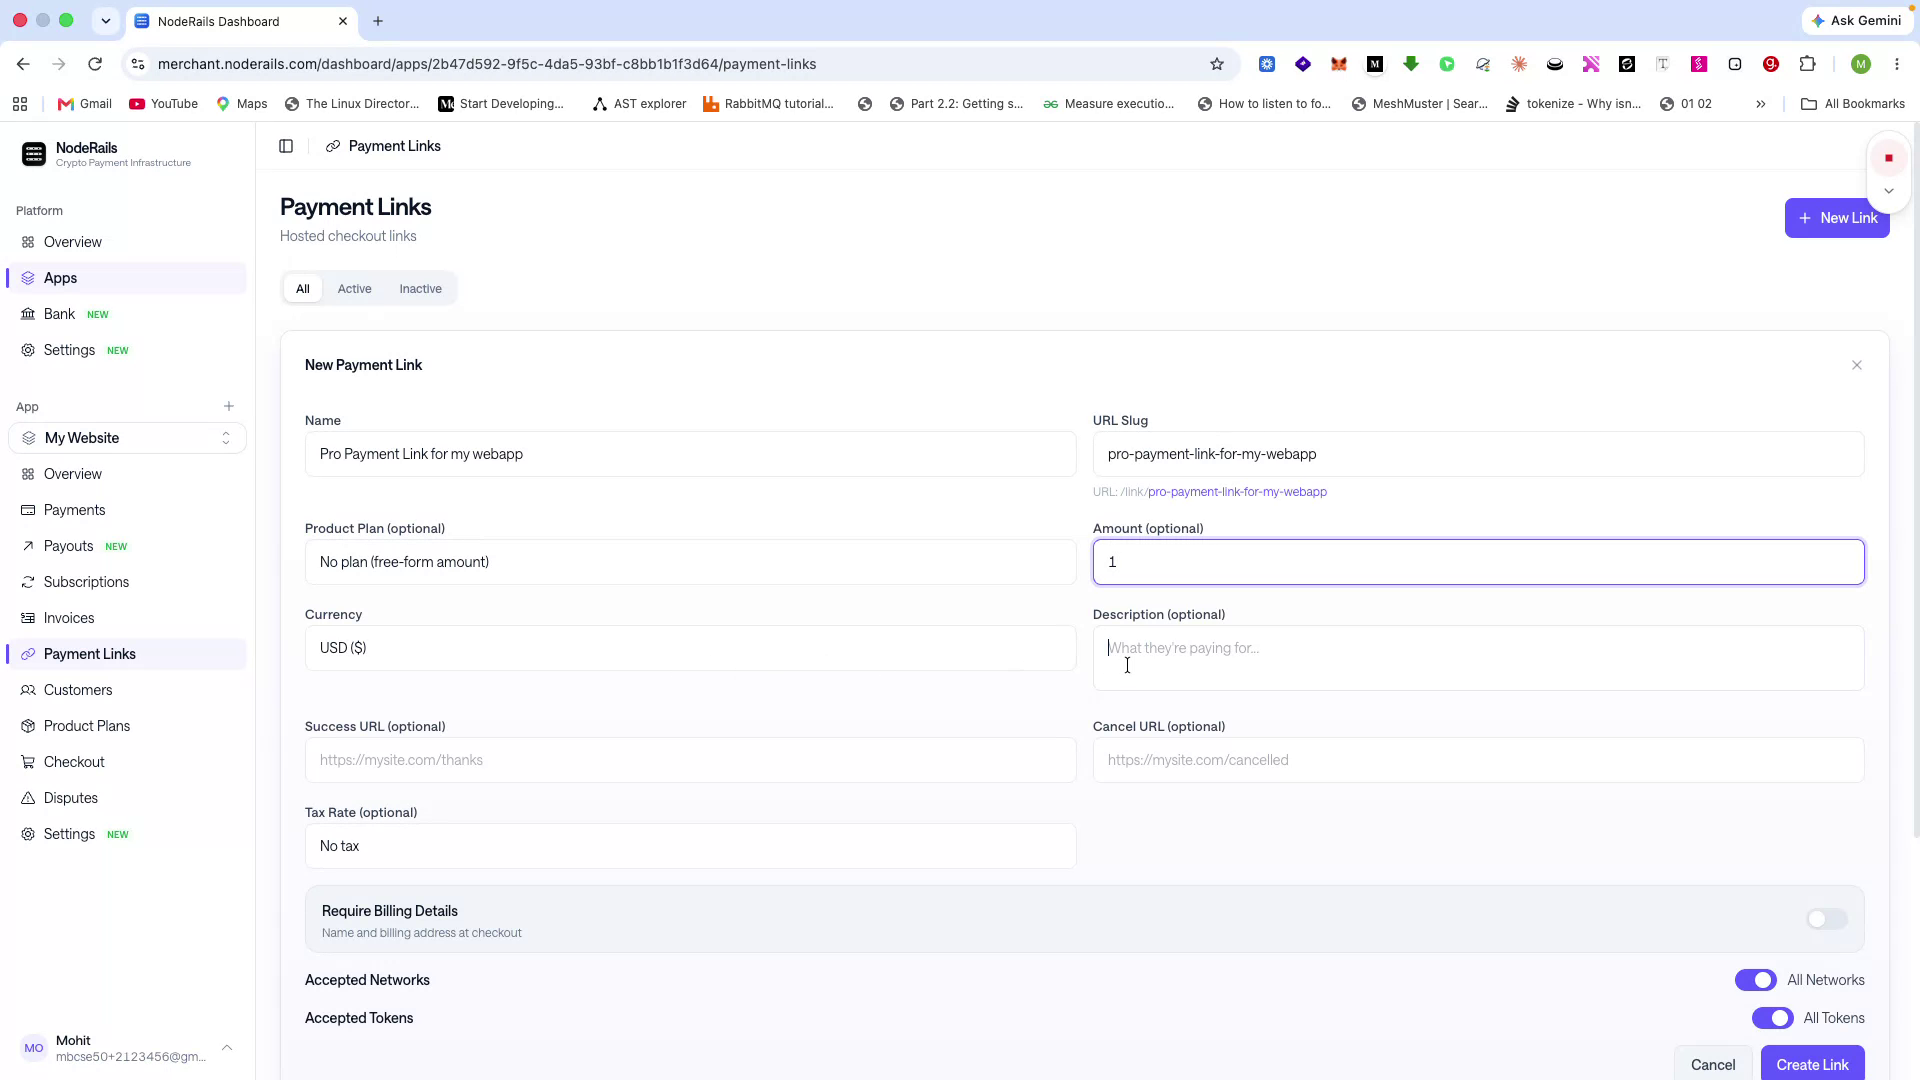
Optionally, select an existing product plan. If you do not have product plans configured, you can simply specify the amount directly (e.g., 1 USD).
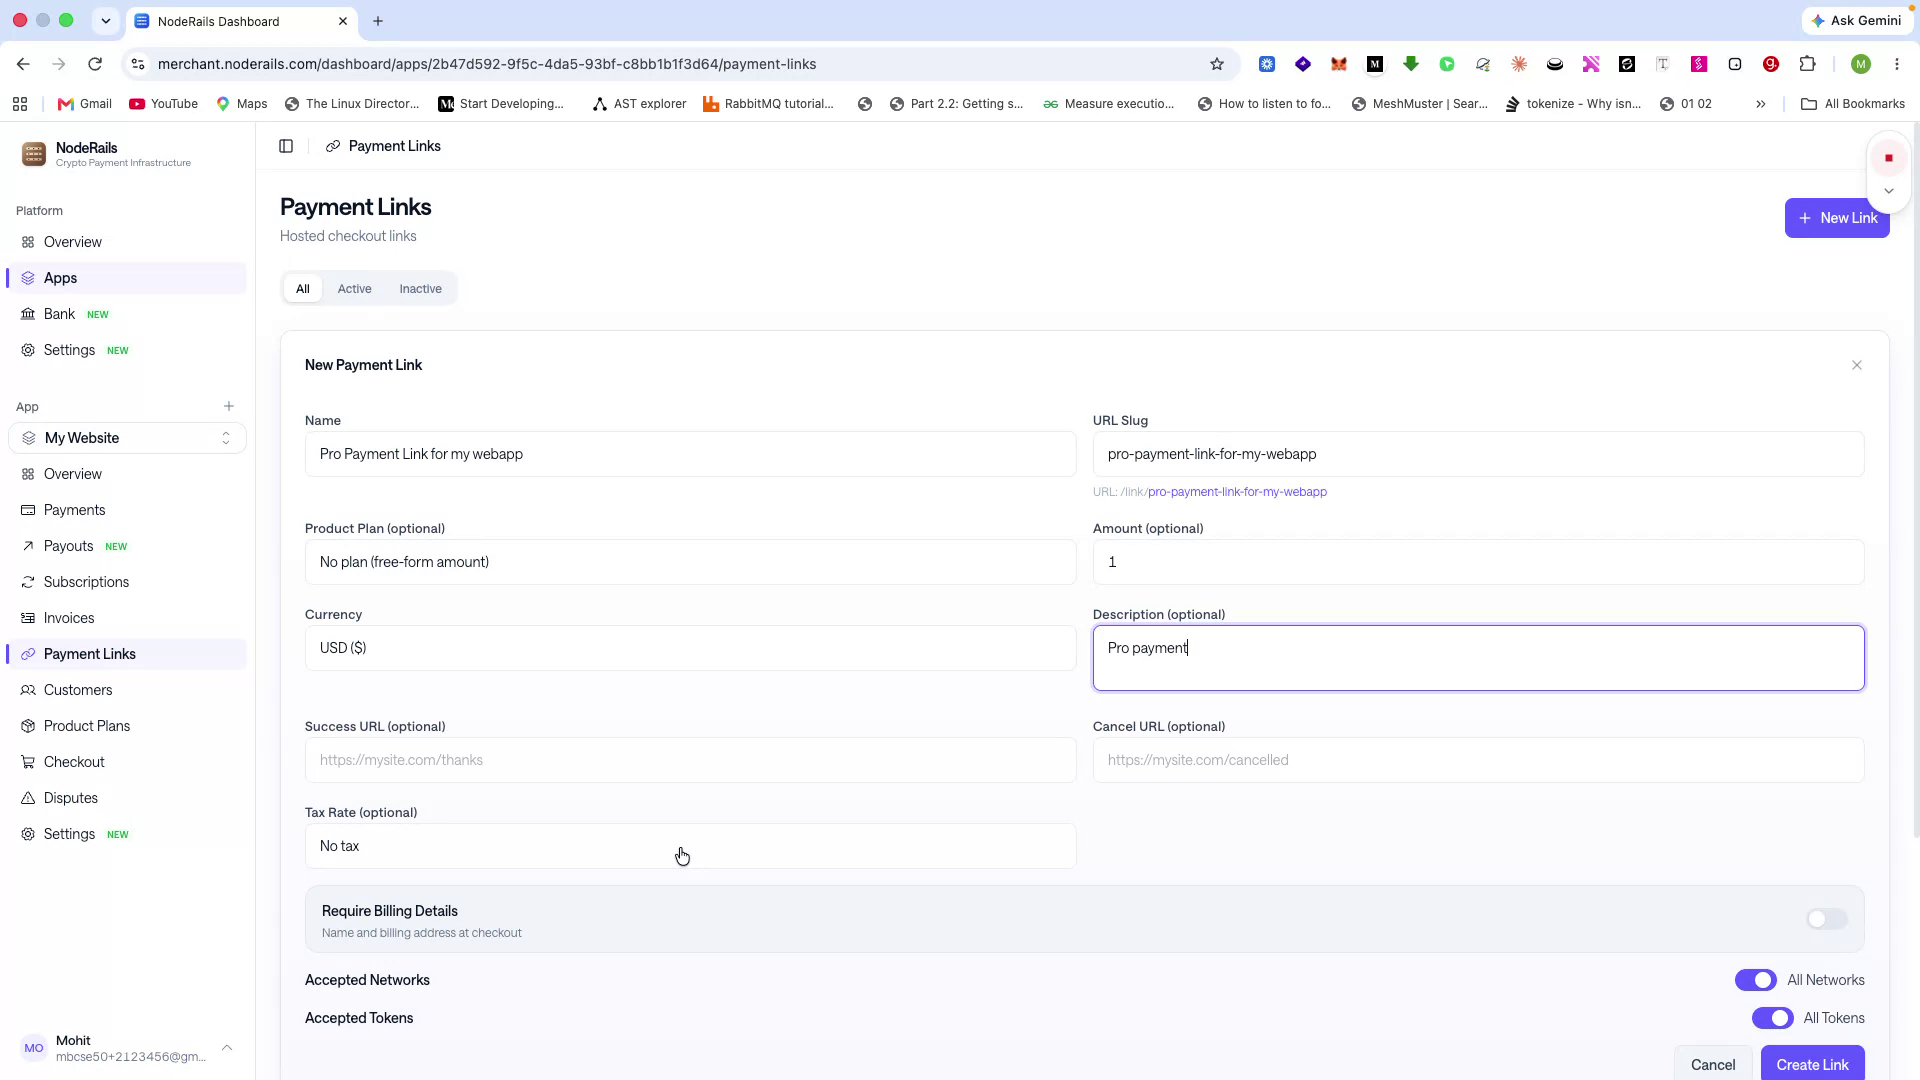
Add a description for the payment link. You can also configure success and cancel URLs to redirect users after payment. If you have set up tax rates, you can select the applicable tax rate here.
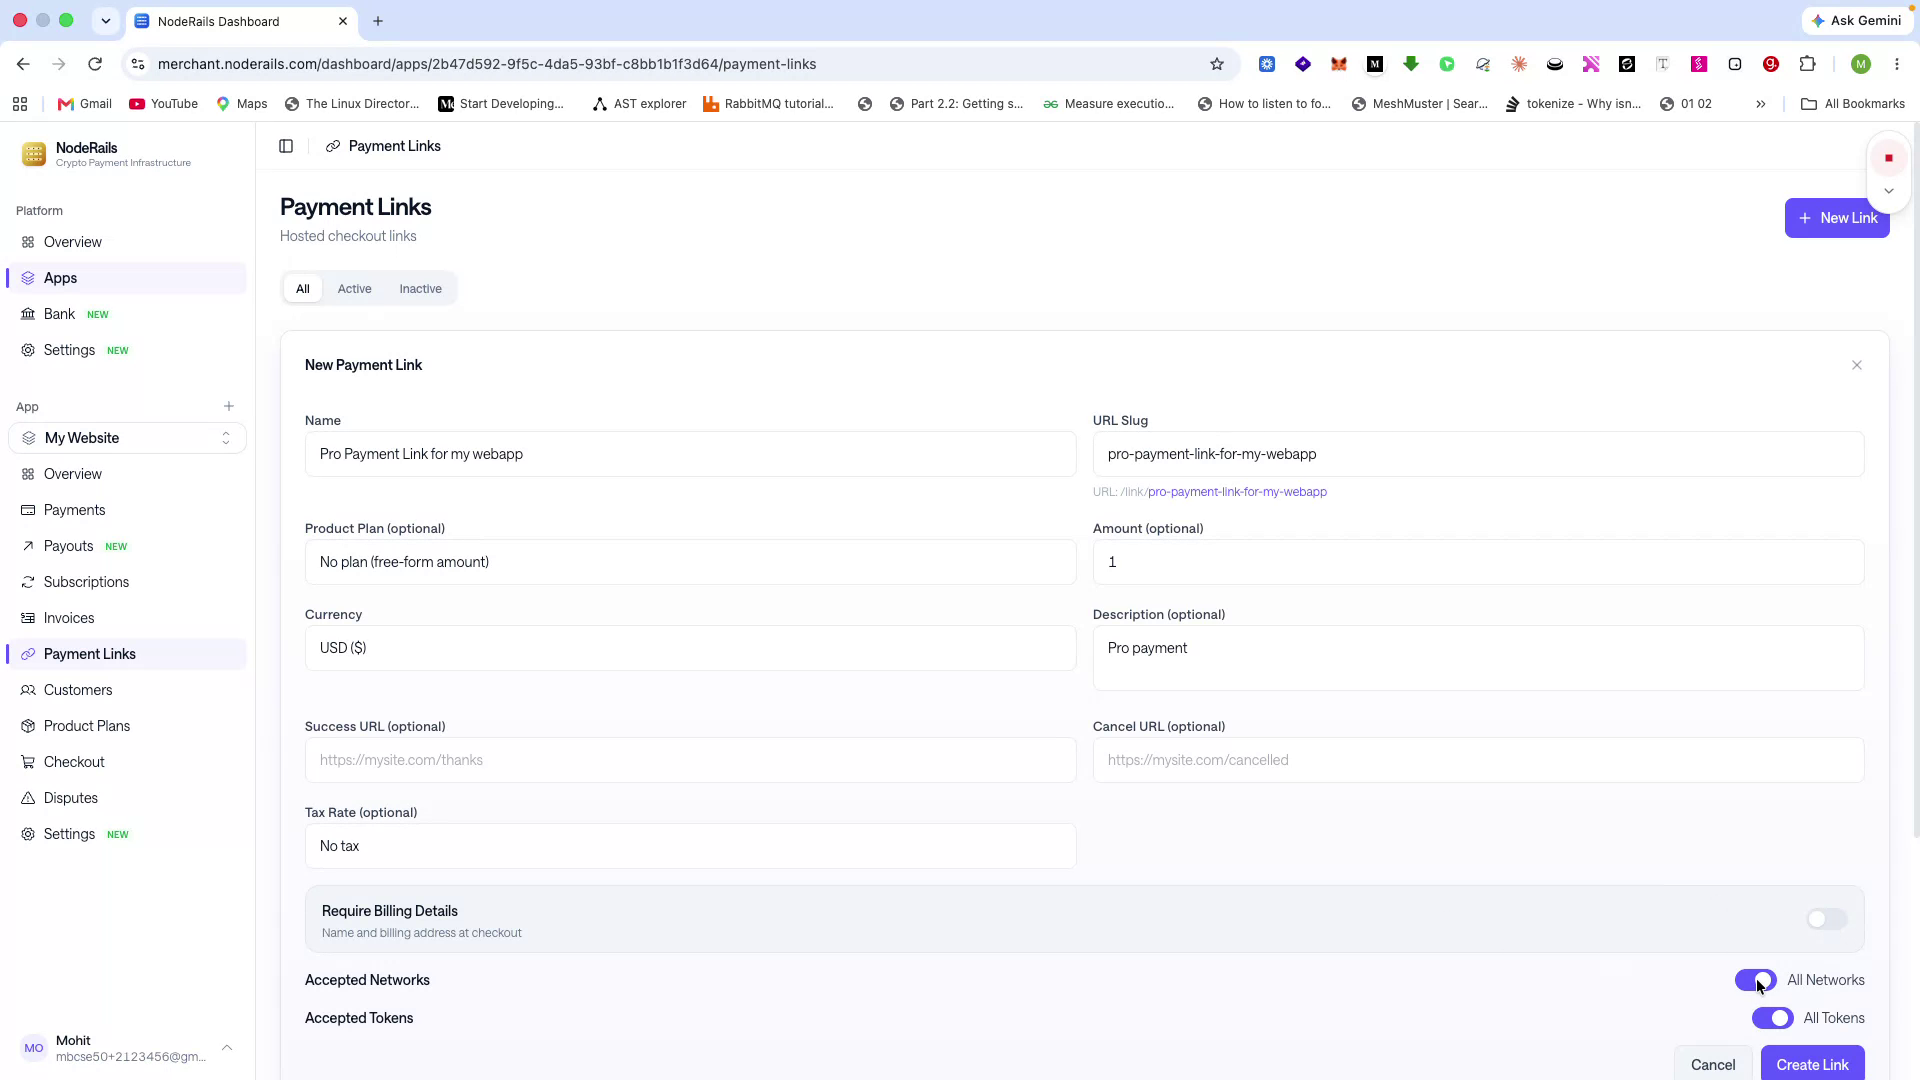
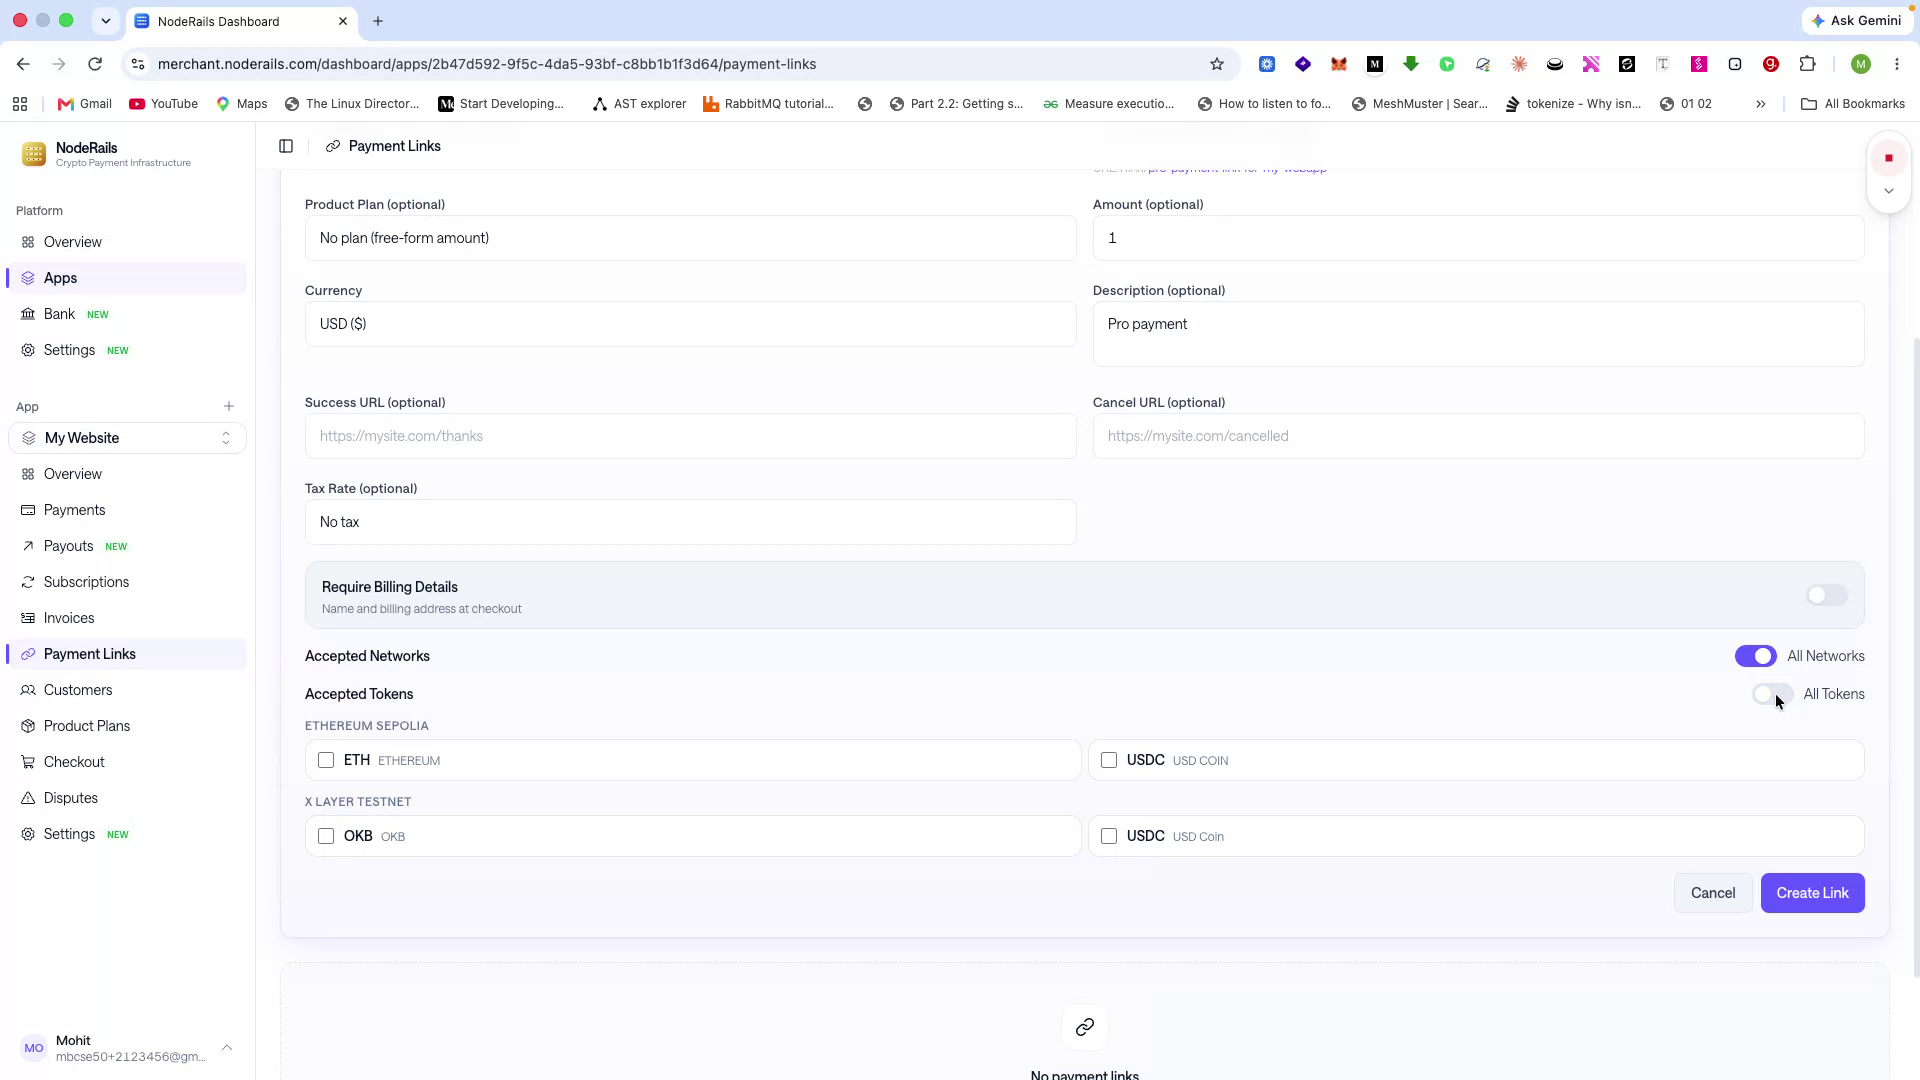
Optionally, require billing details from the payer and configure which networks and tokens will be accepted for this specific payment link.
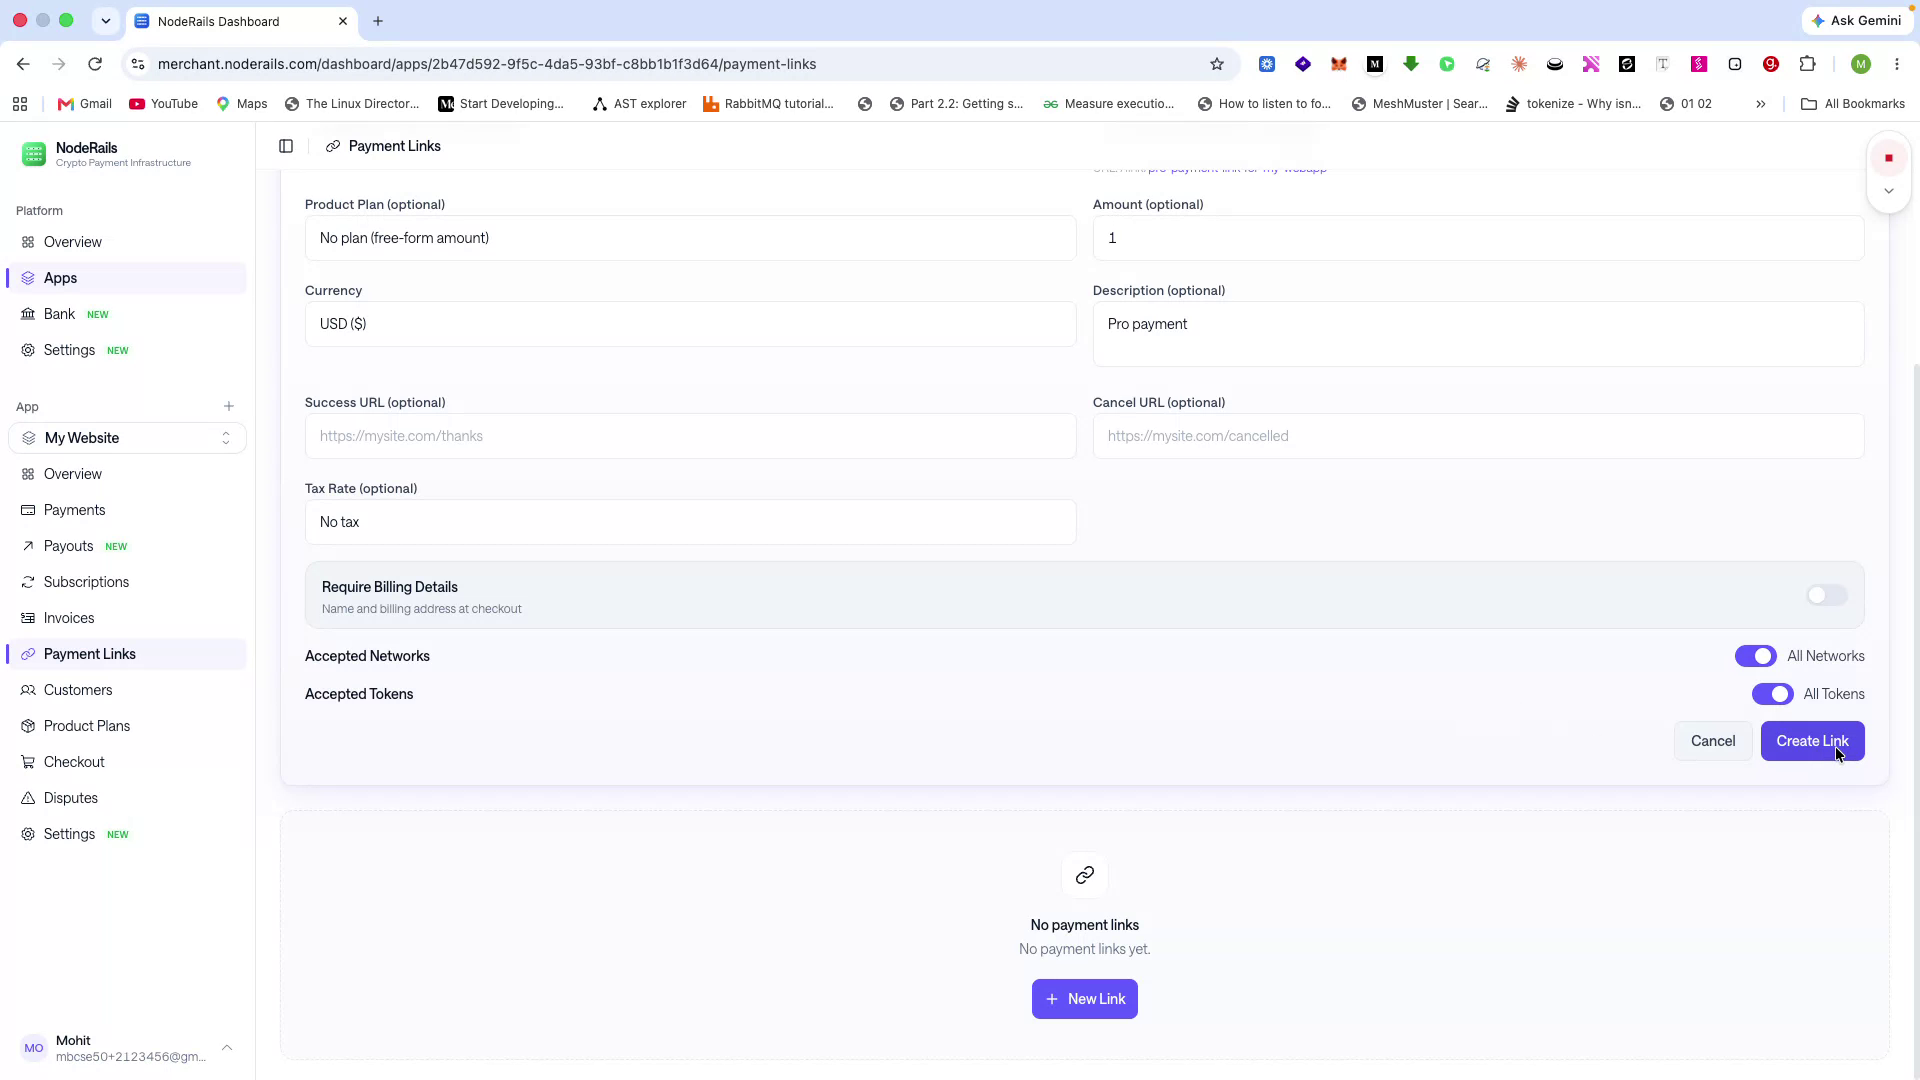
Once everything is configured, click Create Link.
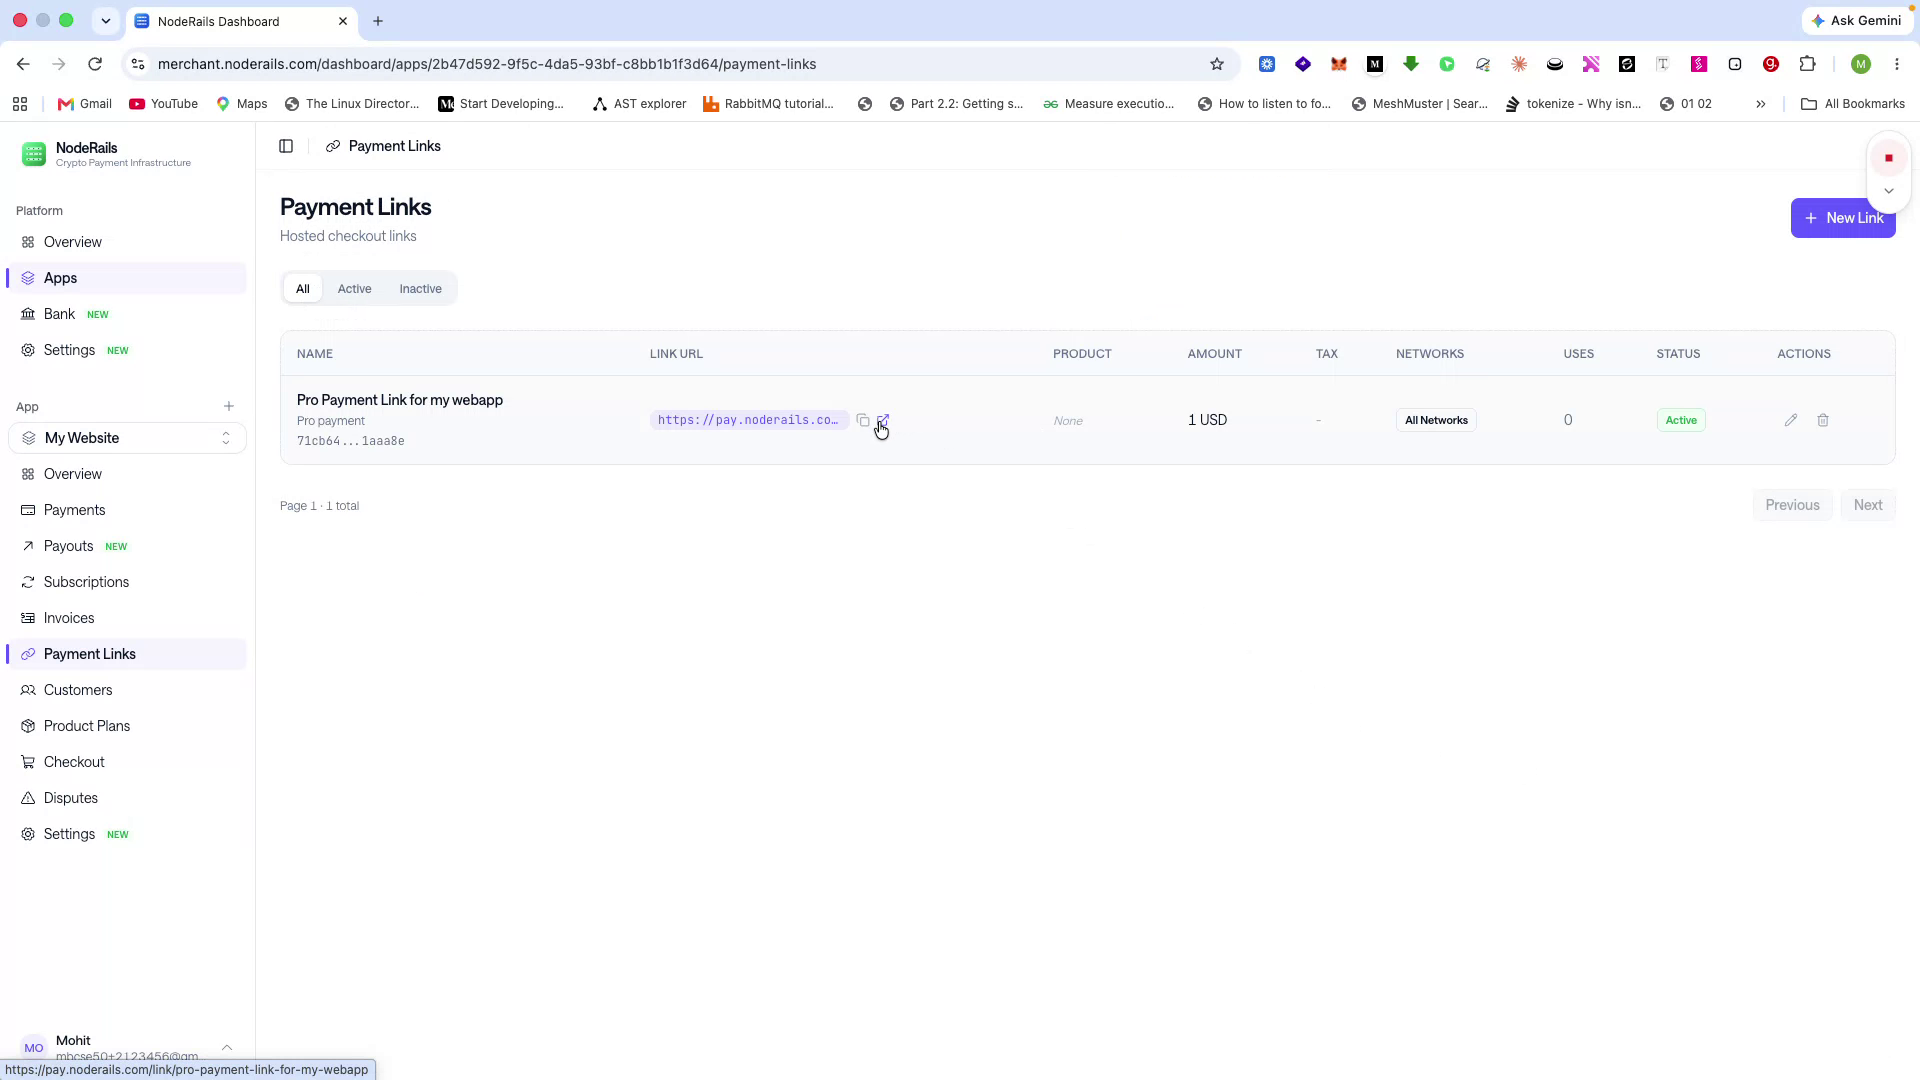
A payment link URL will be generated, which you can share with your customers. This link opens the checkout page they will use to pay.
Understand the Customer Checkout Experience
Step 11 of 14
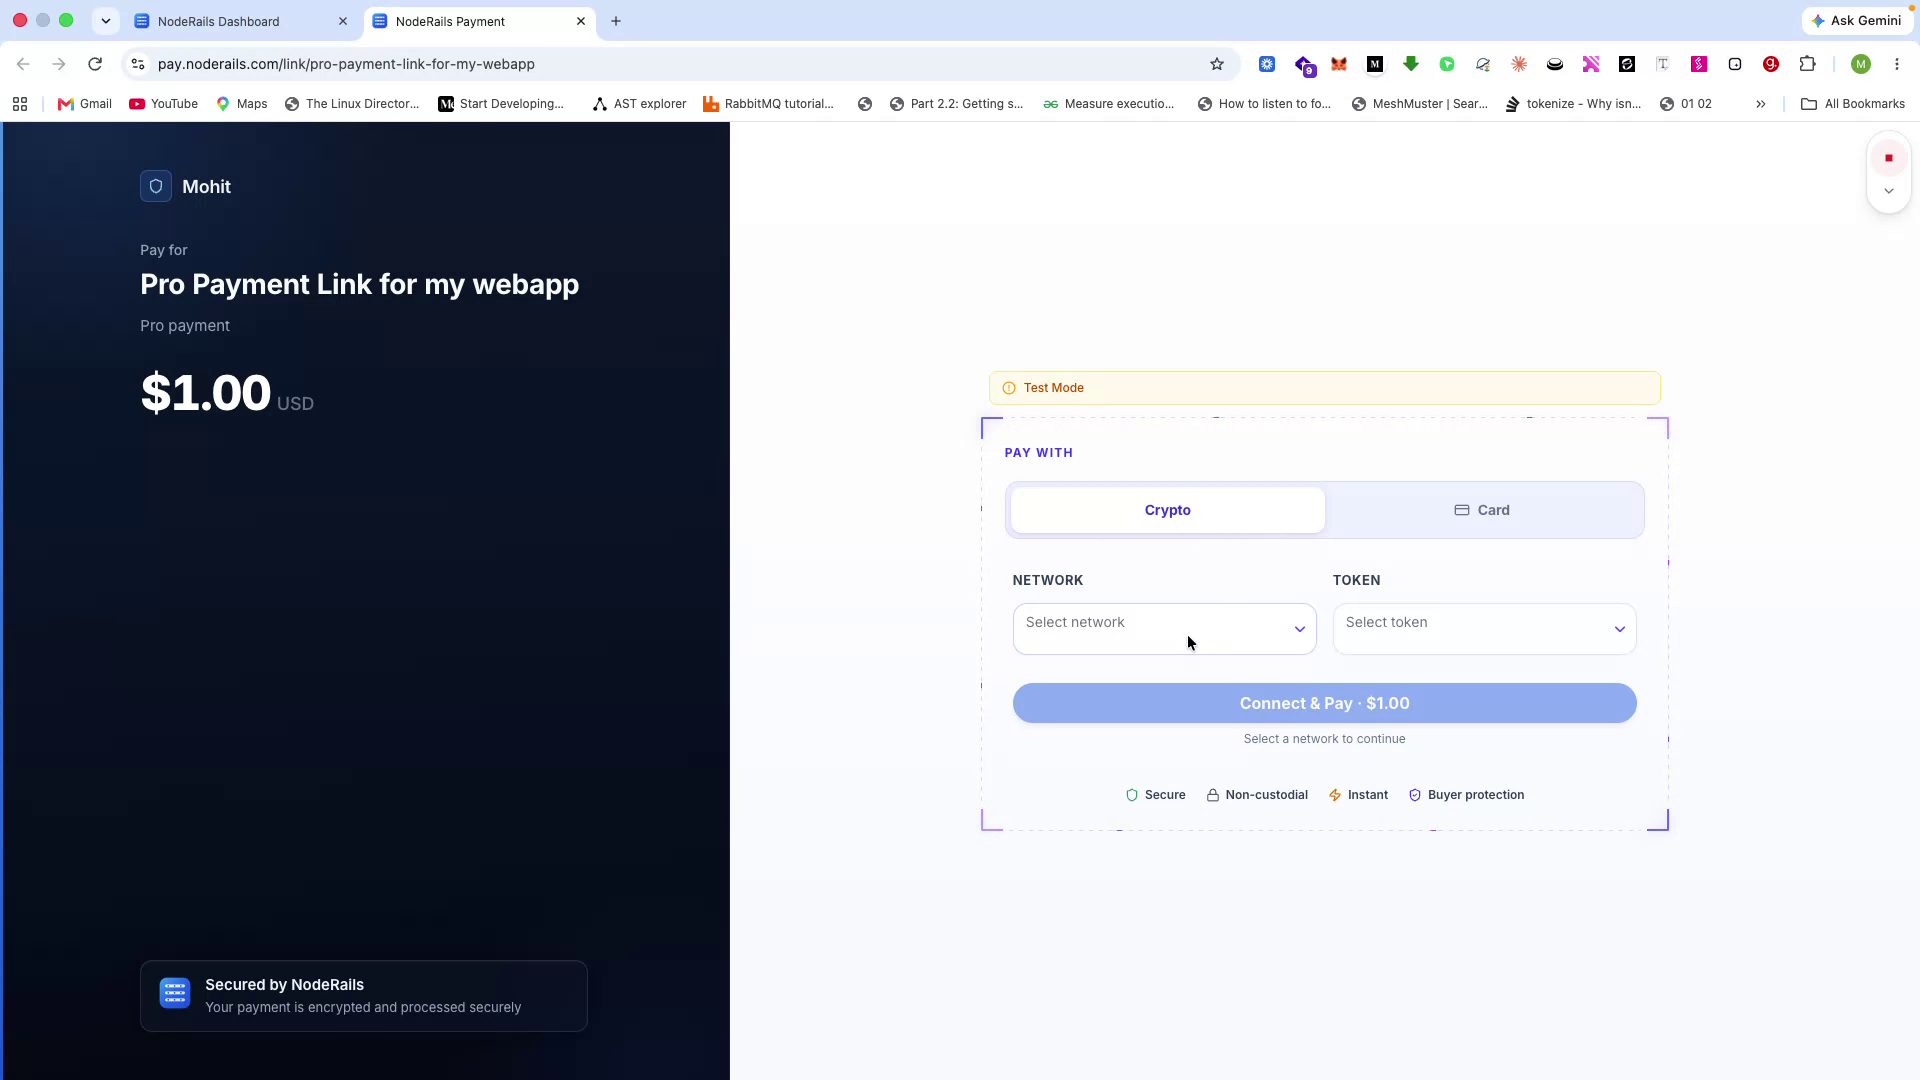
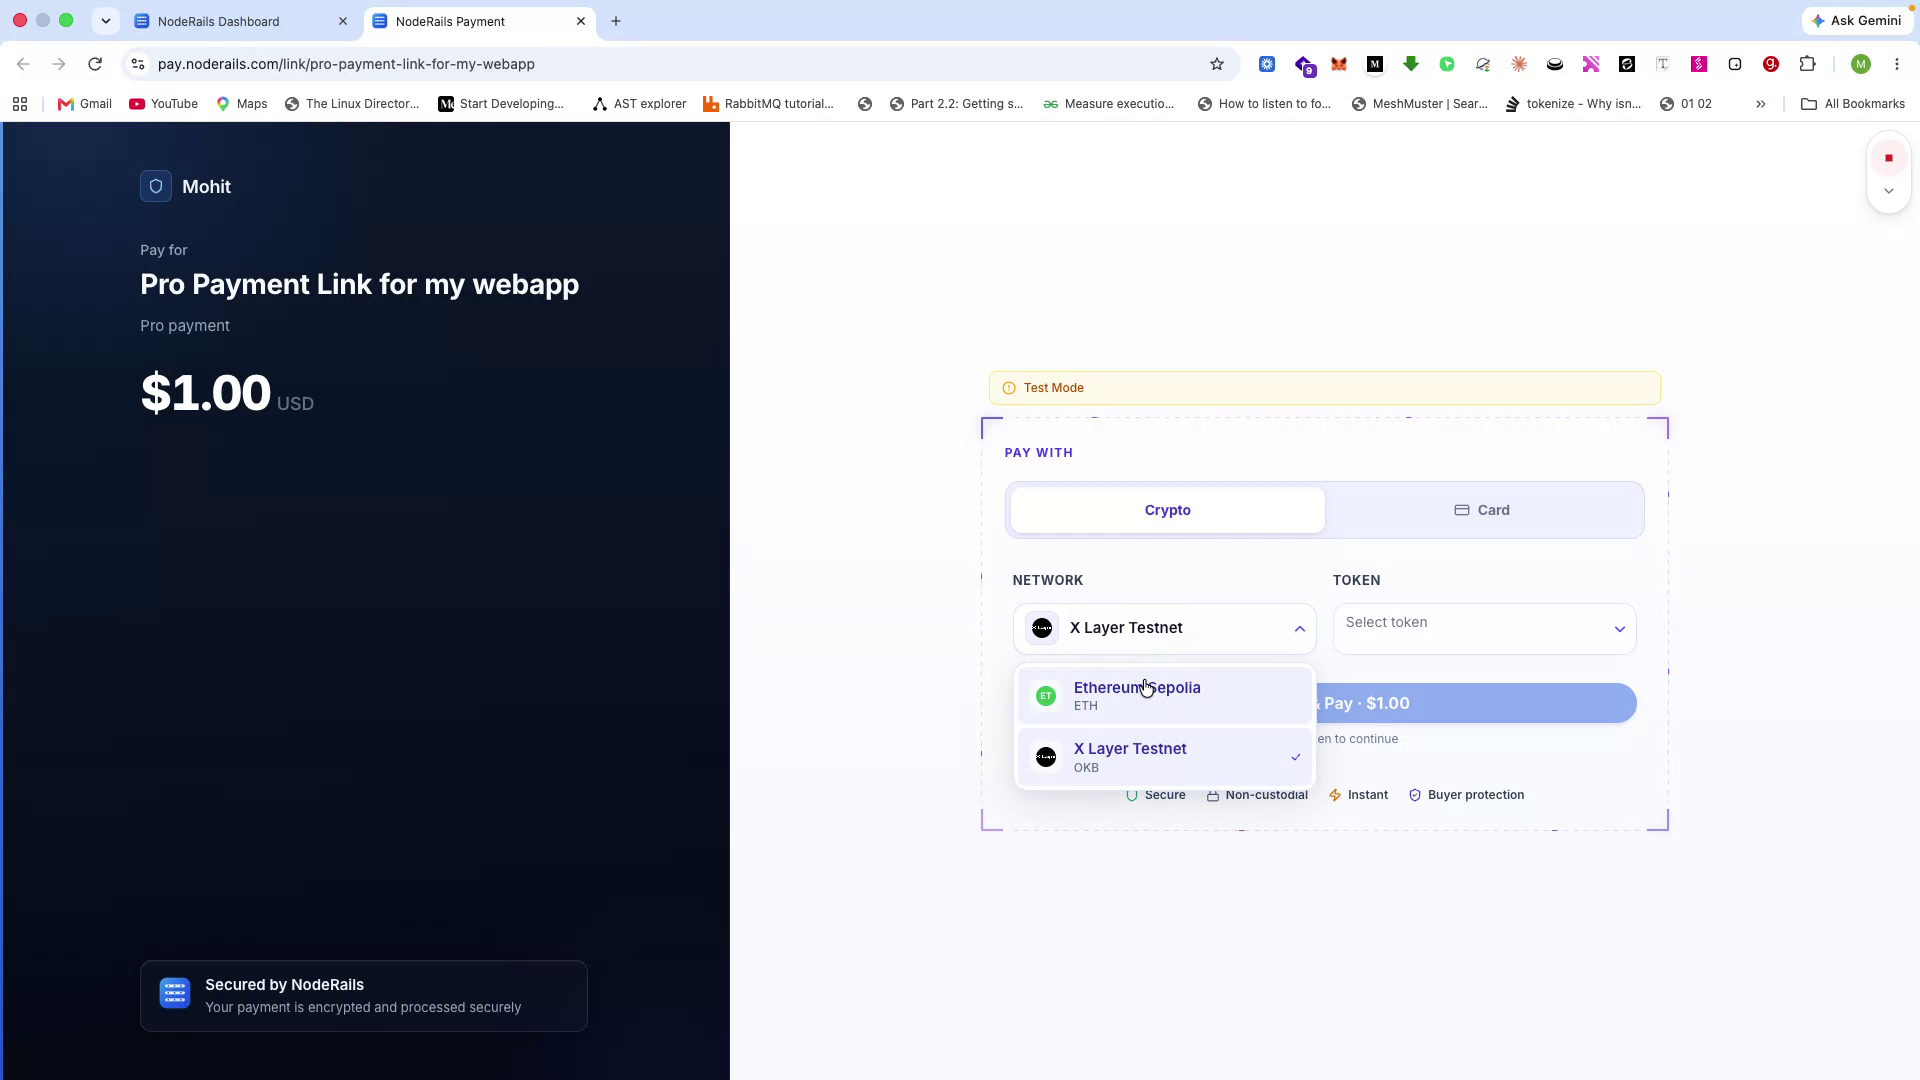
On the checkout page, customers can choose the network they want to use for payment and select the token with which they want to pay.
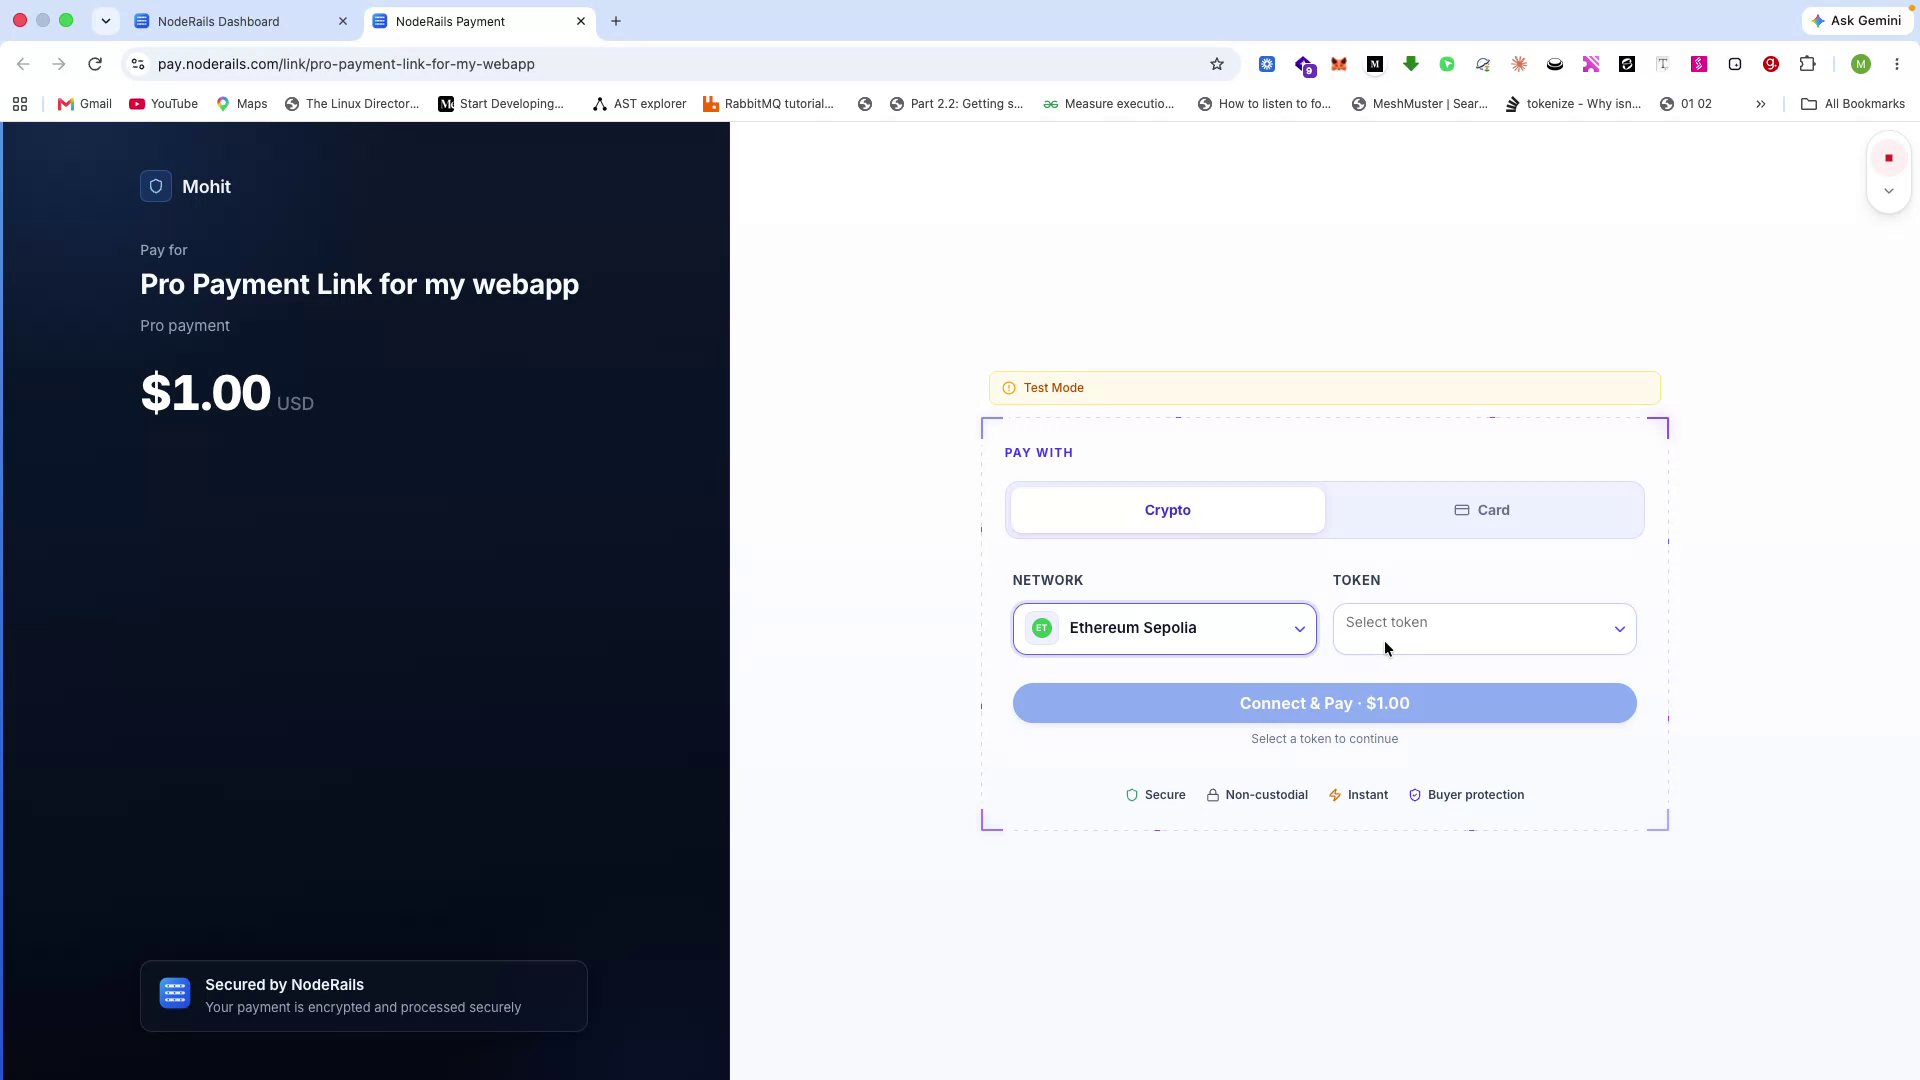
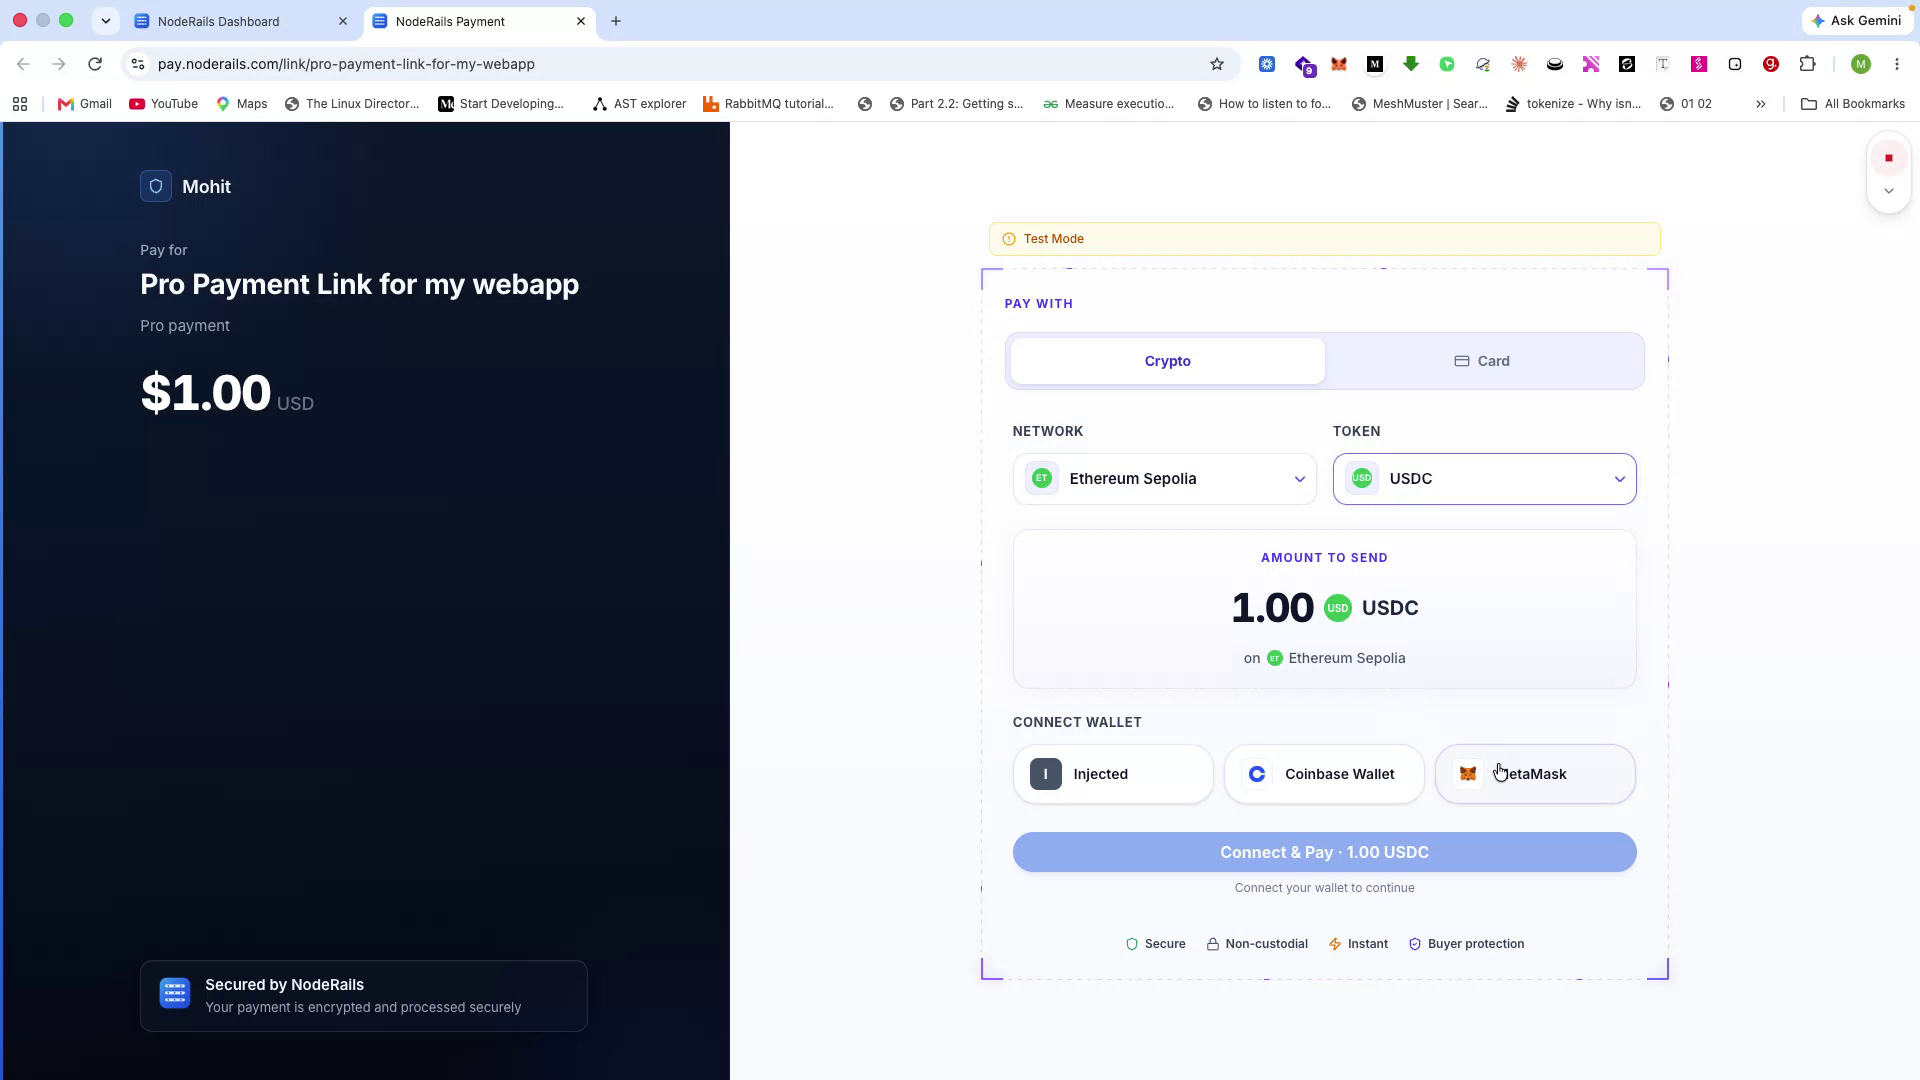
They can also choose their preferred currency, and NodeRails automatically handles currency conversion.
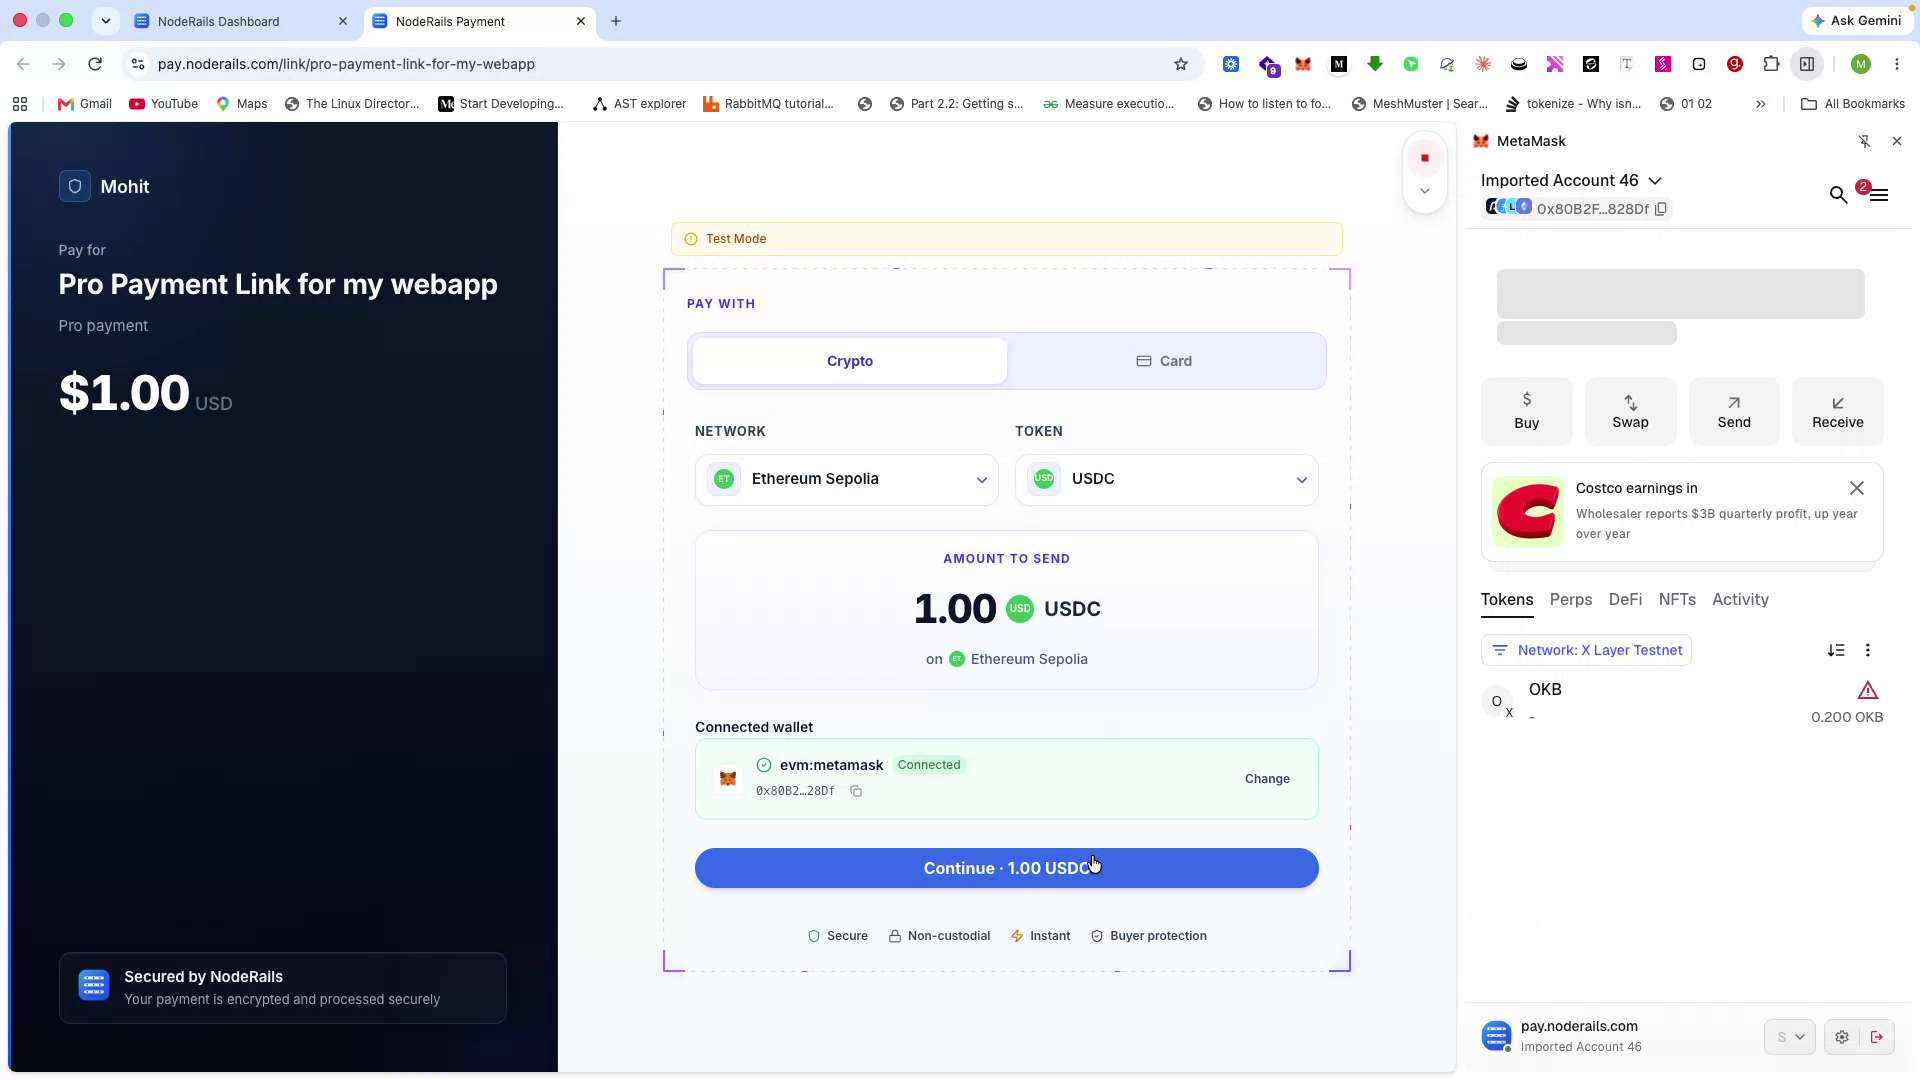
In just a few clicks, customers connect their wallets seamlessly.
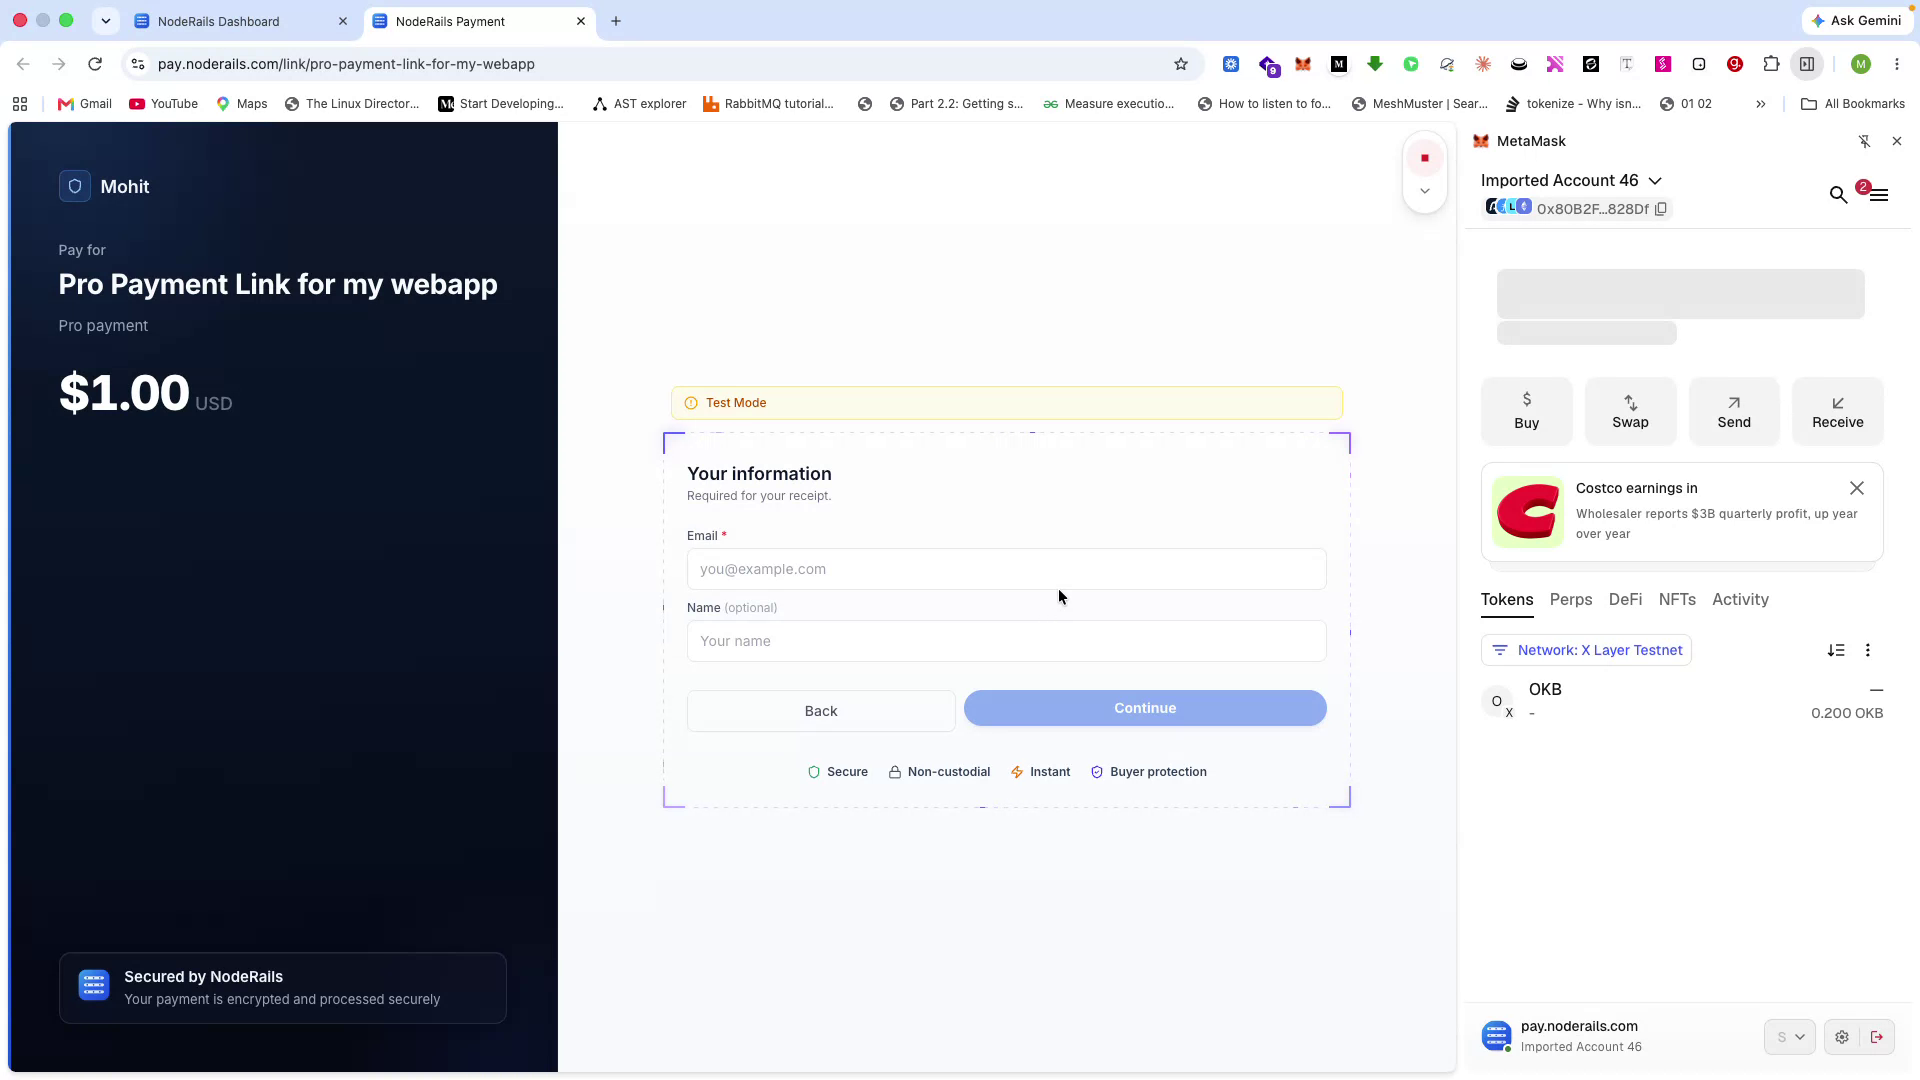
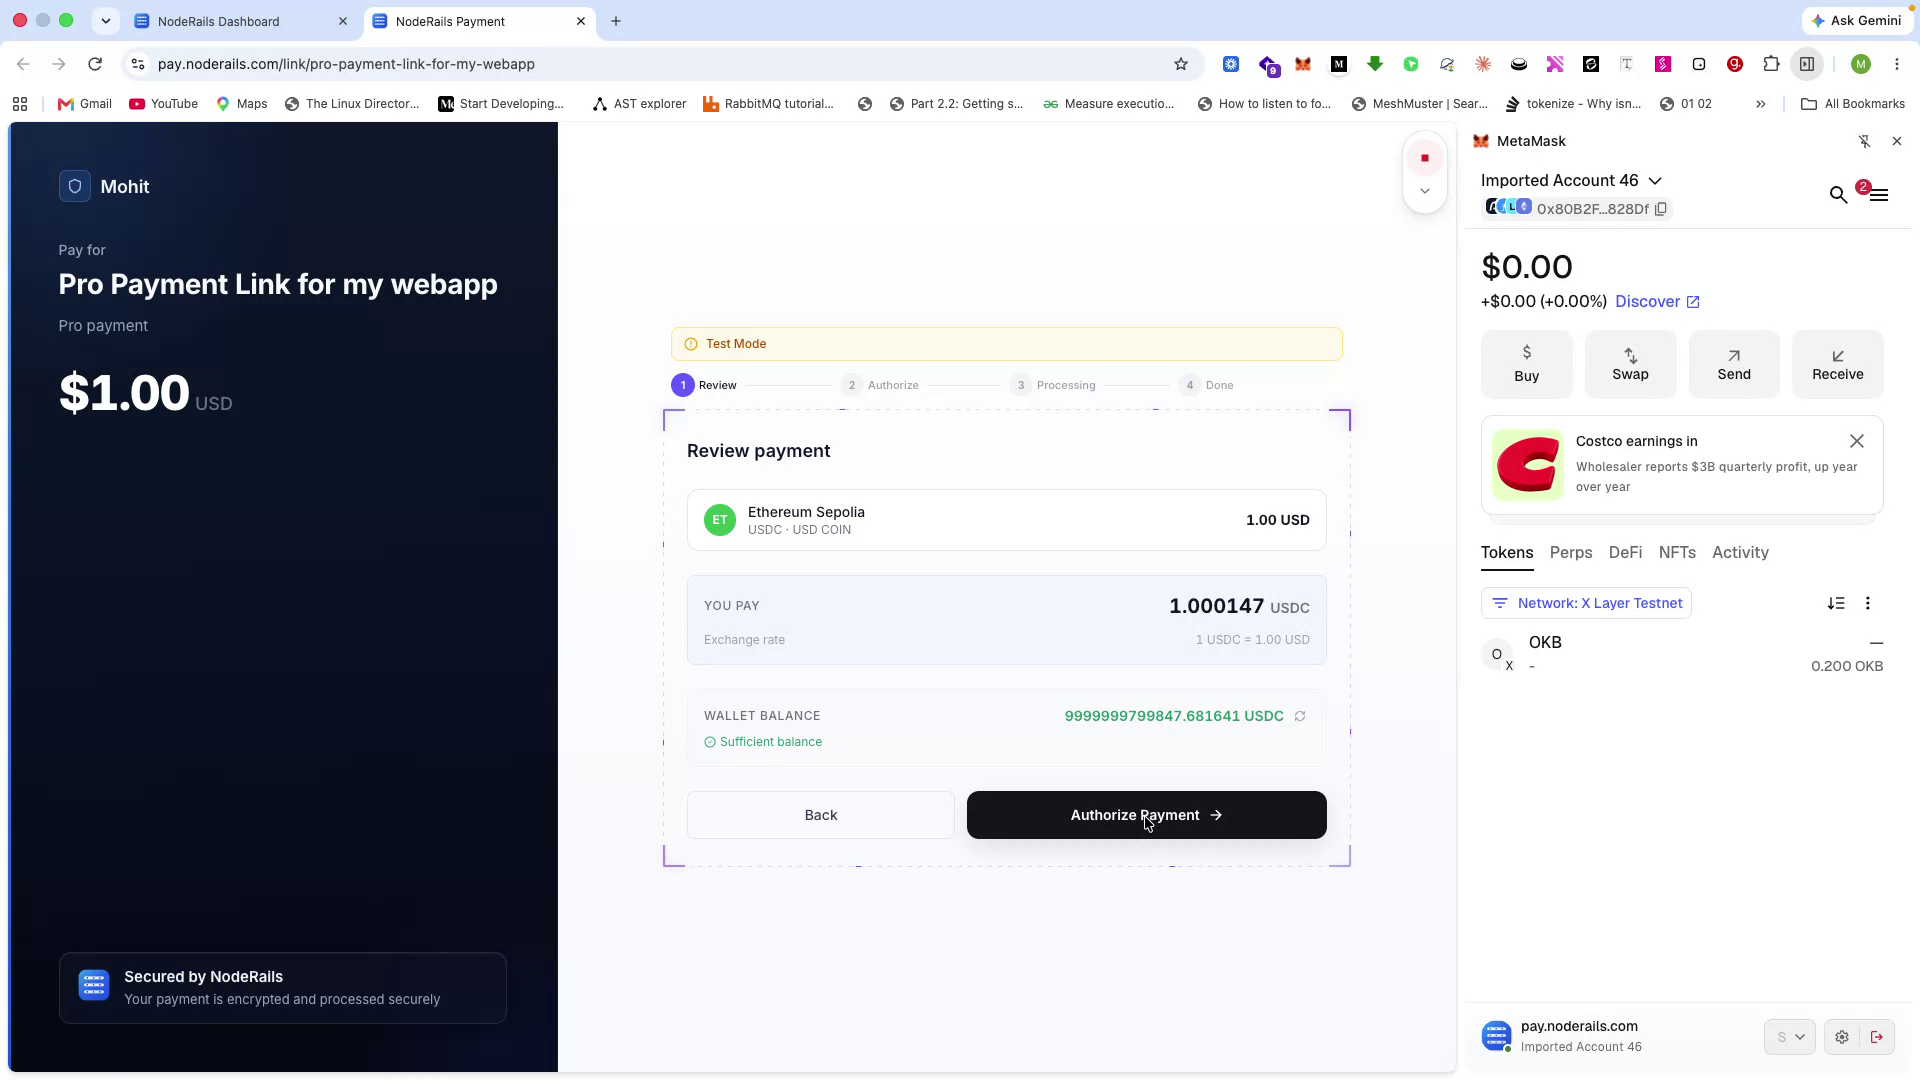
They then provide their email address and billing information and proceed to authorize the payment.
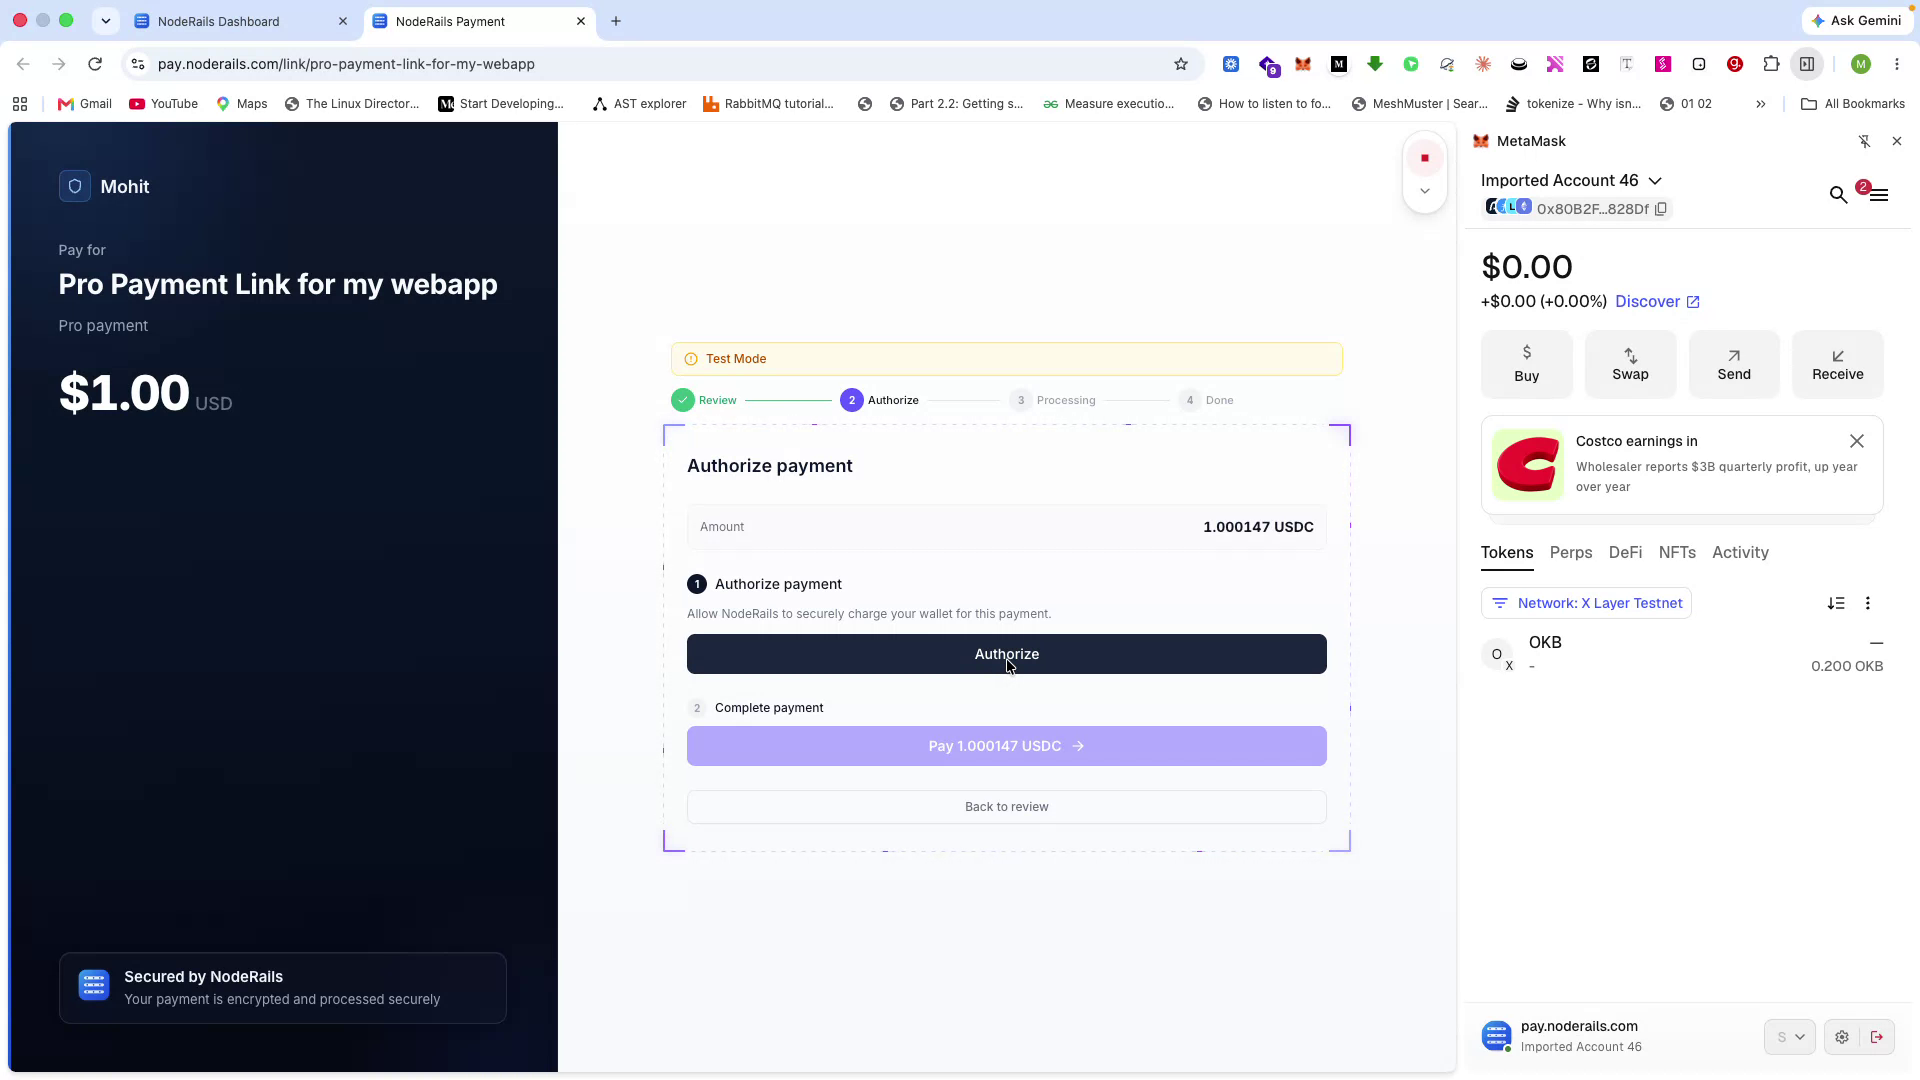
NodeRails divides the payment lifecycle into three states:
- Authorize - The user authorizes spending from their wallet, but funds are not yet deducted.
- Capture - Funds are taken from the user’s wallet and are now held for you; you can safely deliver goods or services.
- Settle - Funds are moved from the TimeLock escrow to your wallet.
Authorization is a gasless transaction: the user only needs the token they are paying with and does not incur extra gas fees for the authorization itself.
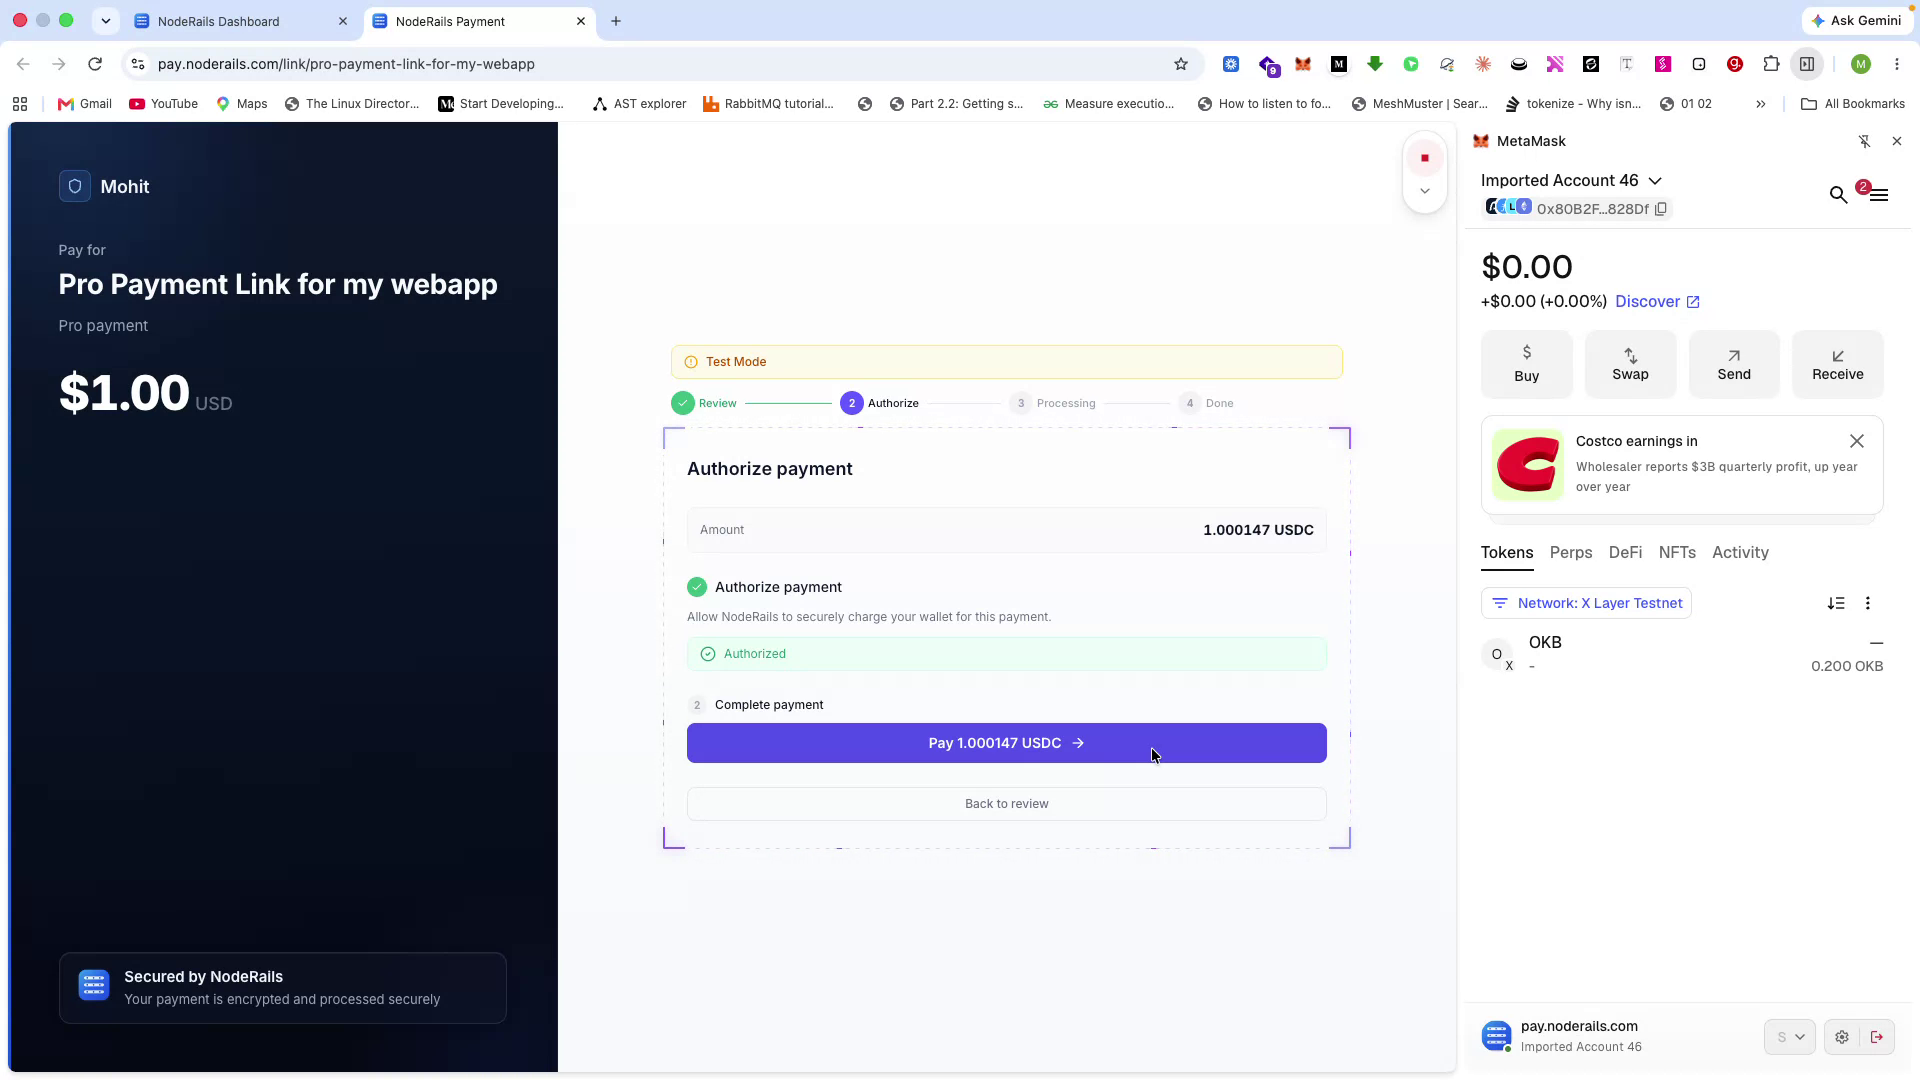
After authorization, the user clicks the Pay button to complete the transaction.
Within a few seconds, the transaction is processed and the payment is marked as successful.
Track Payments and Process Refunds
Step 12 of 14
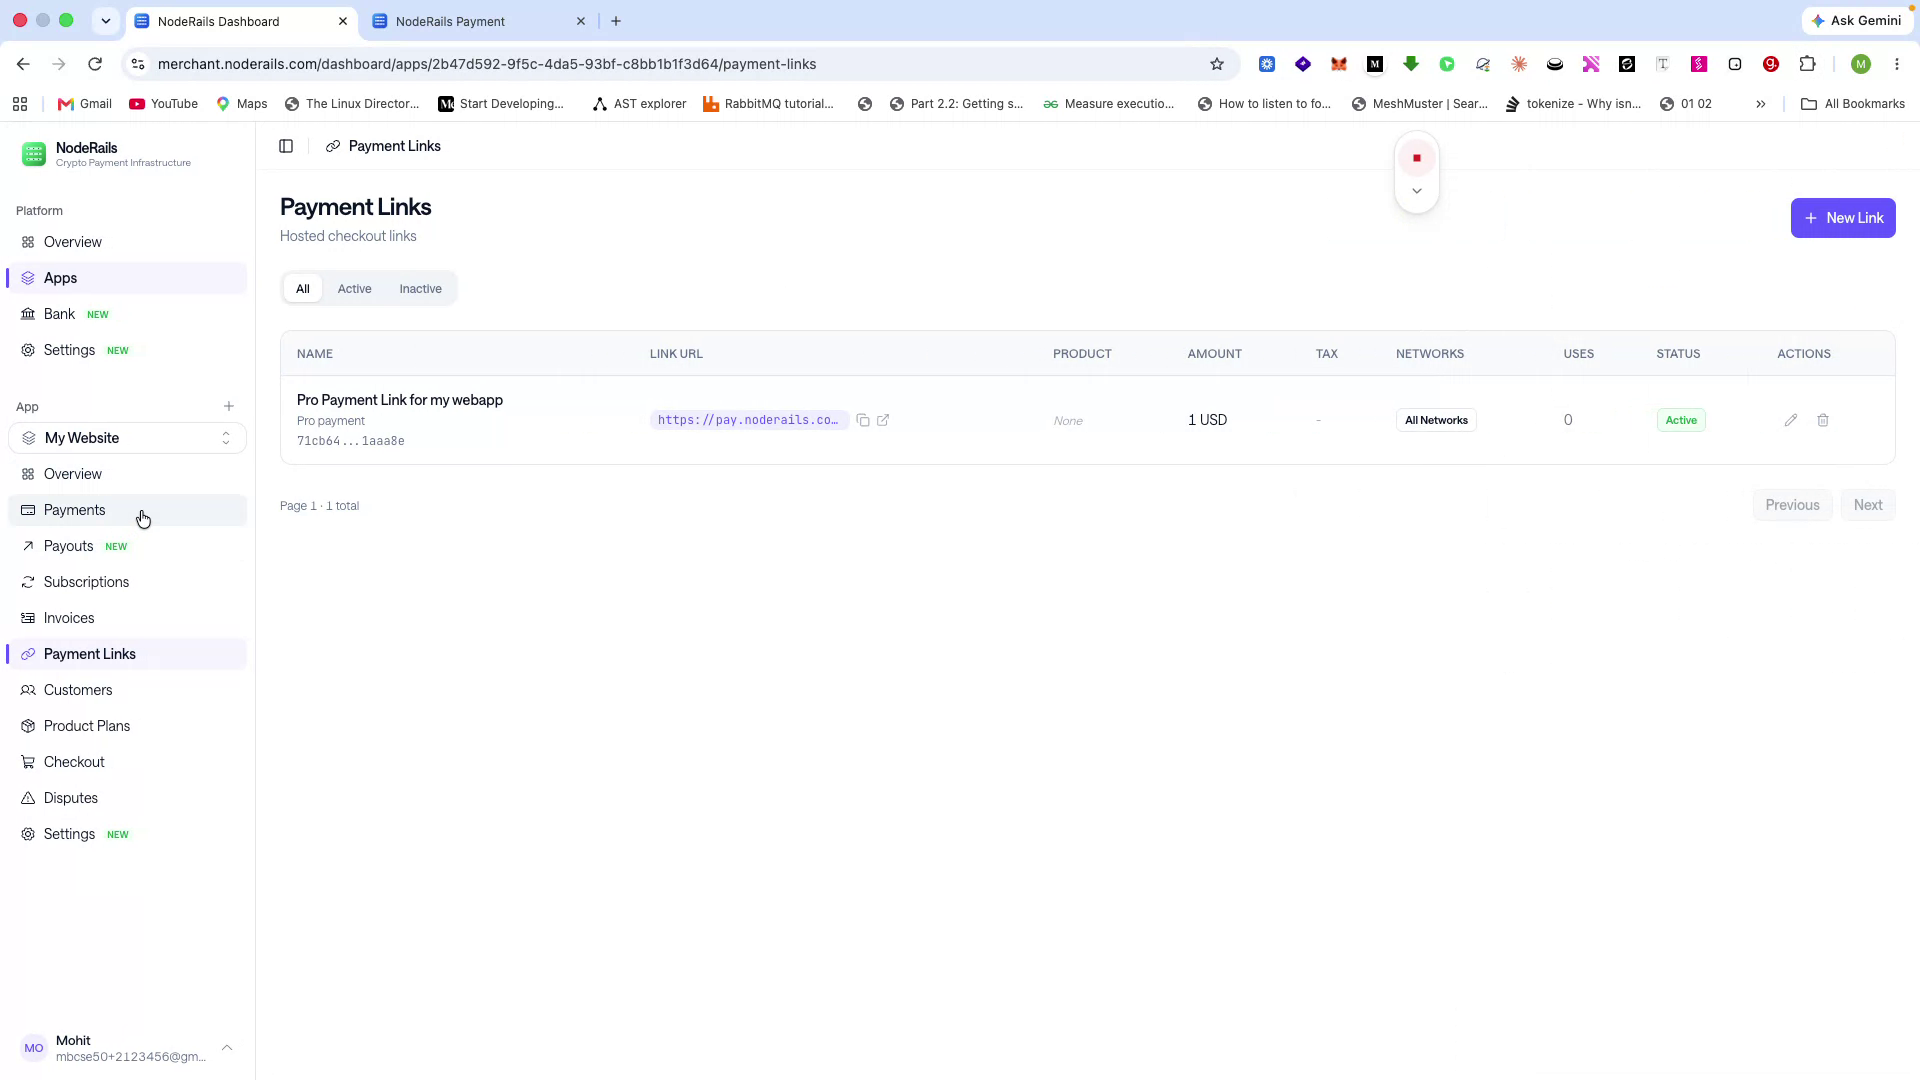
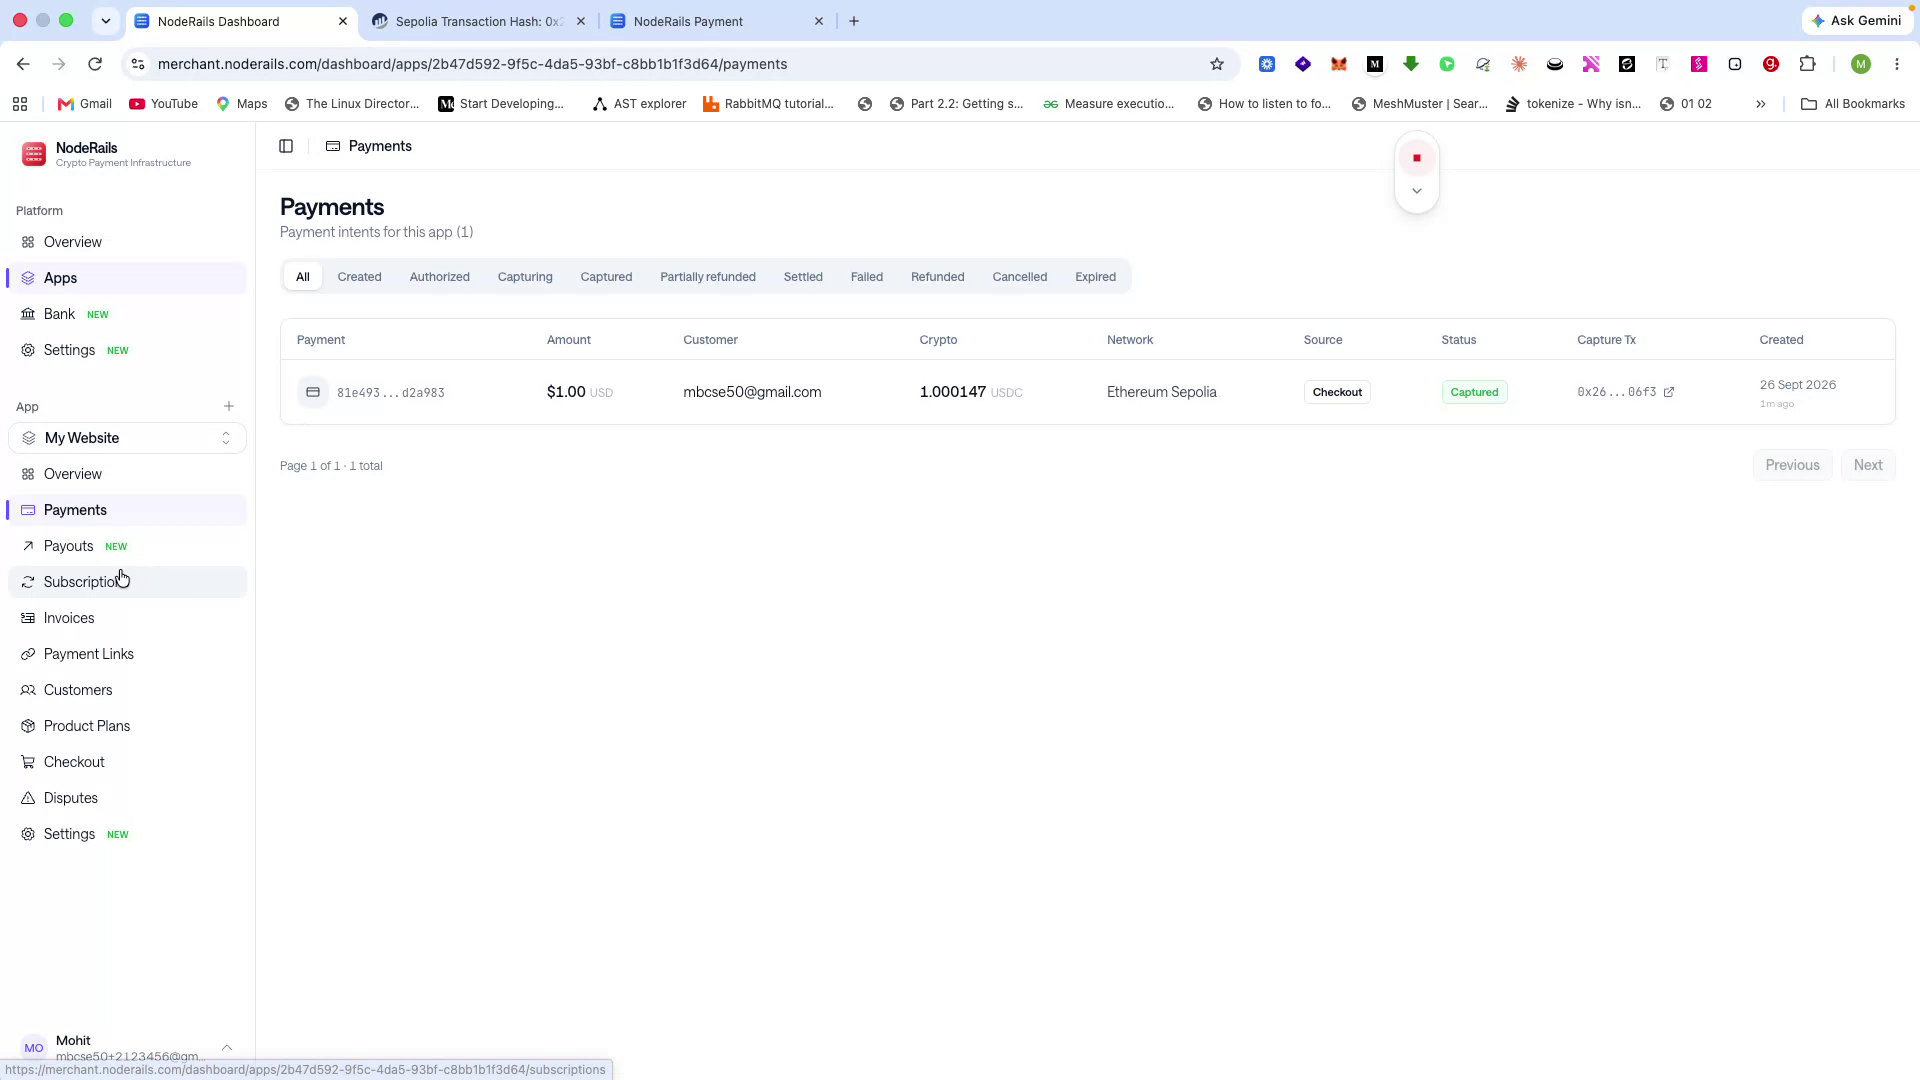
Return to your dashboard and open the Payments section to view details of the transaction.
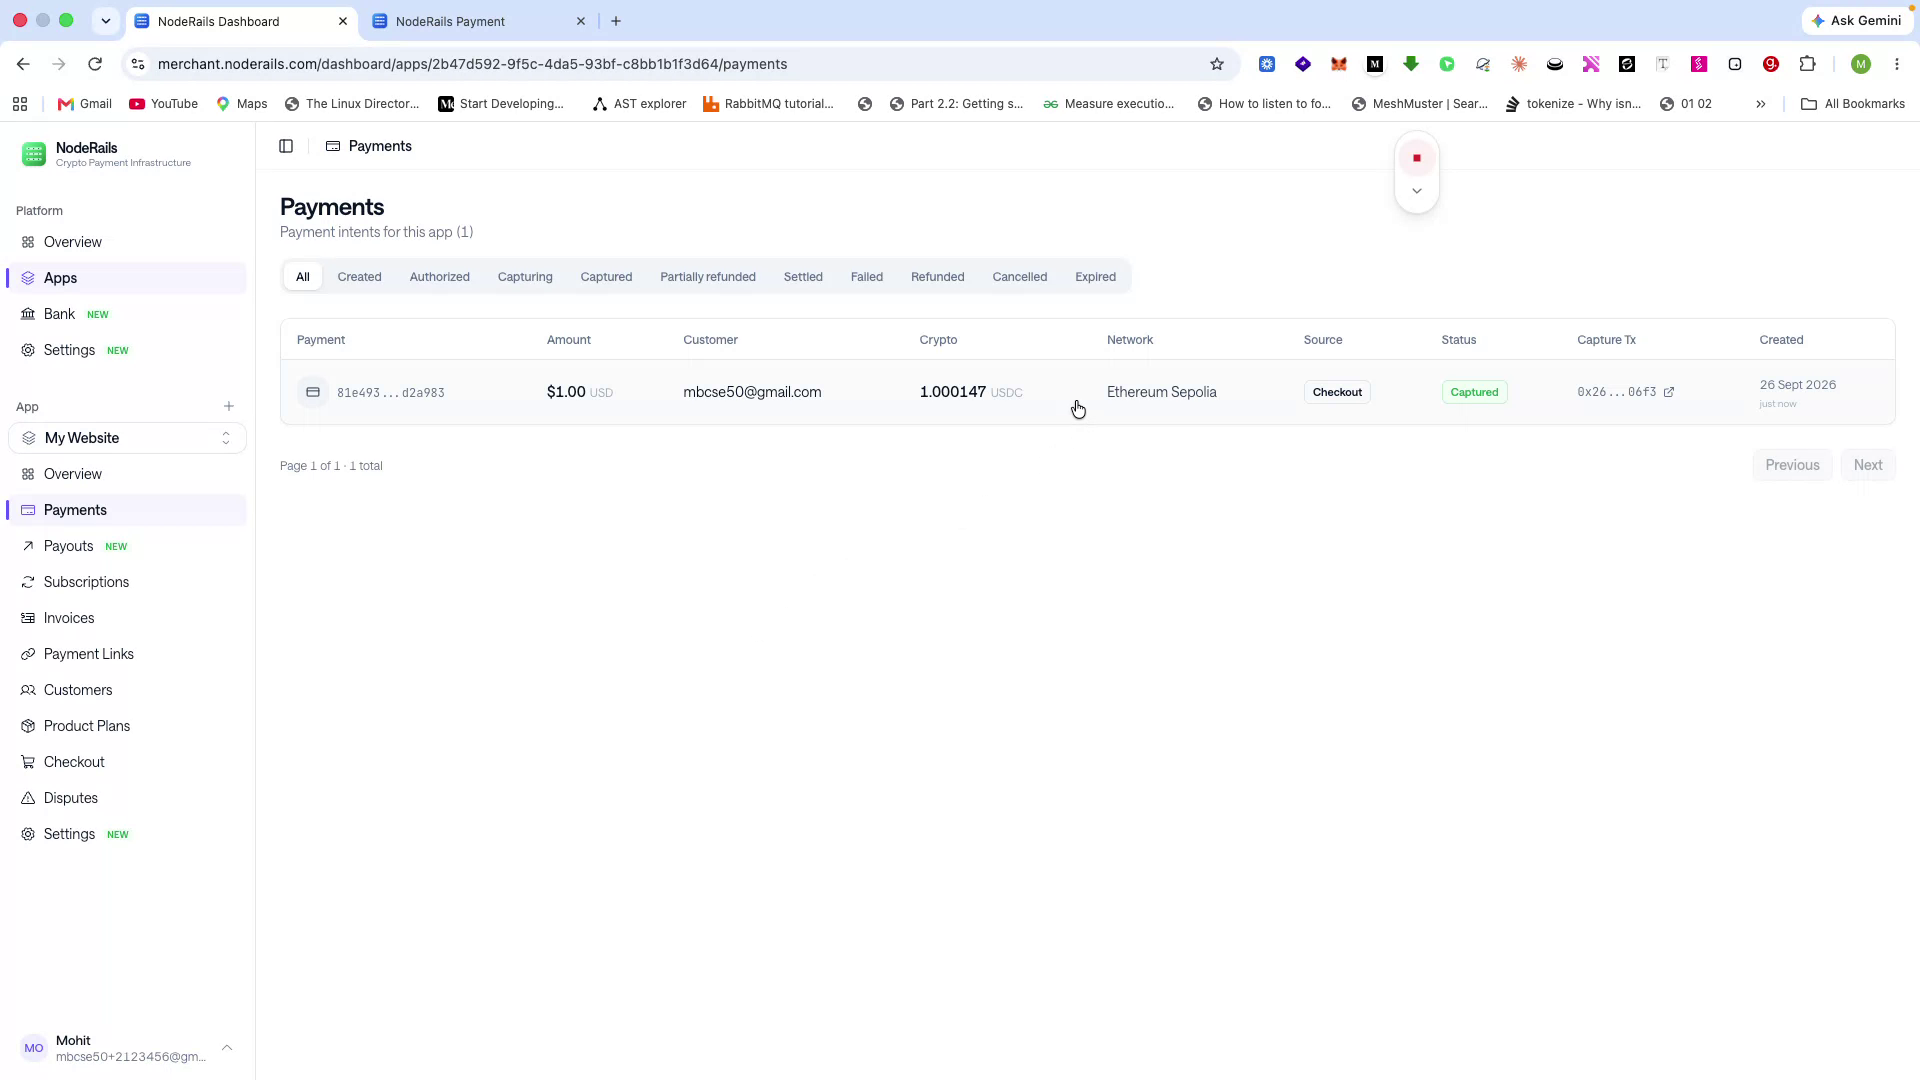
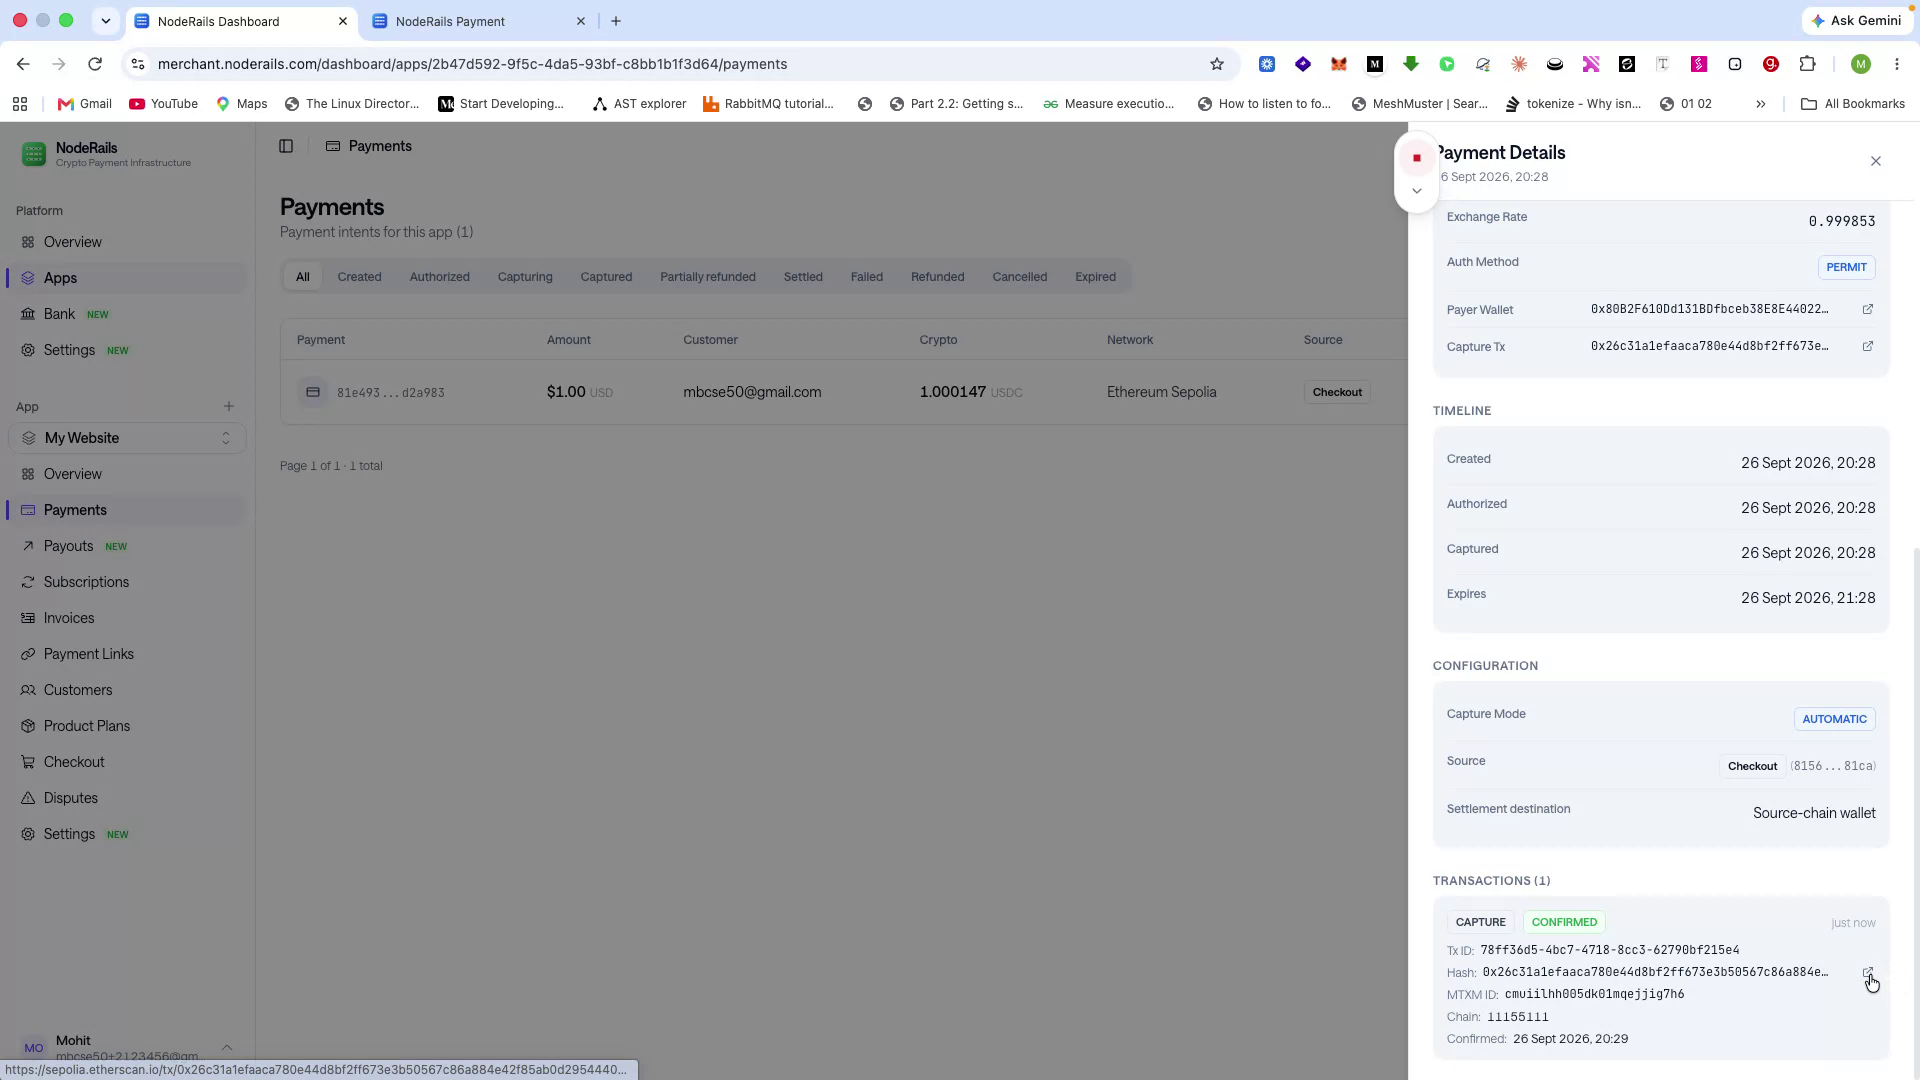
Here you can see all payment details: who the user was, when the payment was authorized, when it was captured, the payment source, and the transaction hash.
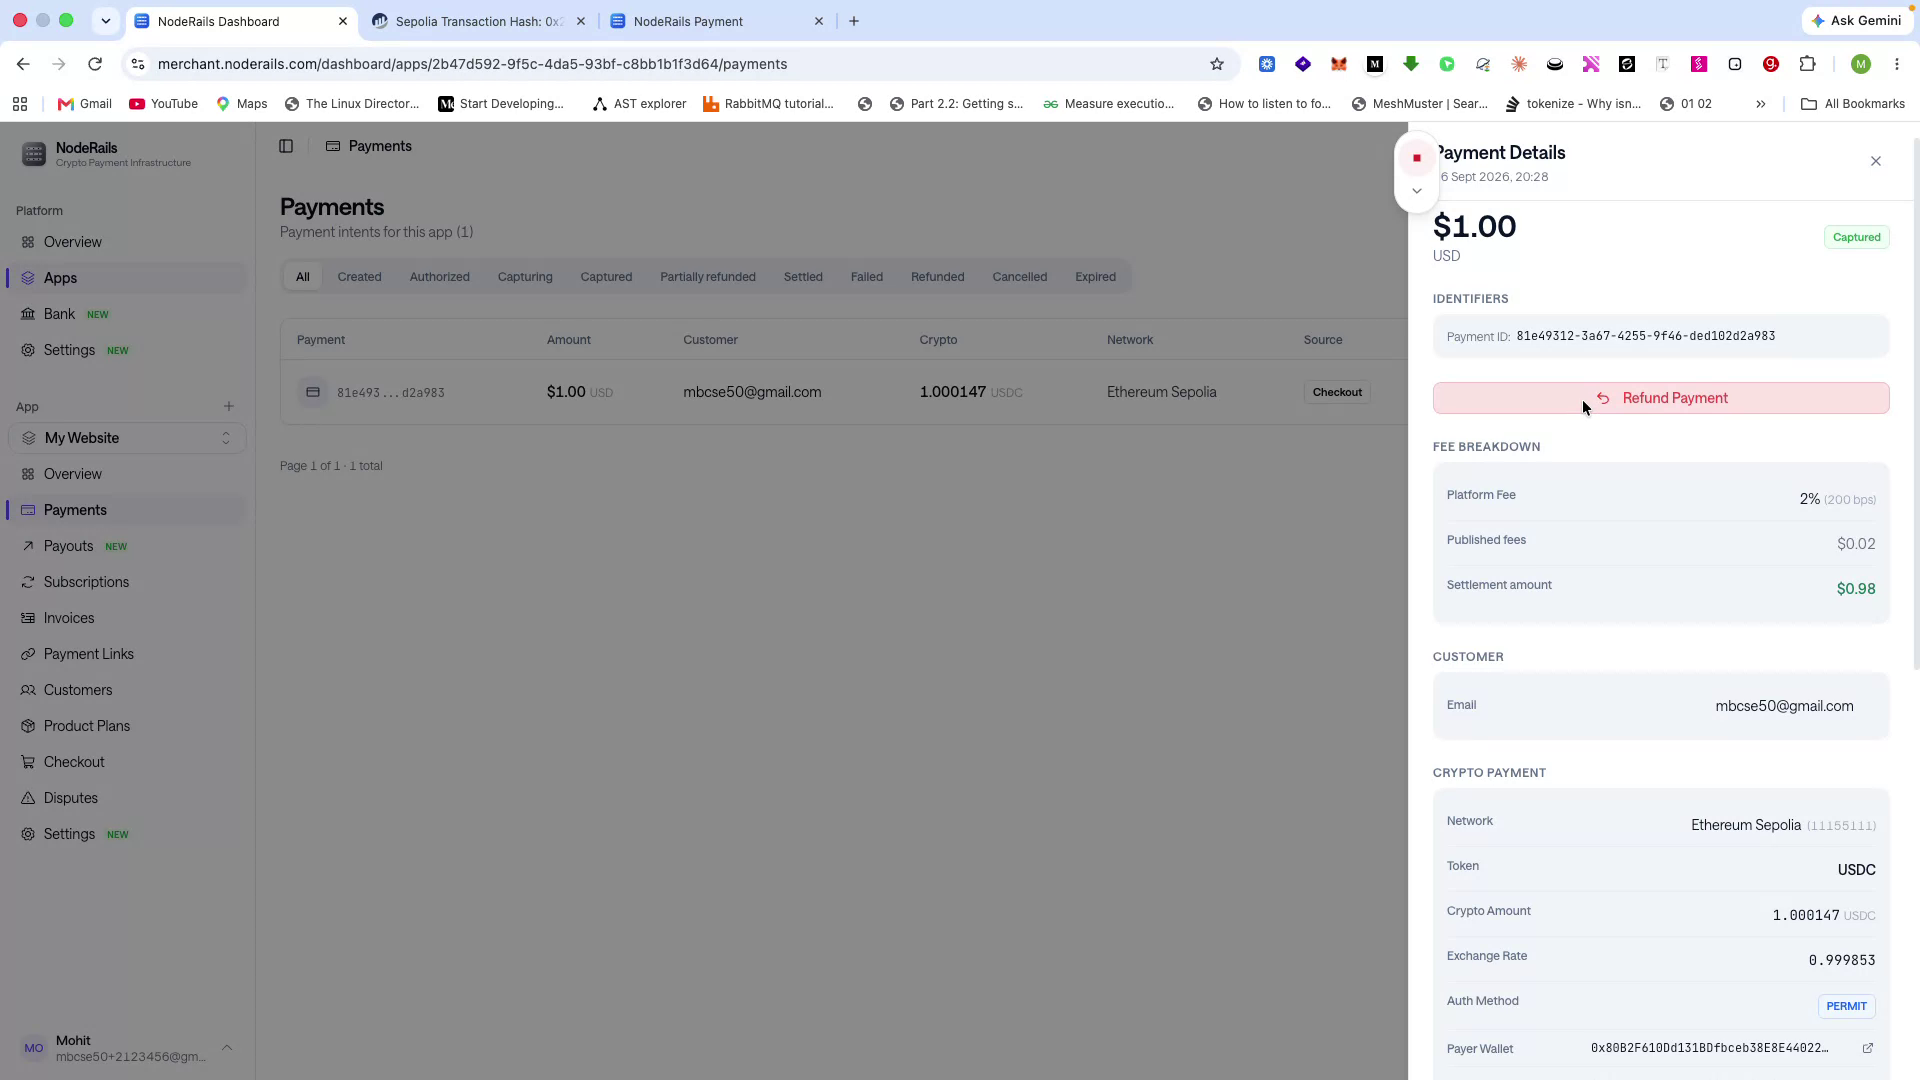
From this view, you can issue refunds - something many other platforms do not support at this level of control.
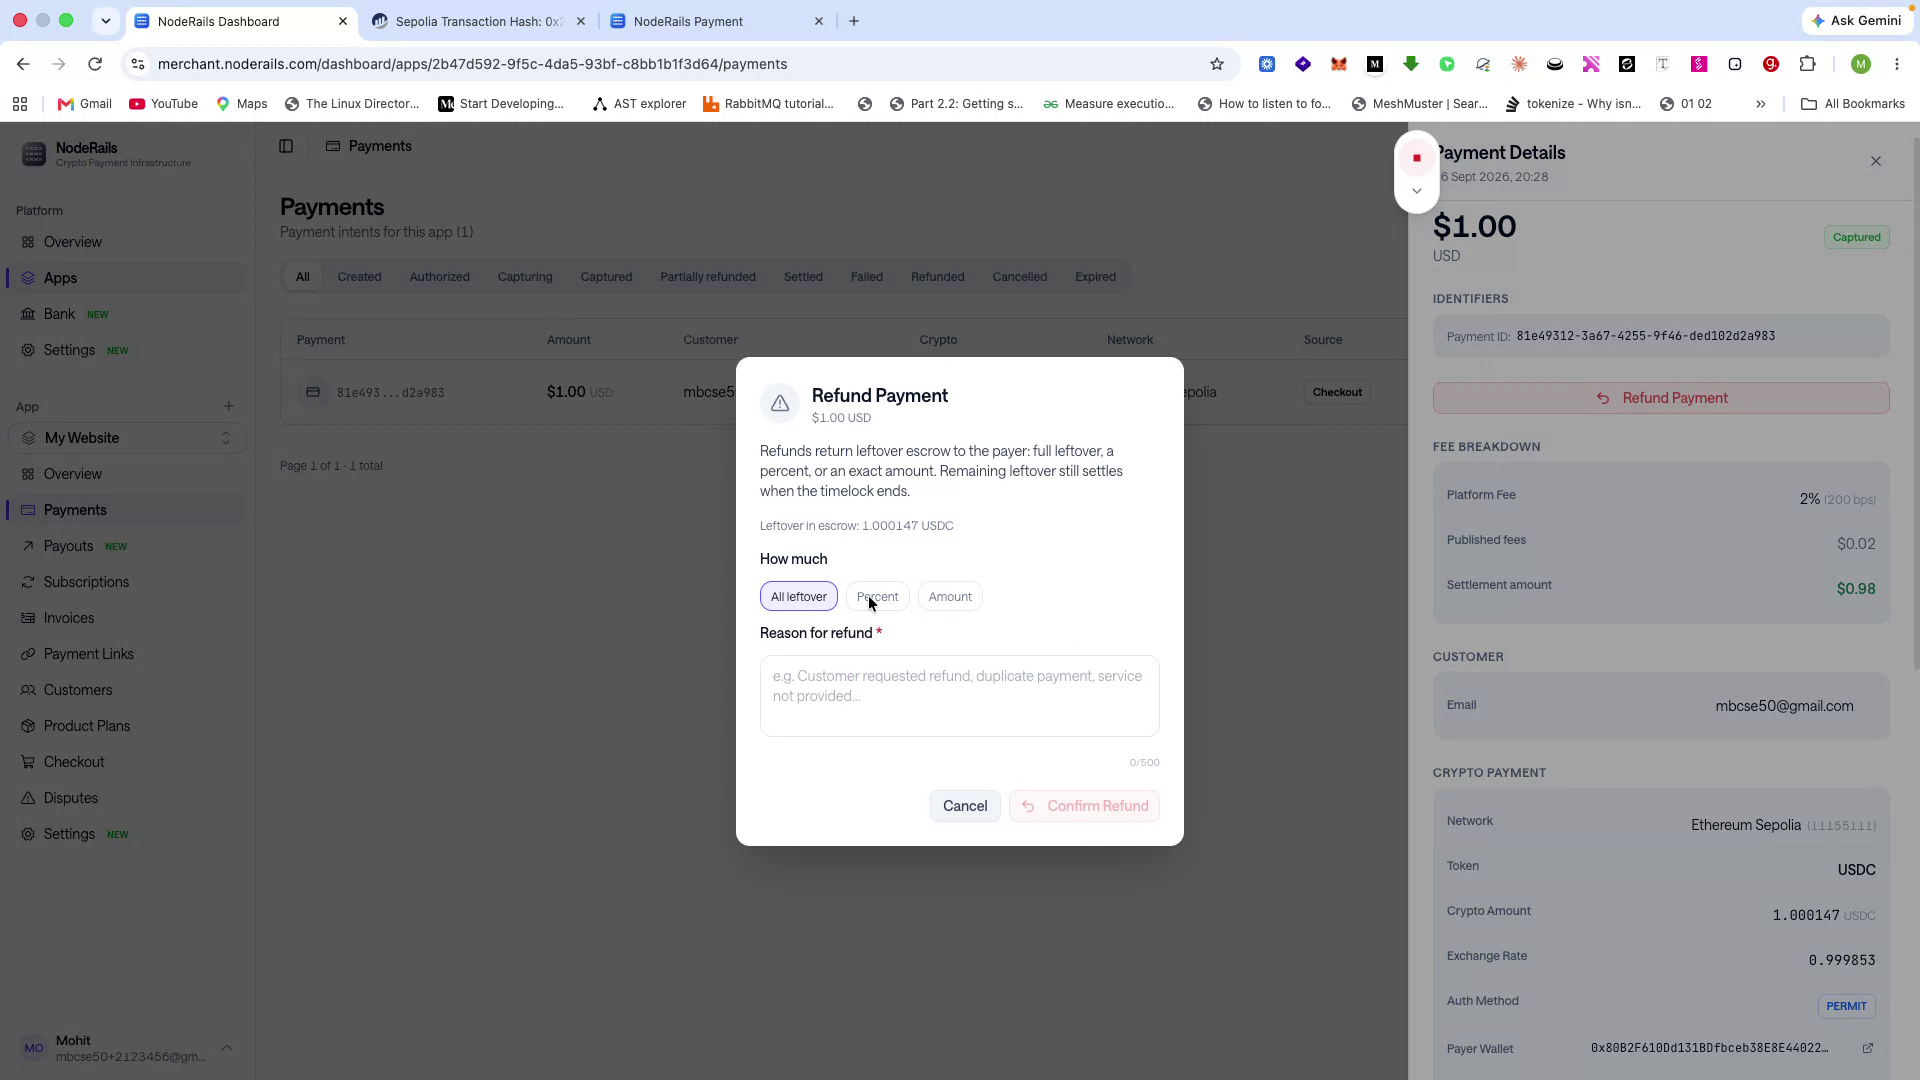
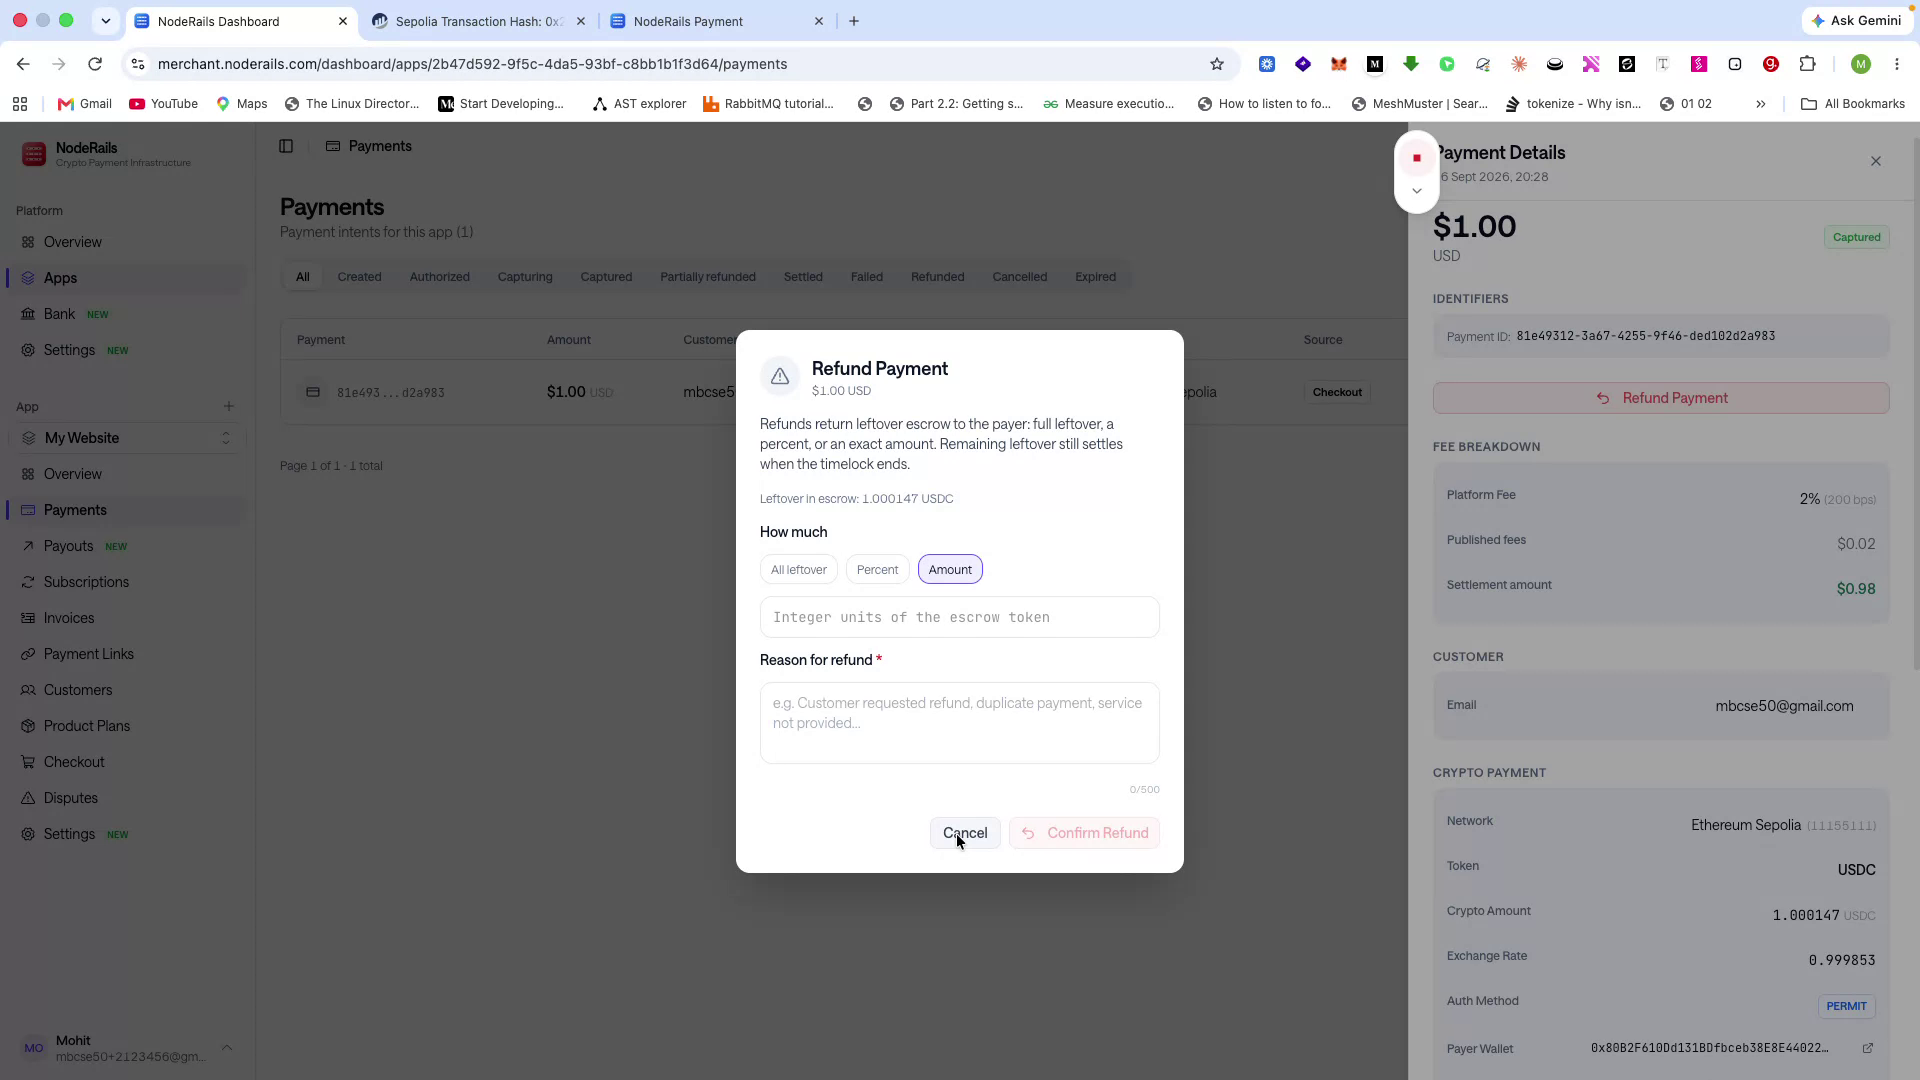
You can refund the full amount, a percentage of the amount, or a specific partial amount, depending on your needs.
Manage Subscriptions, Invoices, and Payouts
Step 13 of 14
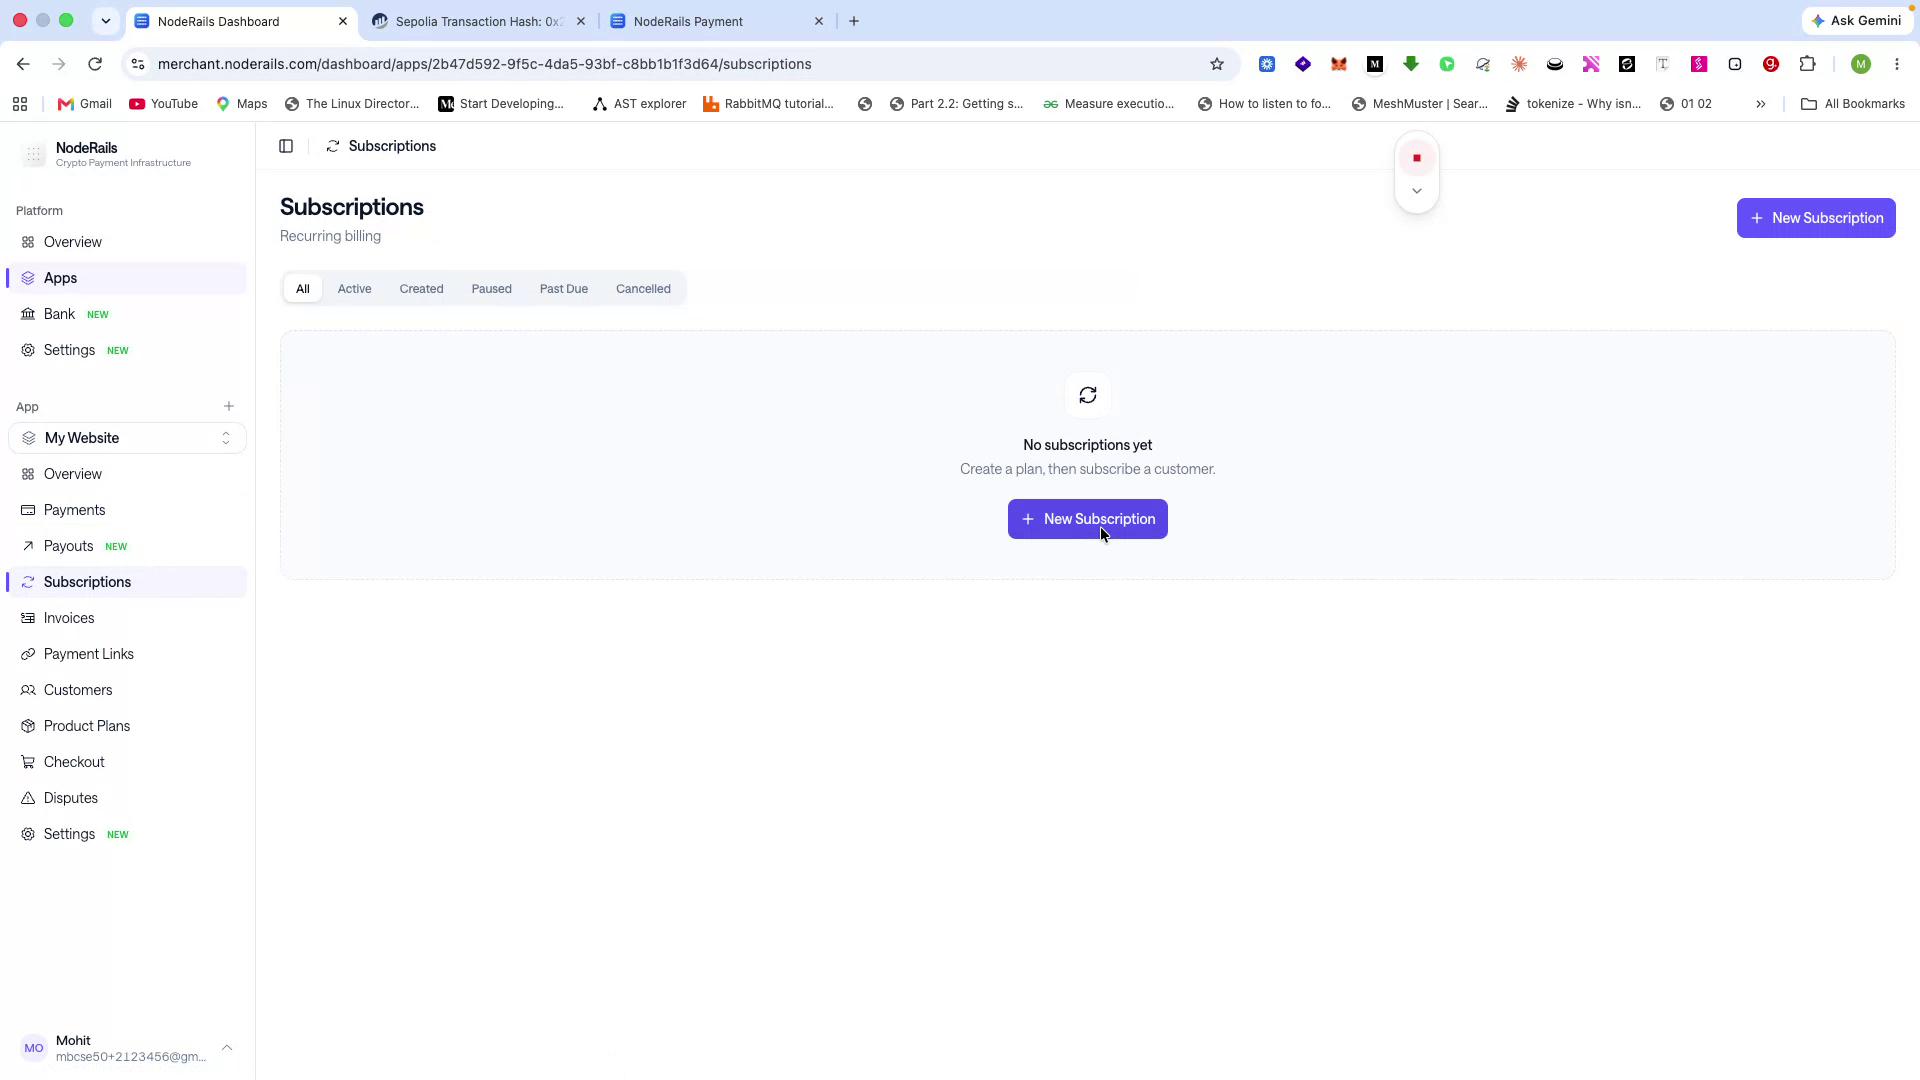
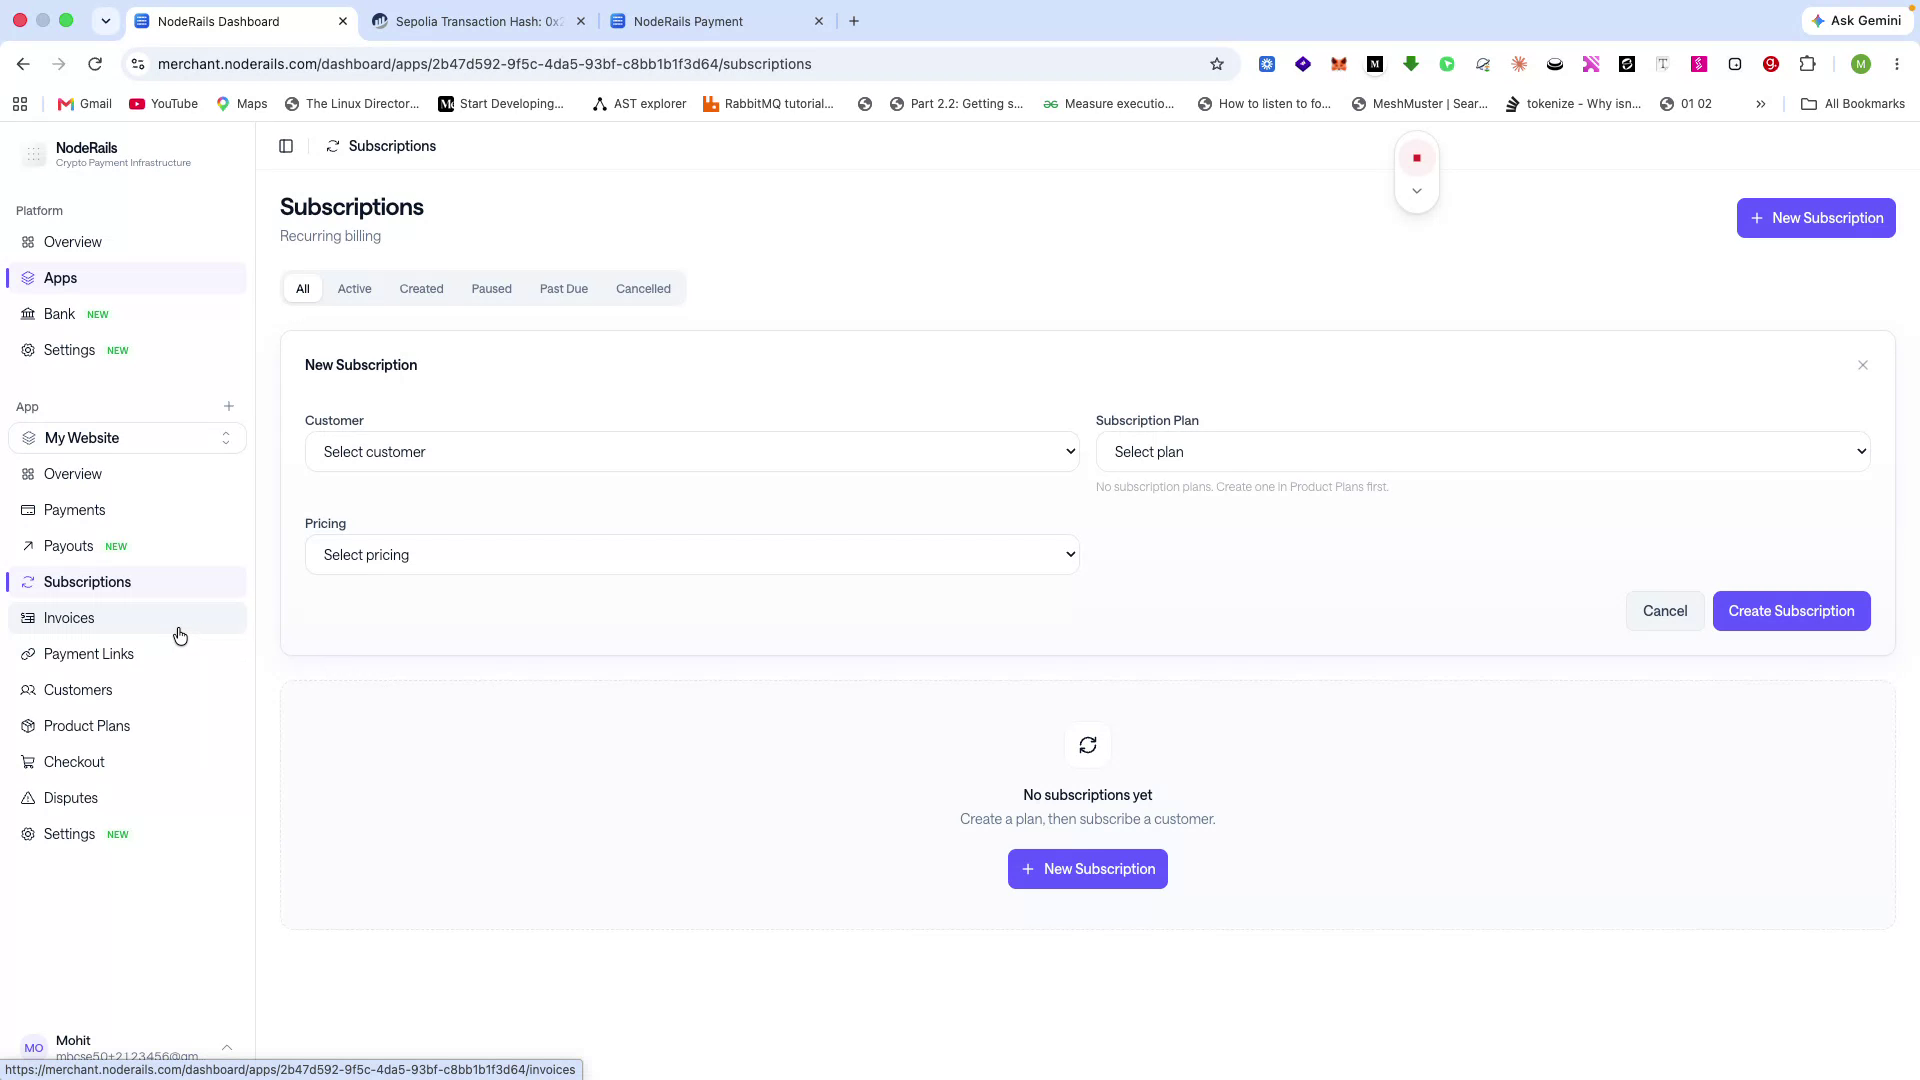
You can configure subscriptions to support recurring billing. Create product plans and set billing frequencies such as weekly, monthly, or yearly.
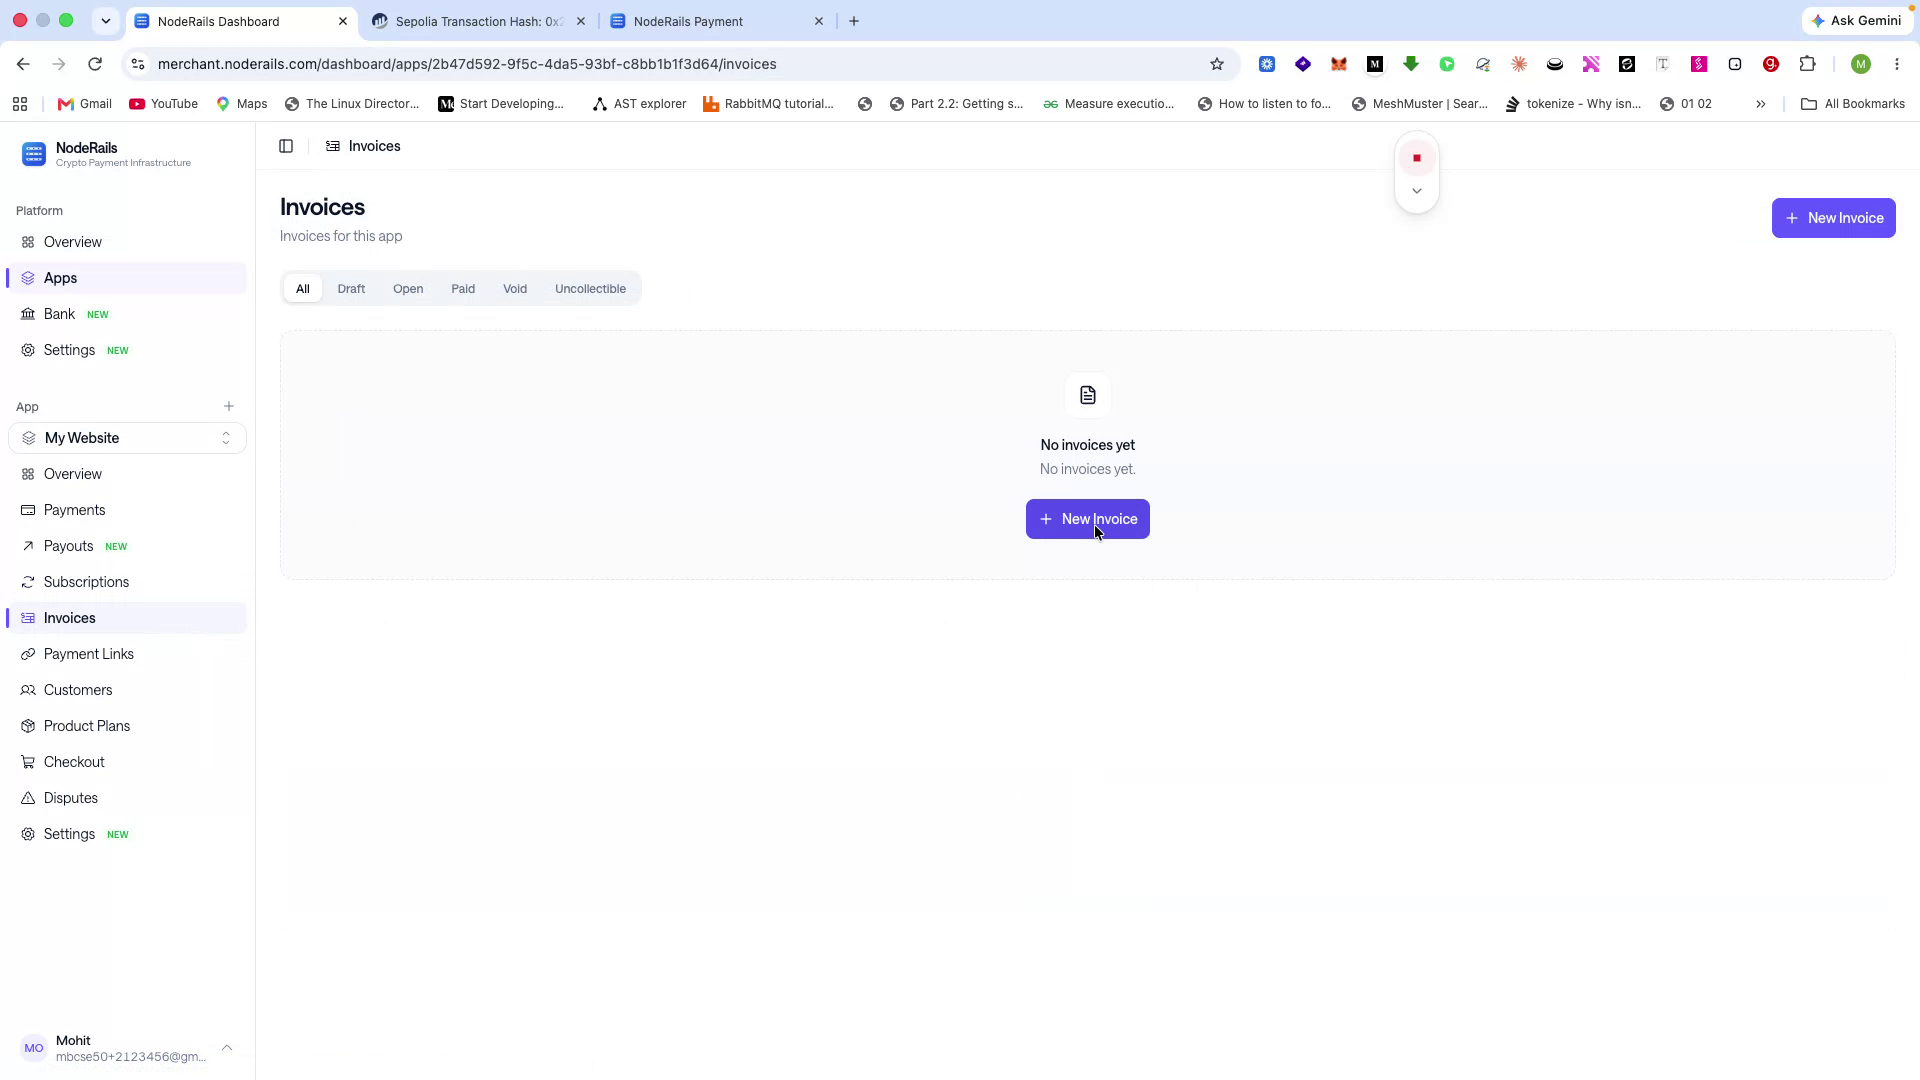
Similarly, you can generate invoices, send them via email, and have customers pay directly through the invoice. Payments settle directly to your wallet.
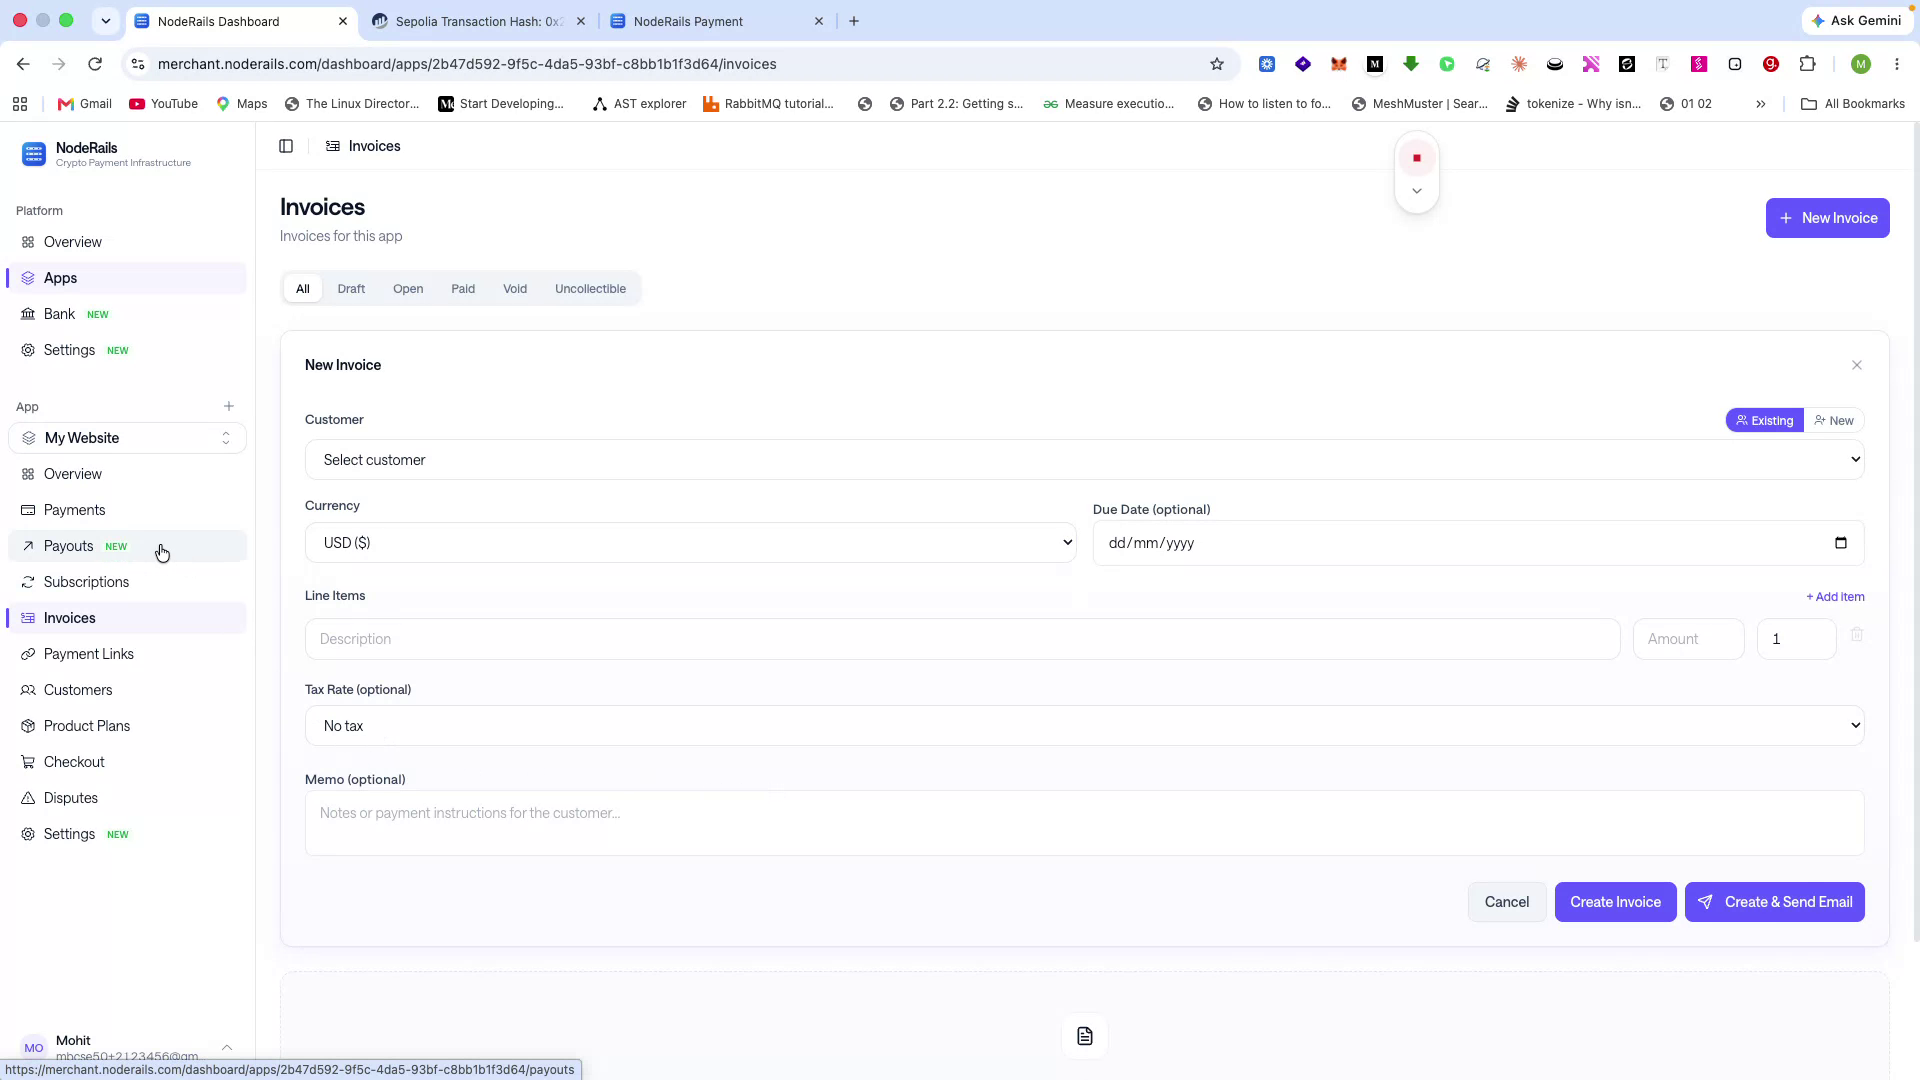
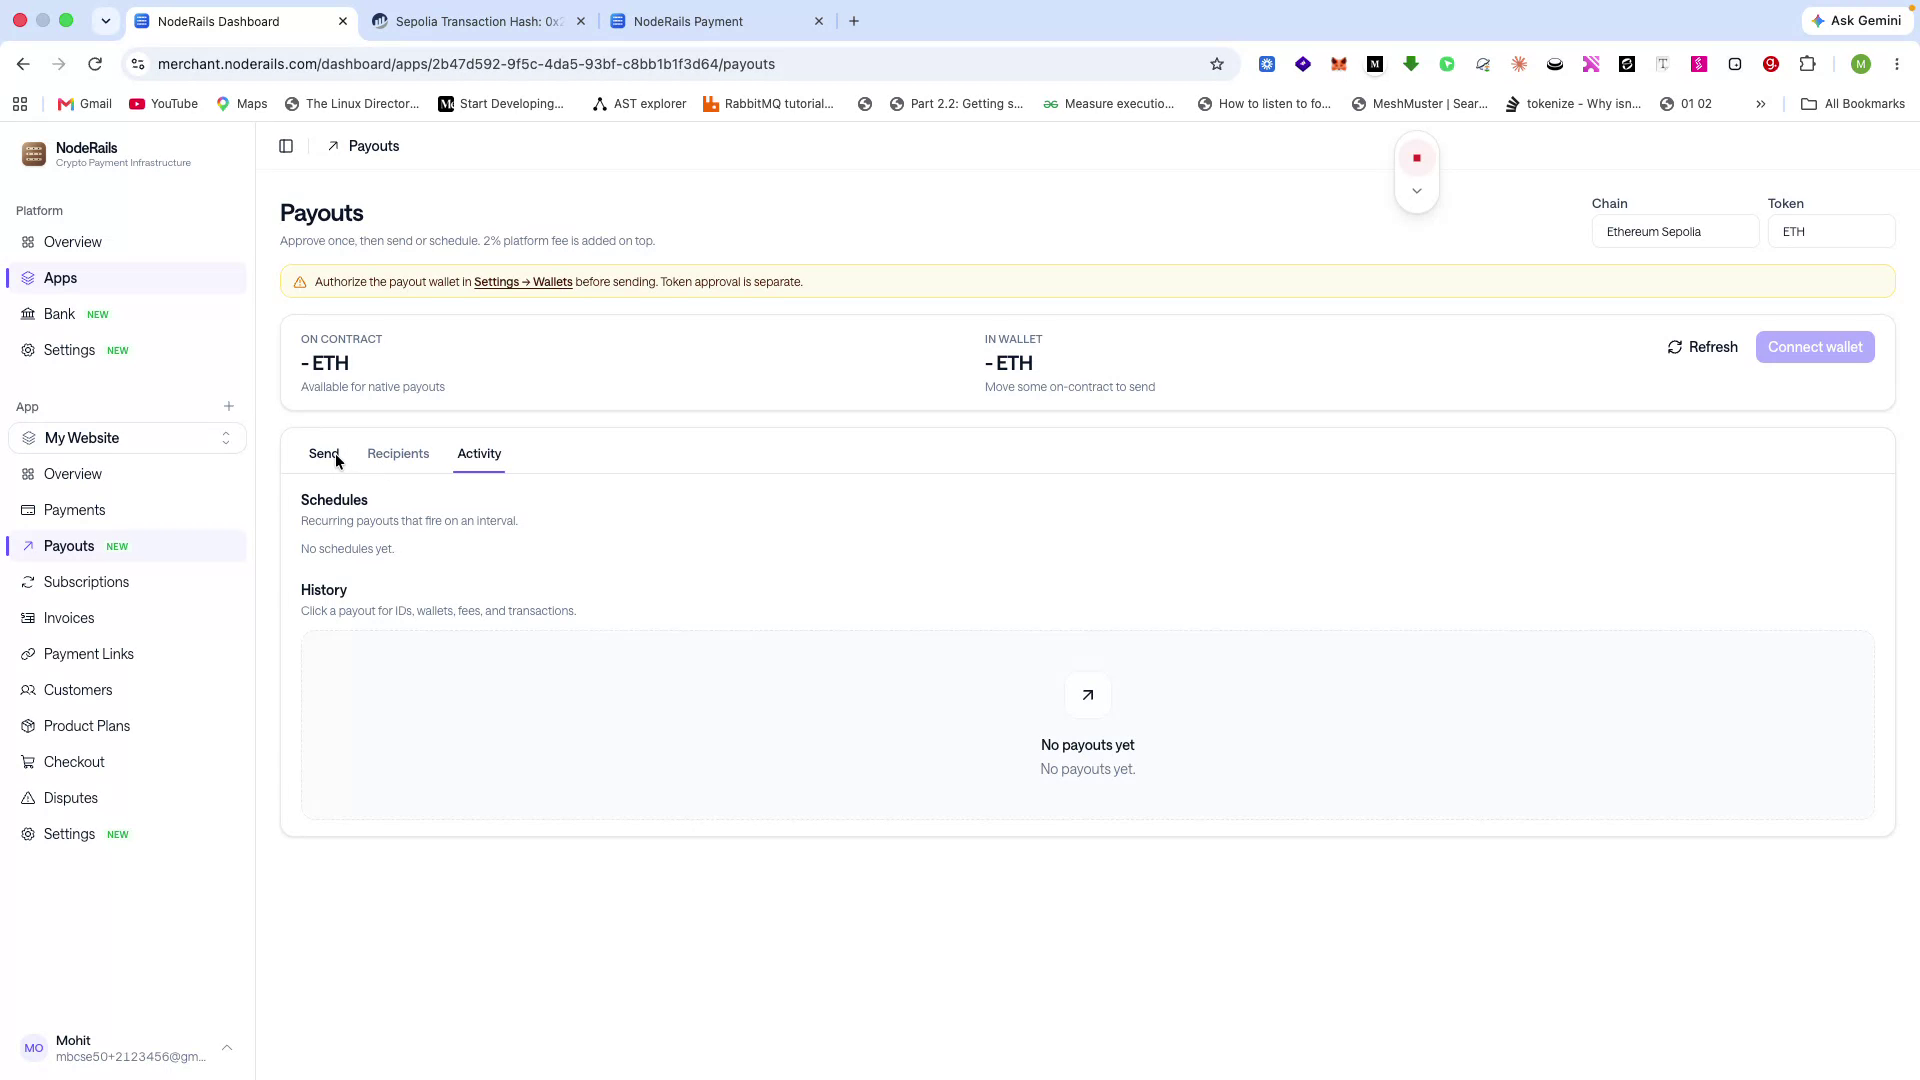
You can also configure payouts to global wallets or bank accounts and manage recipients for these payouts.
Customer Receipts and Dispute Handling
Step 14 of 14
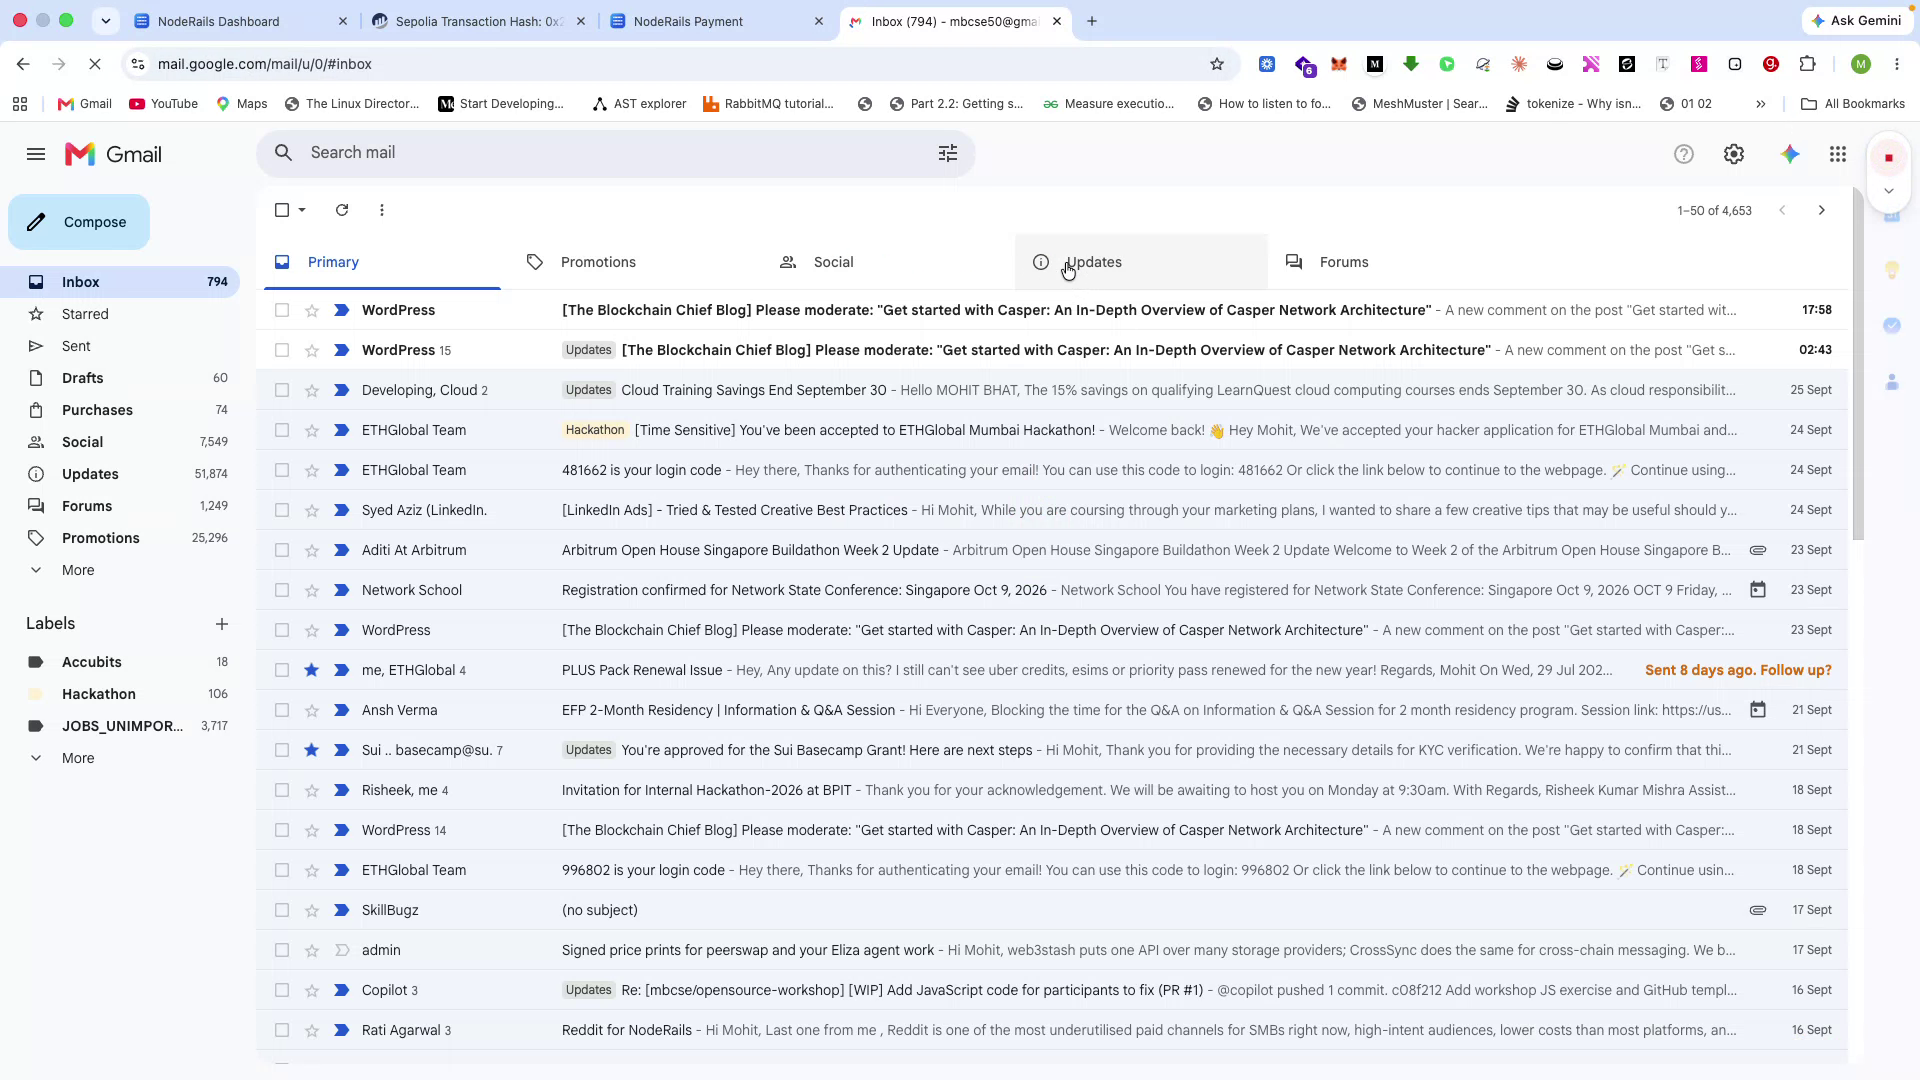
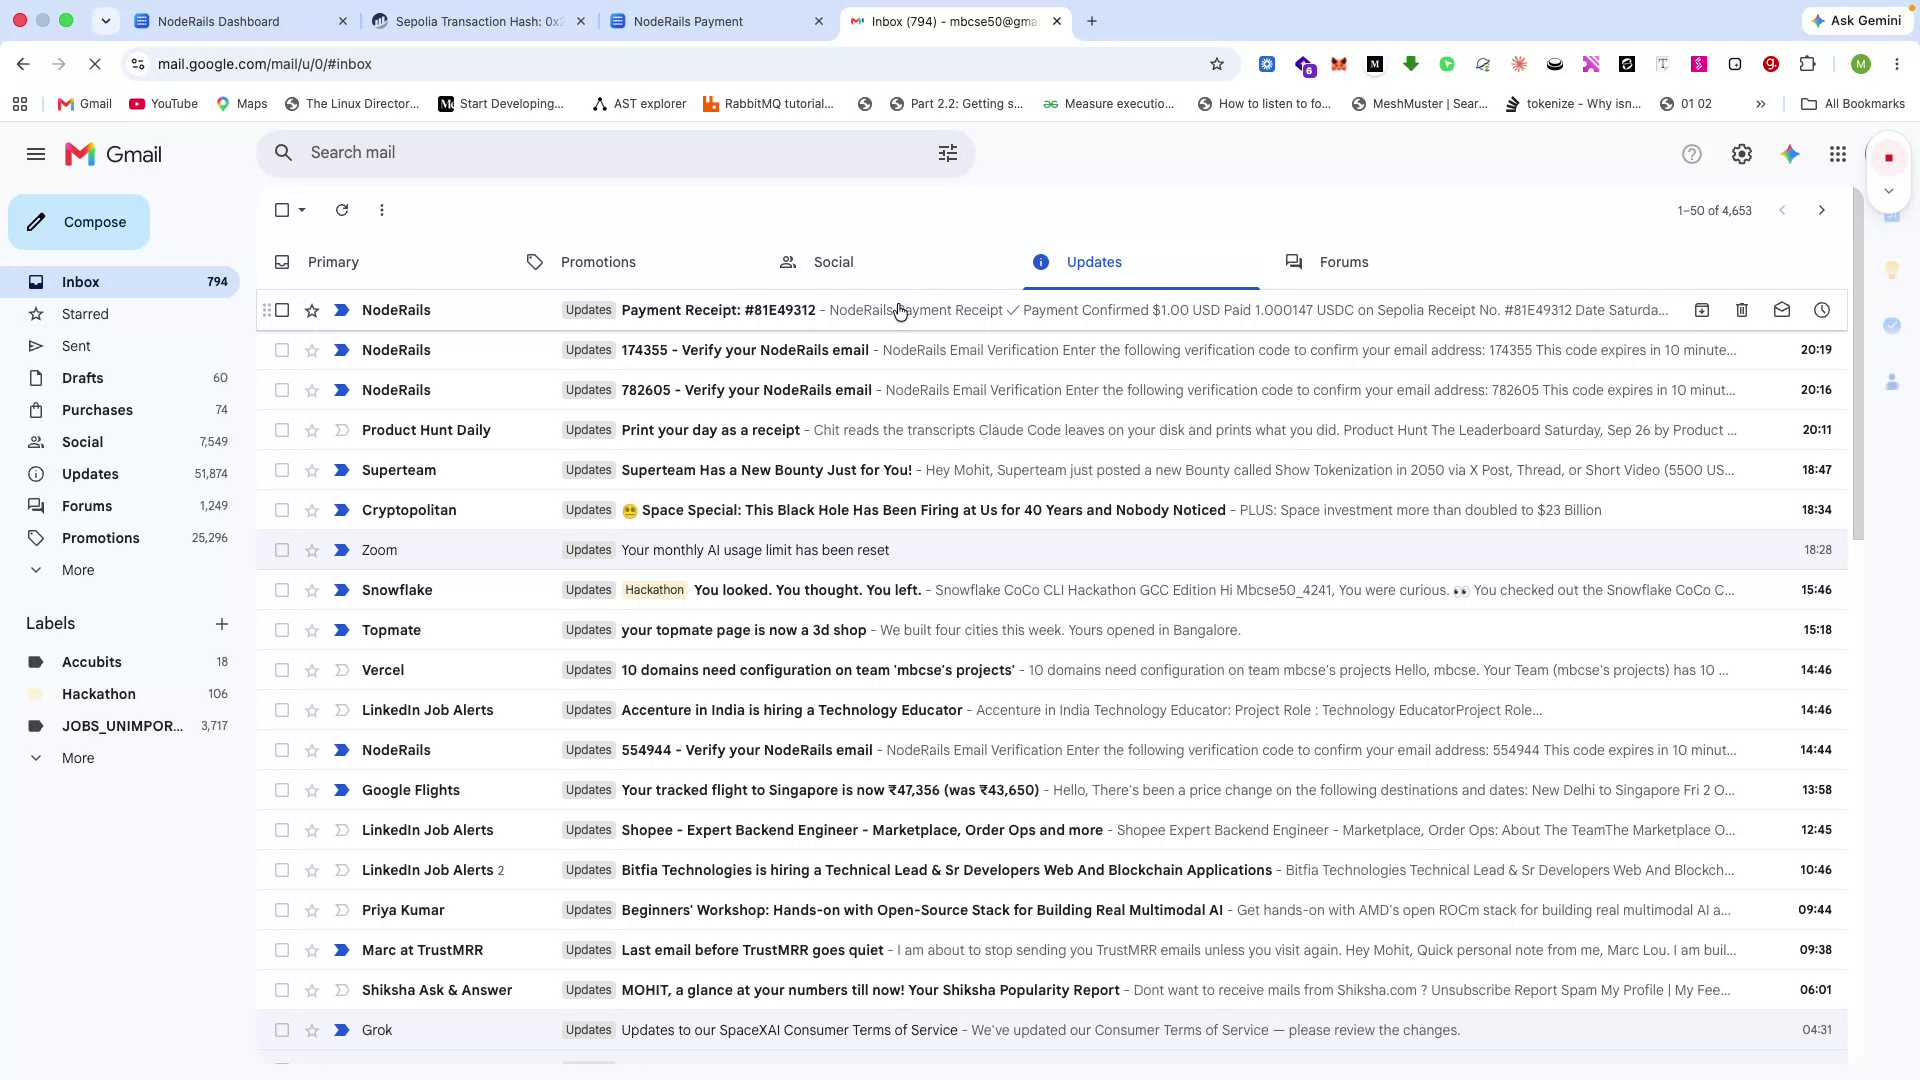
Every customer who pays on your platform receives a payment receipt from NodeRails.
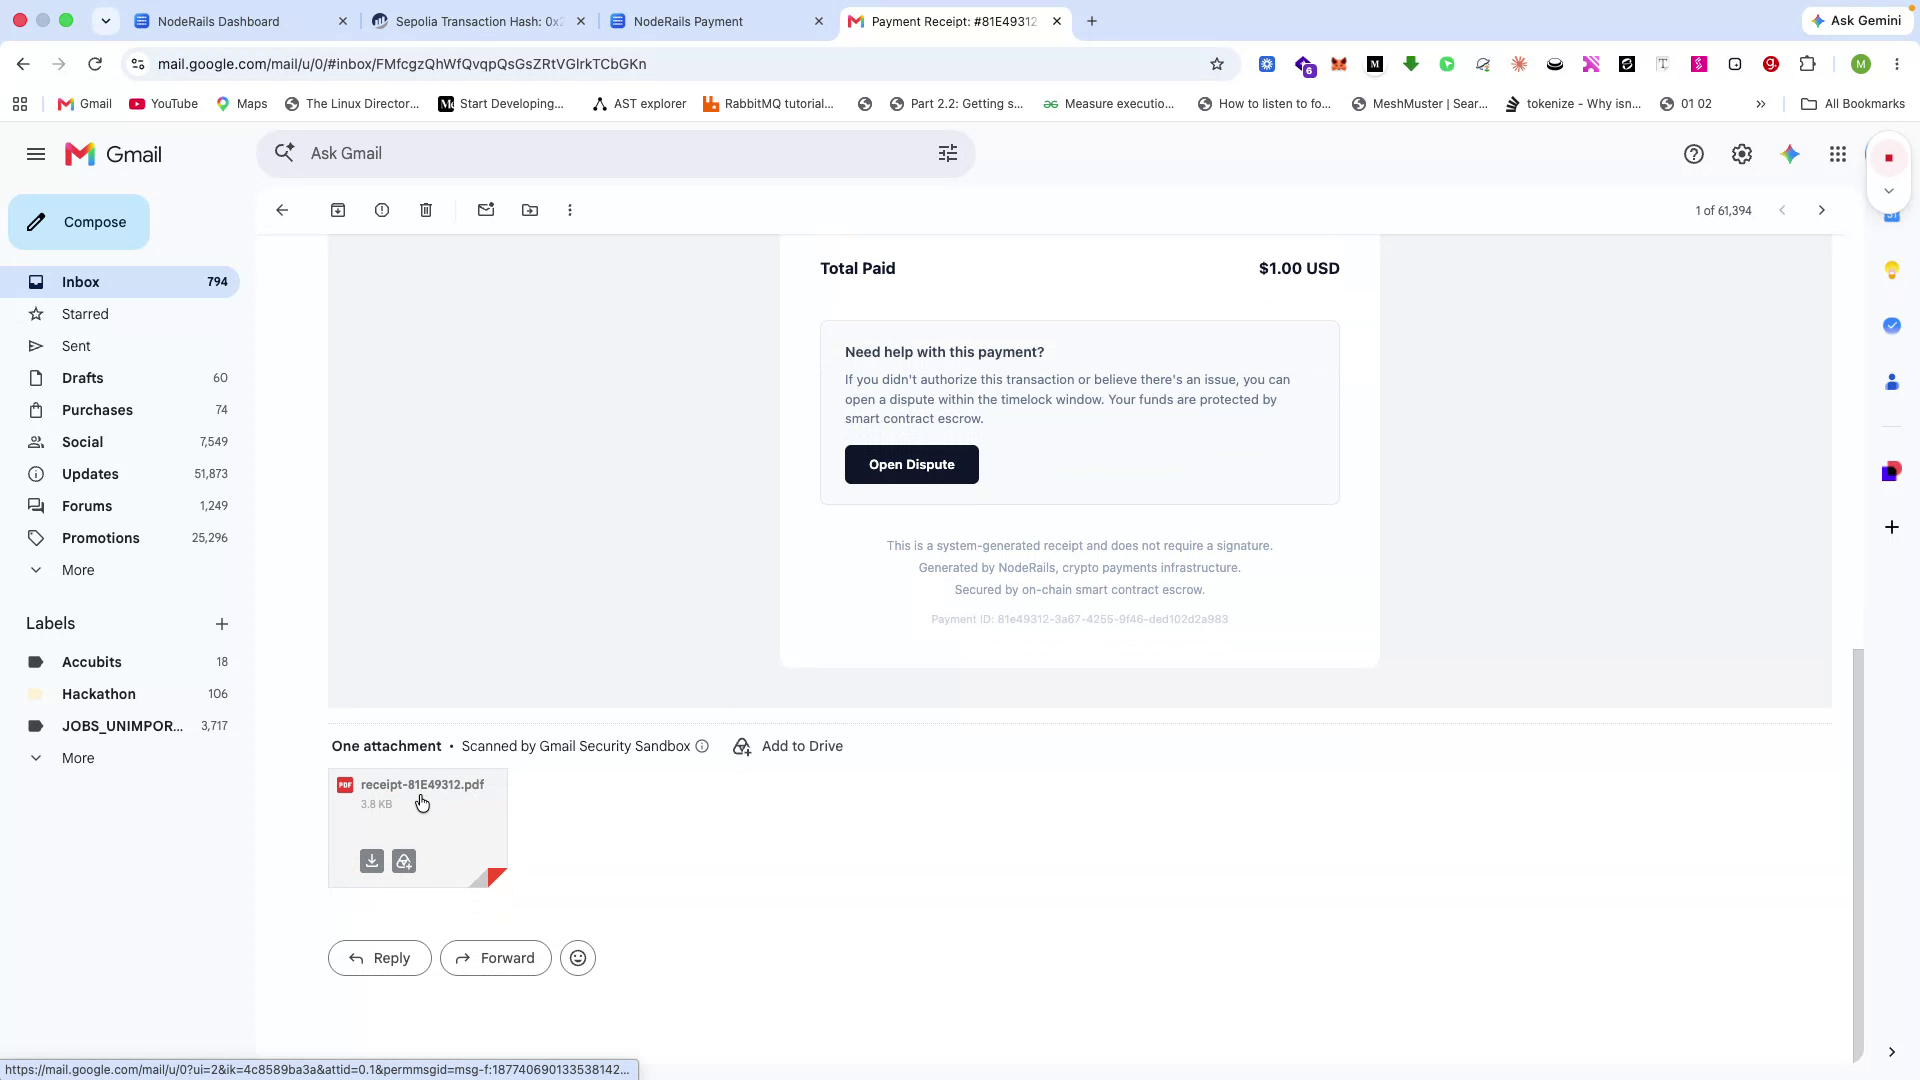
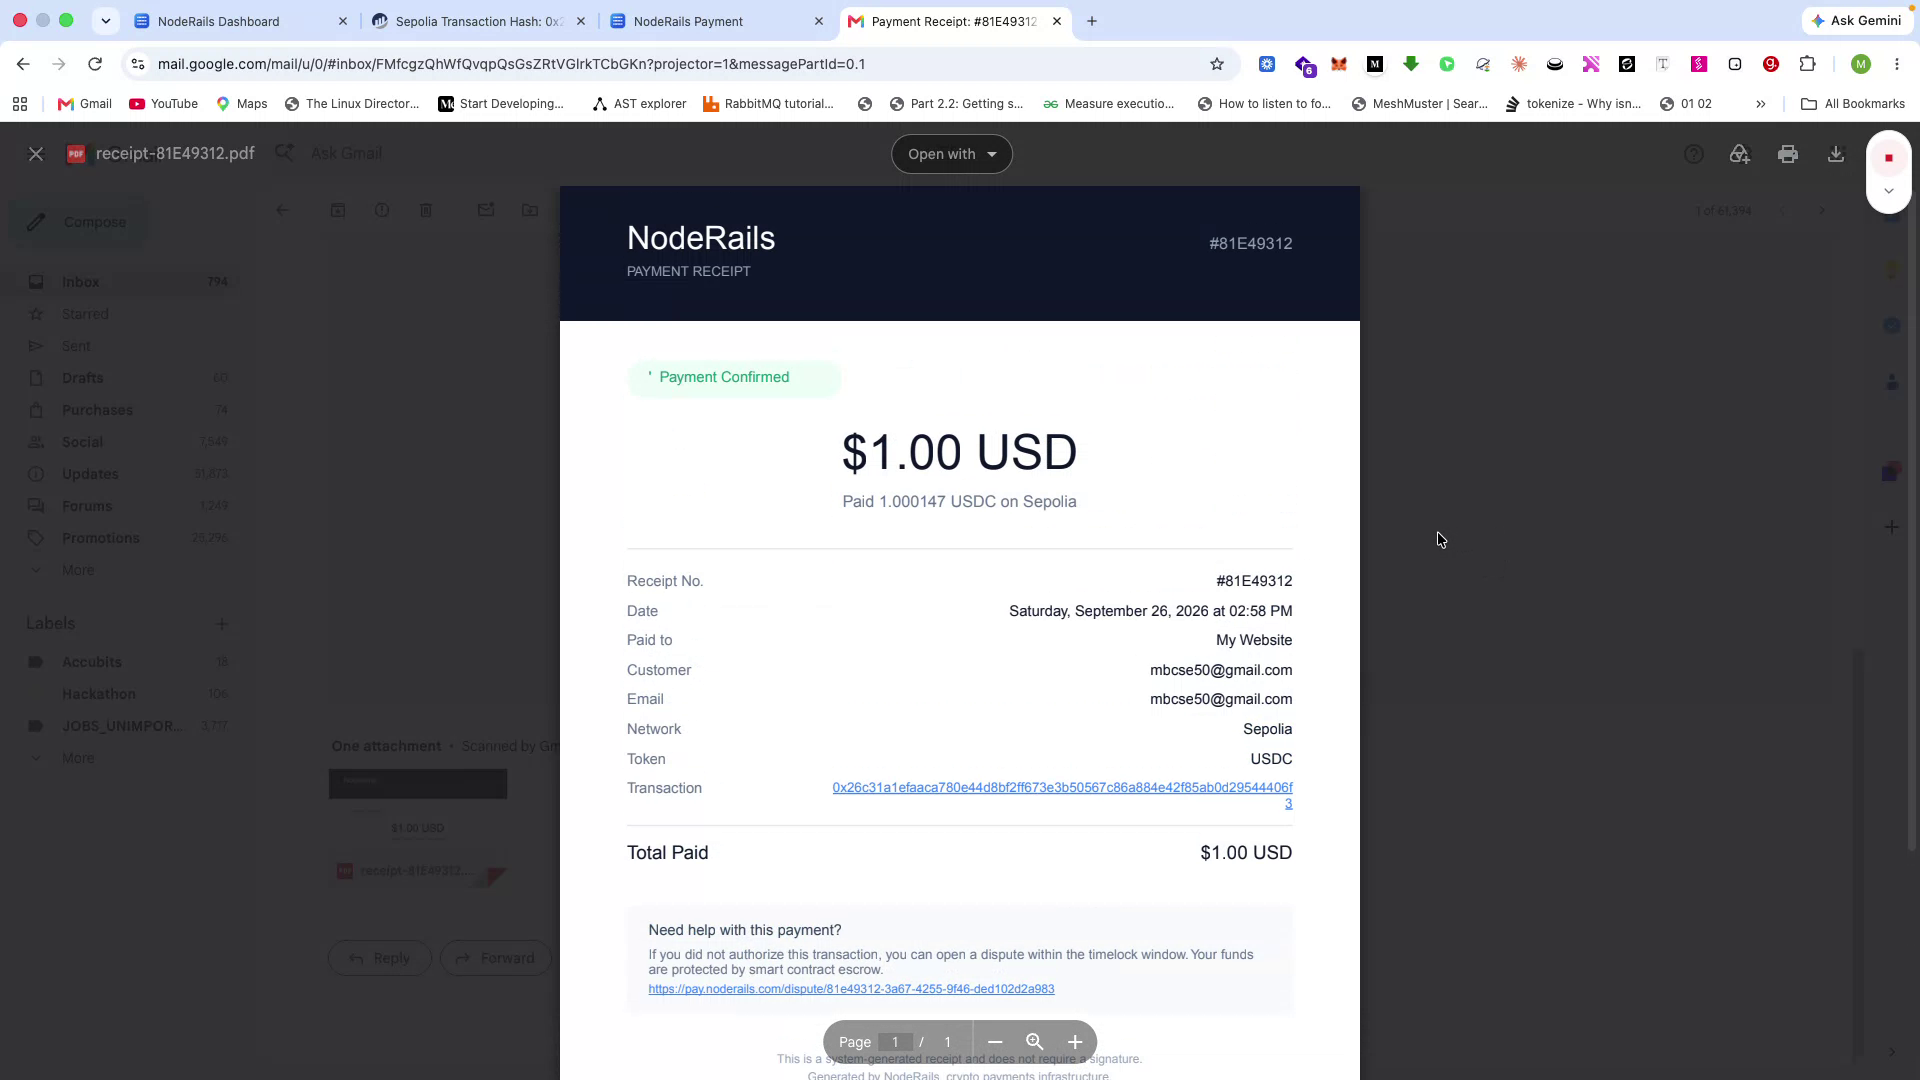
They also receive a system-generated PDF document containing all necessary details, which can be used for visa applications, tax filings, or other official purposes.
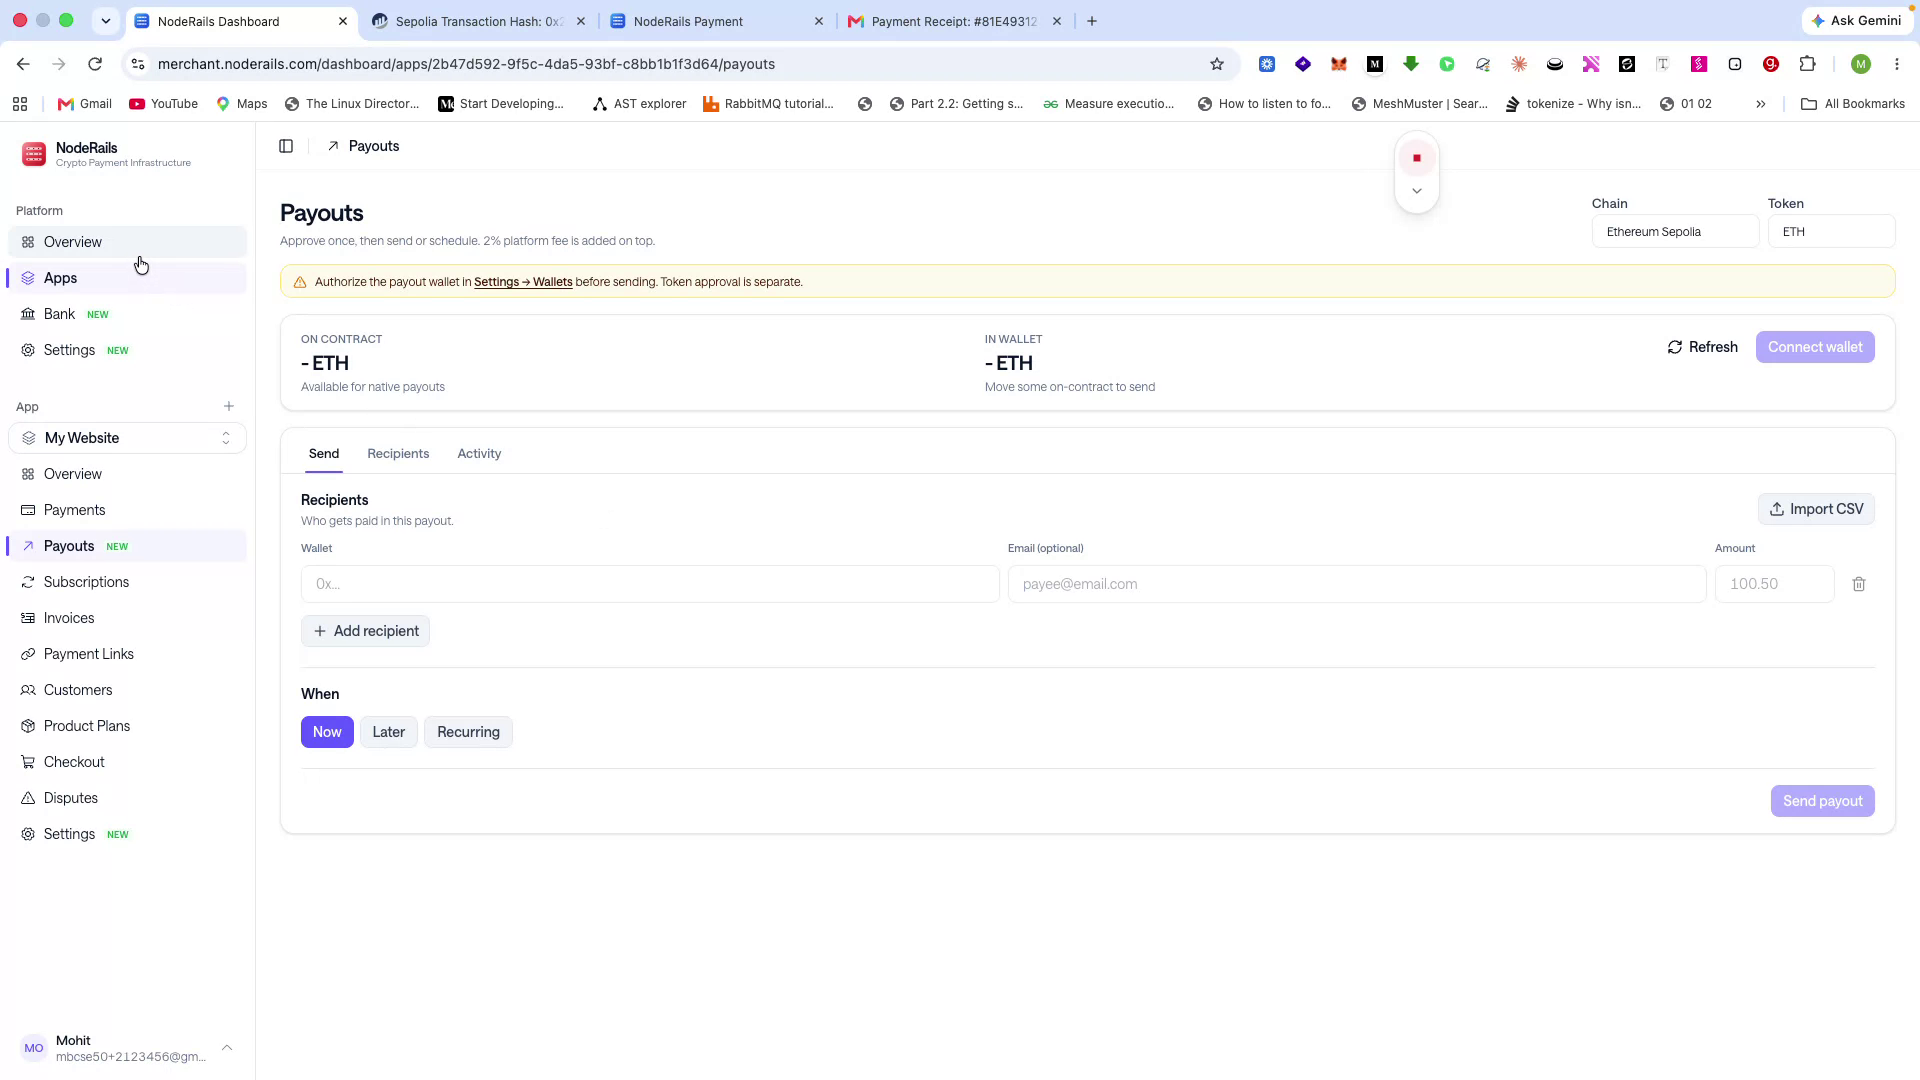
Customers can open disputes if there is an issue with a payment. NodeRails provides robust fraud and chargeback support, handling the dispute process for both merchants and users.
This concludes the overview of using NodeRails as a crypto payments infrastructure for merchants.